CENTOS6.8安装数据库及设置自启动脚本教程
作者:张欣橙
本文所需要的所有参数均位于文末附录中
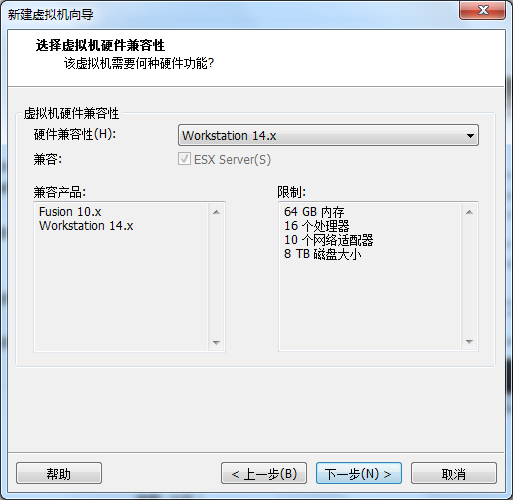
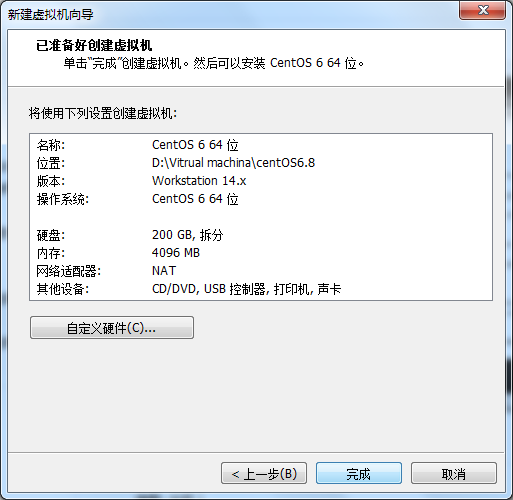
一.新建虚拟机
选择下一步

选择下一步
选择稍后安装操作系统

选择LINUX 版本 CentOS 6 64位

选择你放置该虚拟机的位置
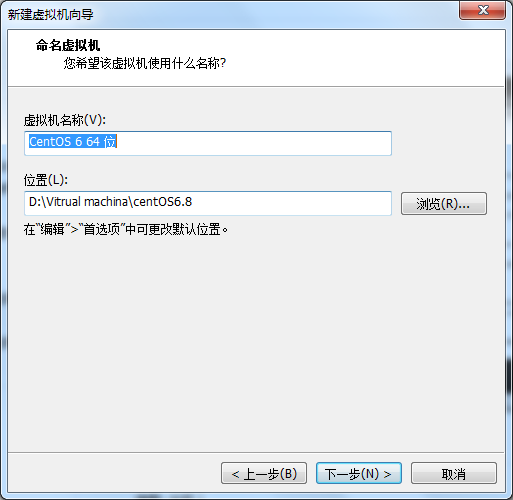
选择下一步
选择4G内存

选择NAT模式

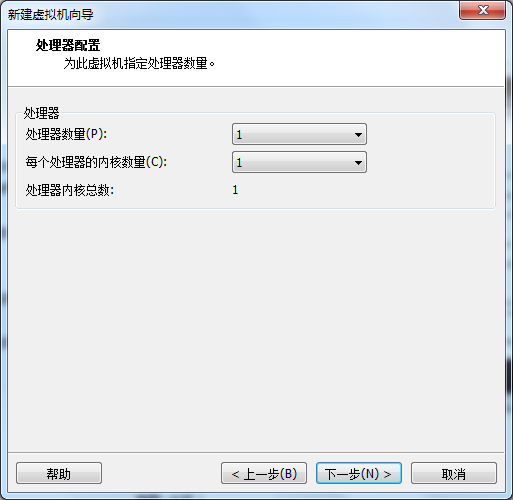
选择下一步

选择下一步

选择创建新虚拟磁盘

选择200G磁盘
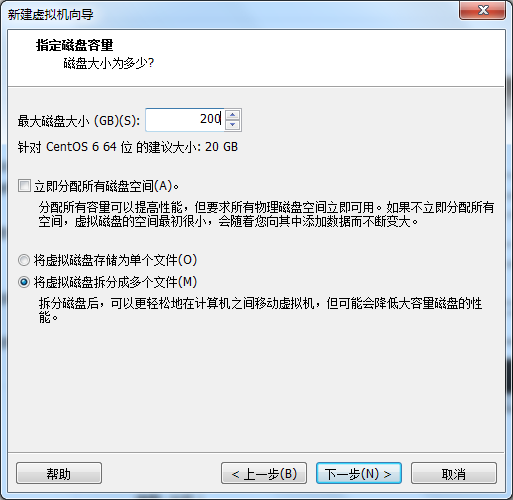
选择下一步

选择完成
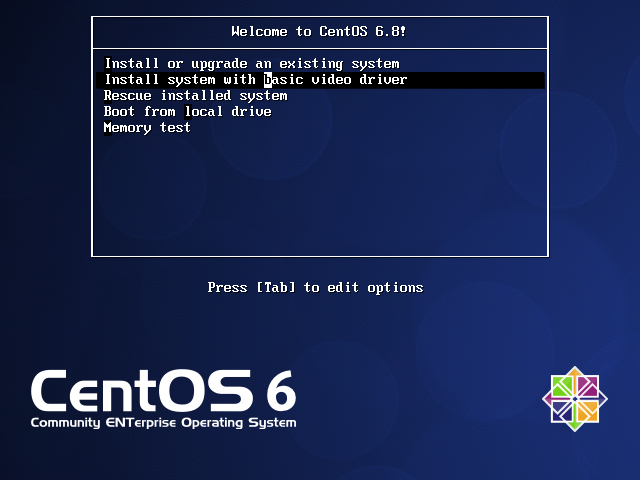
二.安装CentOS系统
选择第二项安装系统,回车

选择略过硬盘检测

选择下一步

选择英语

选择基本存储设备

选择丢弃这些数据

选择主机名

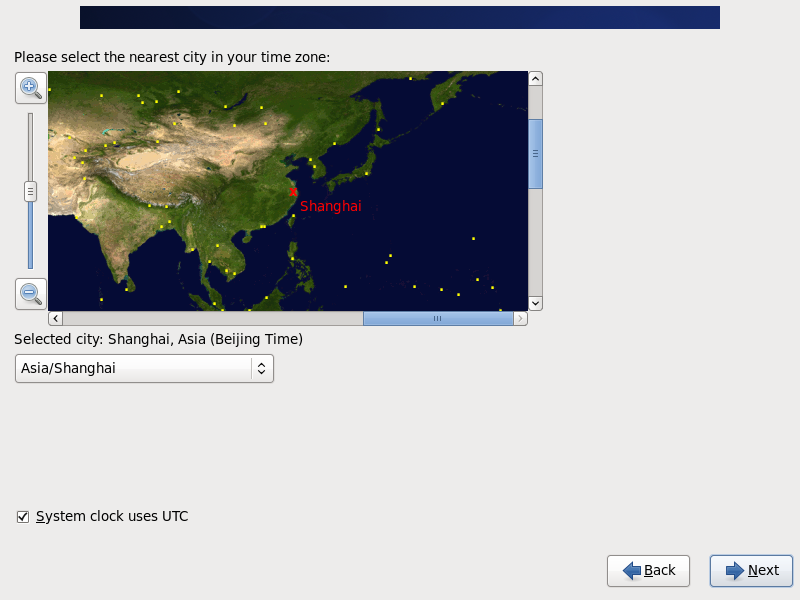
选择上海
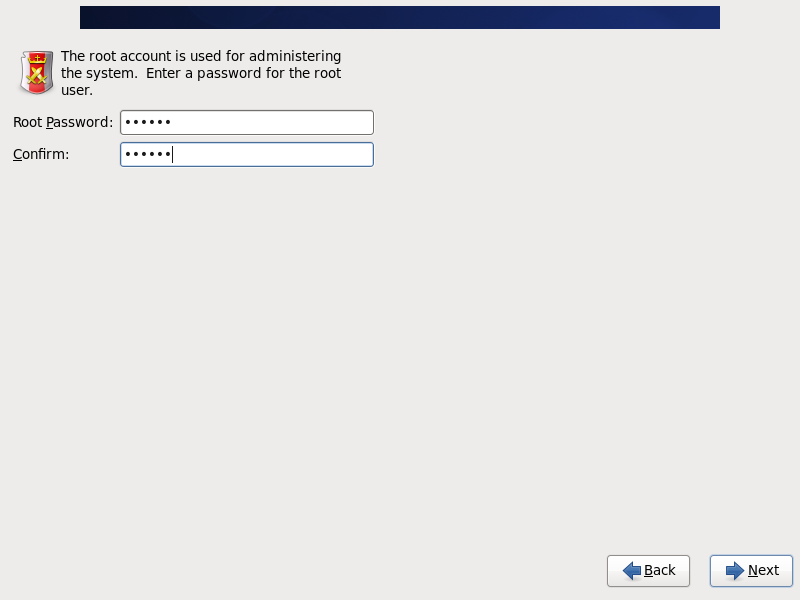
输入密码,确认
选择使用所有空间,左下角勾选回顾分区

使root分区变为150G

选择格式化分区
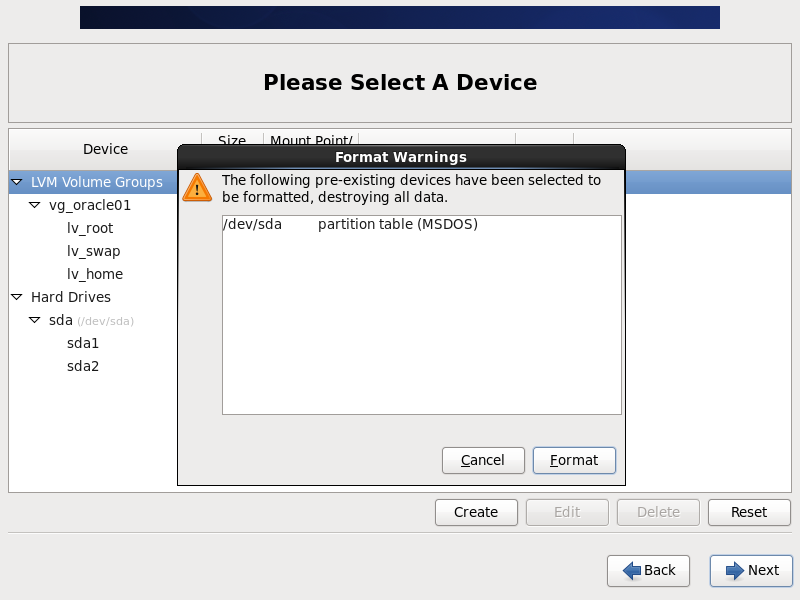
选择下一步
选择下一步

进入安装界面
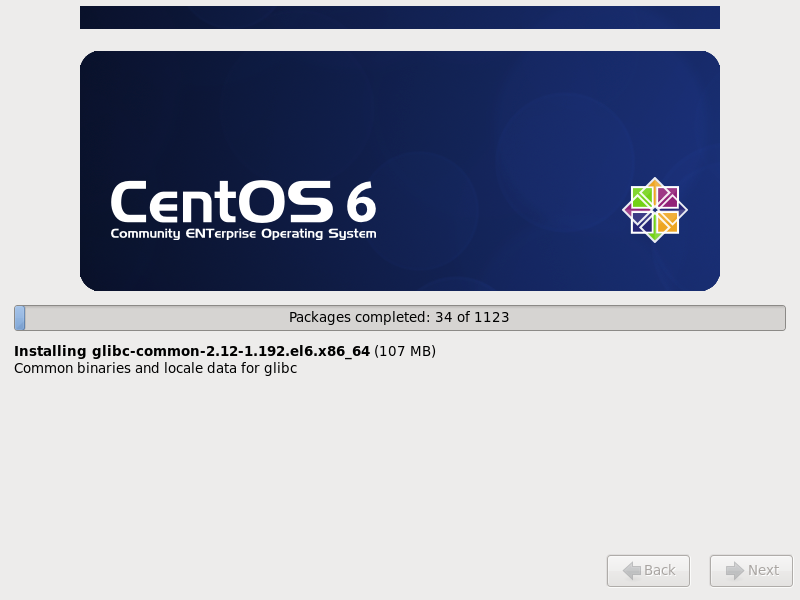
选择reboot进行重启

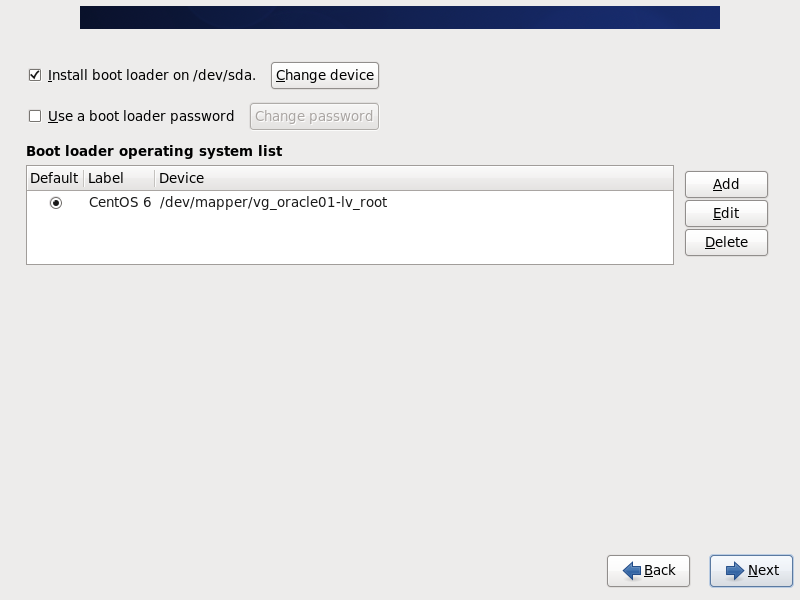
选择下一步

选择下一步

选择下一步
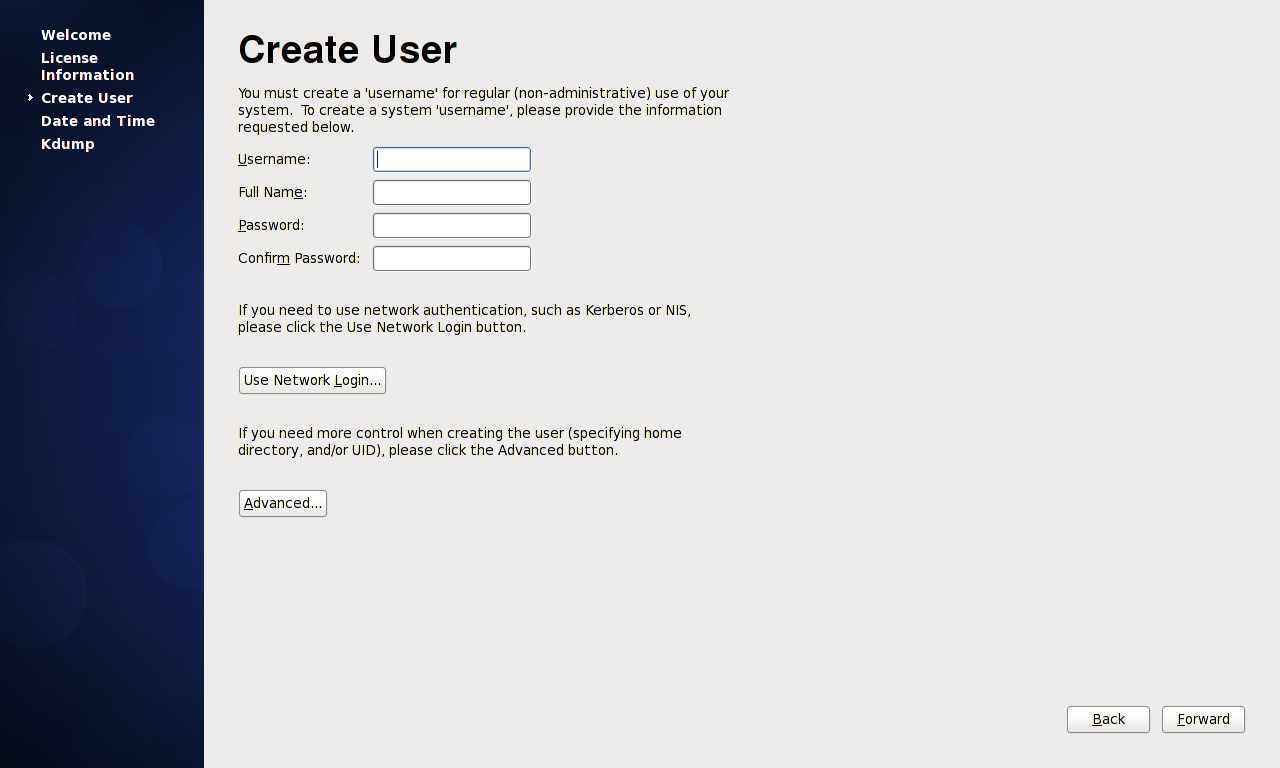
选择下一步
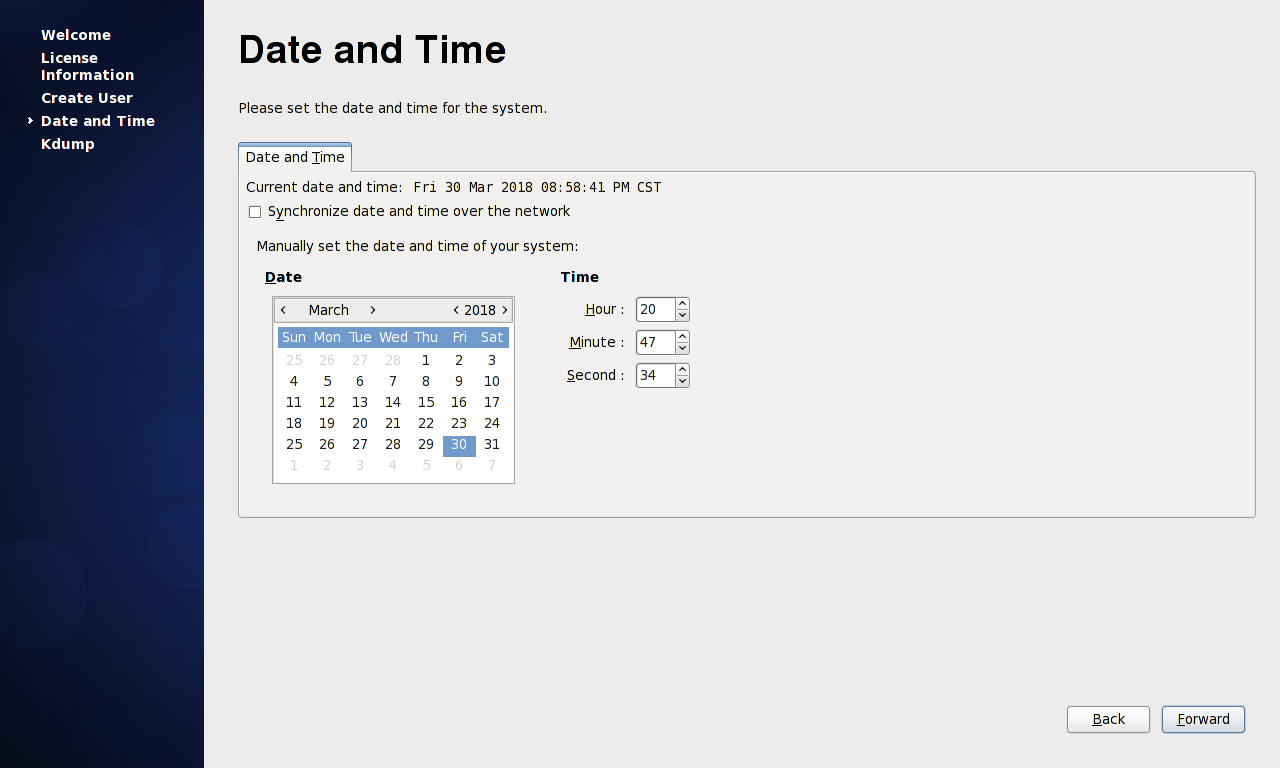
把Enable kdump勾选掉

进入root用户

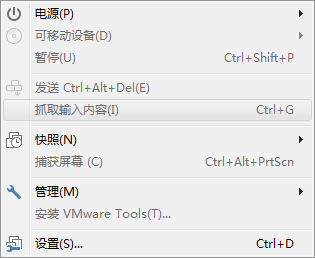
在VM界面 虚拟机选项中 选择安装VMwareTools
把tar.gz文件拖到桌面中
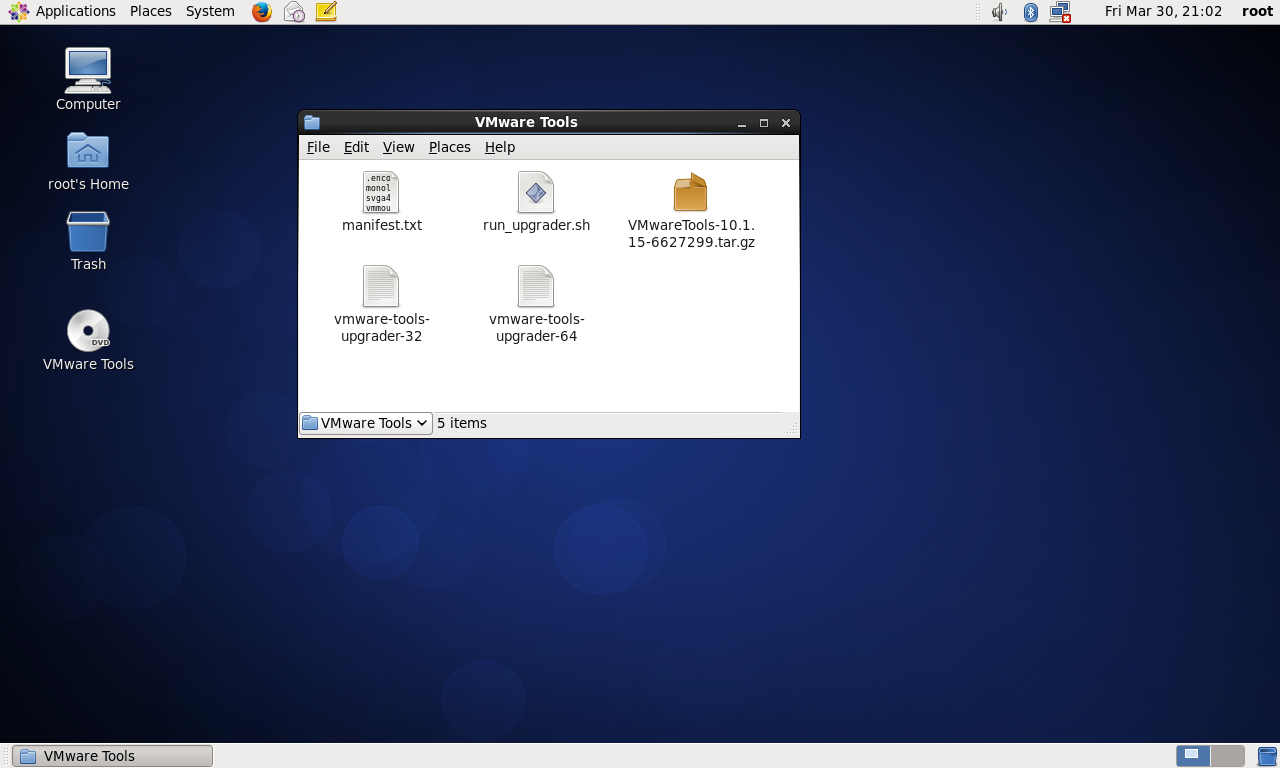
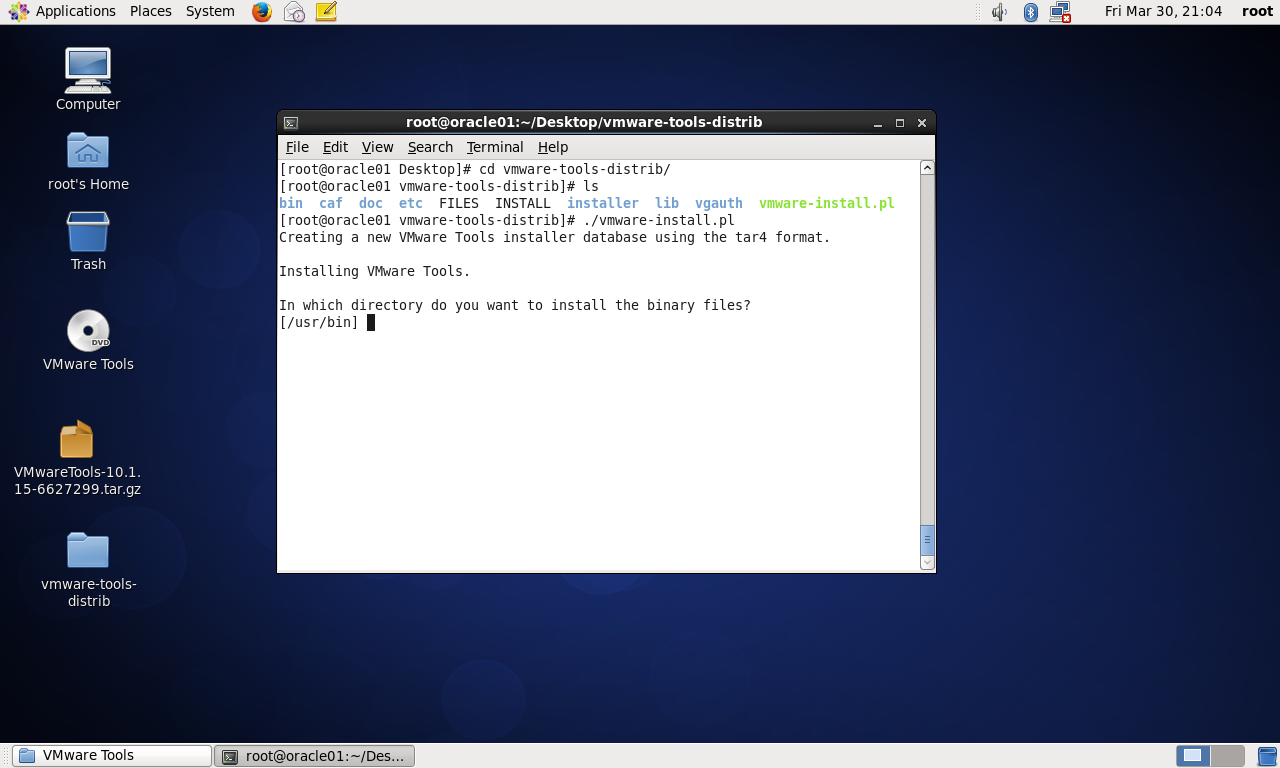
在终端中解压此文件

进入解压得到的文件夹

打开安装文件

后面但凡询问,一律按回车键
安装完成后选择注销用户

重新登录后,将pdk这个rpm包拖进虚拟机桌面
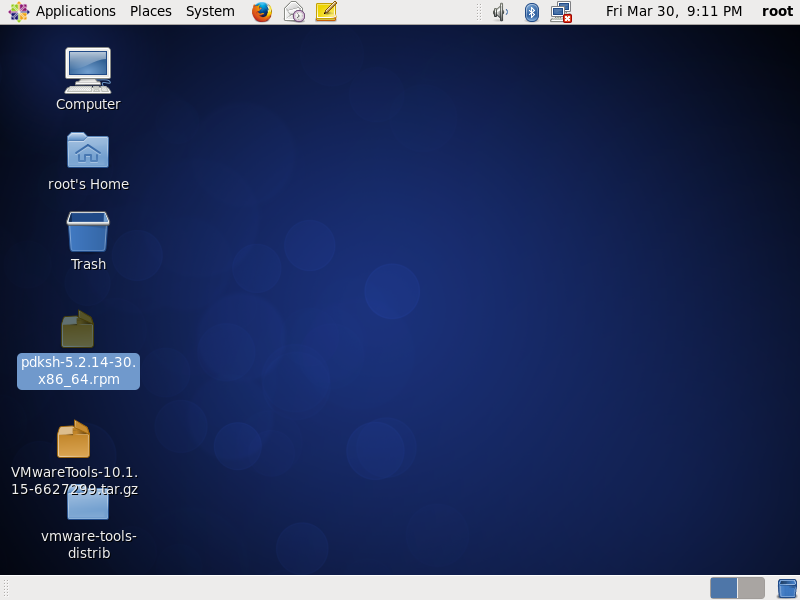
安装此rpm包

打开网络链接设置,勾选Connect automatically

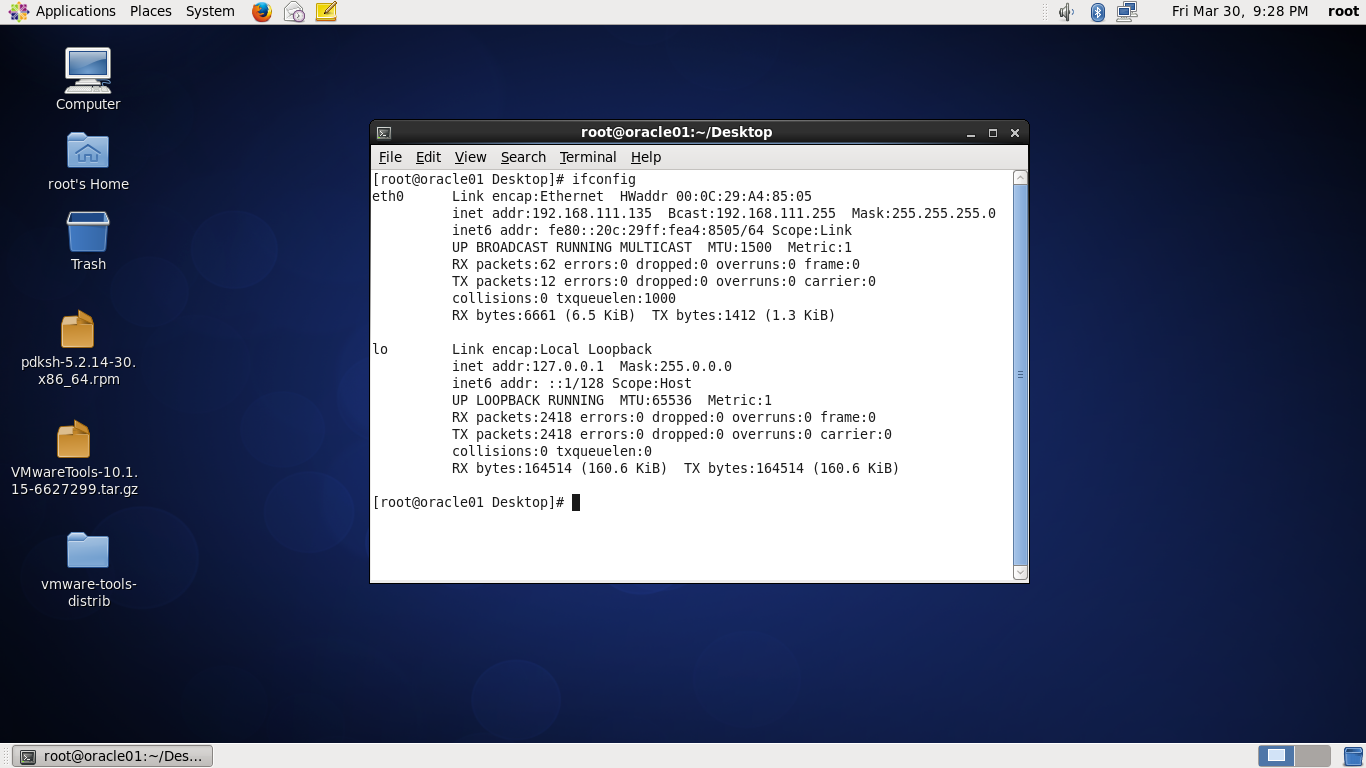
打开ifconfig查看自己的IP
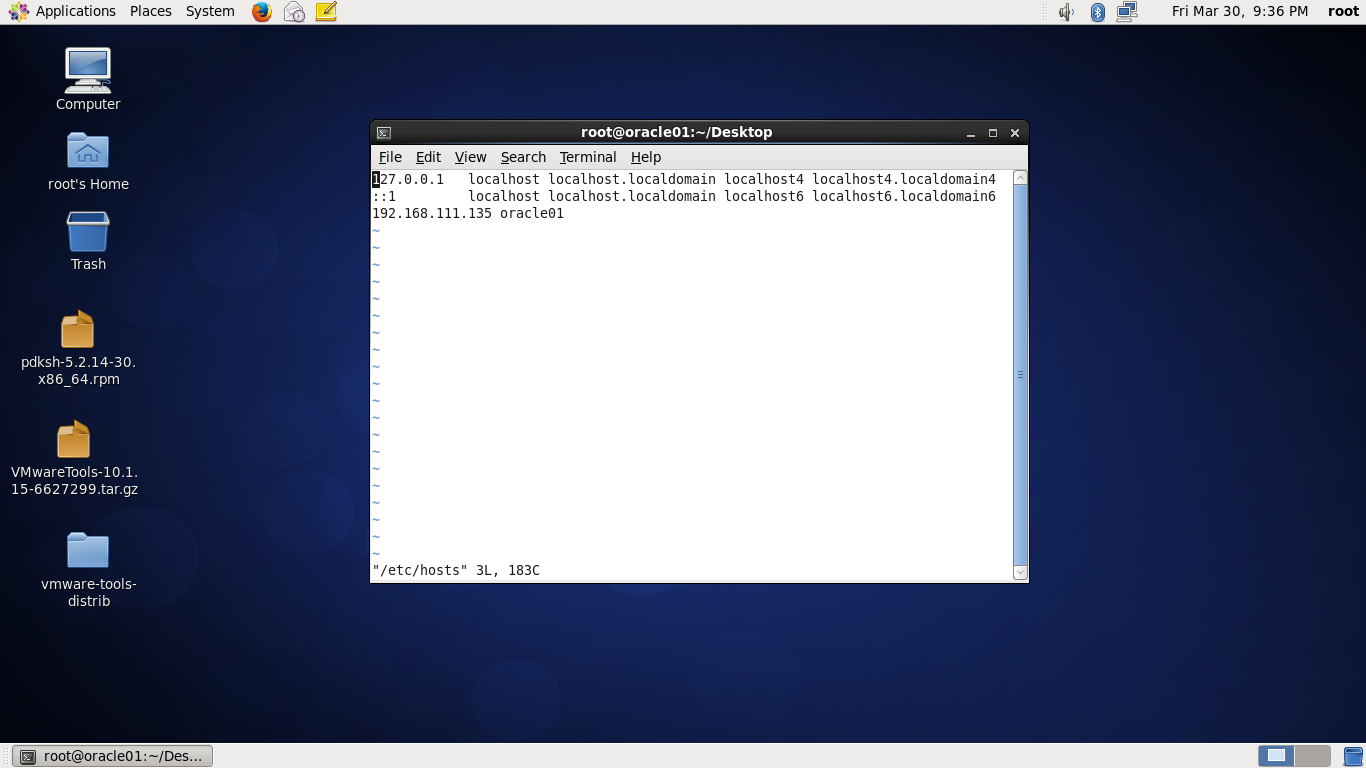
Vi /etc/hosts 把自己的IP地址和主机名写到最后一行
Yum安装这些包

安装完成后,打开selinux/config文件
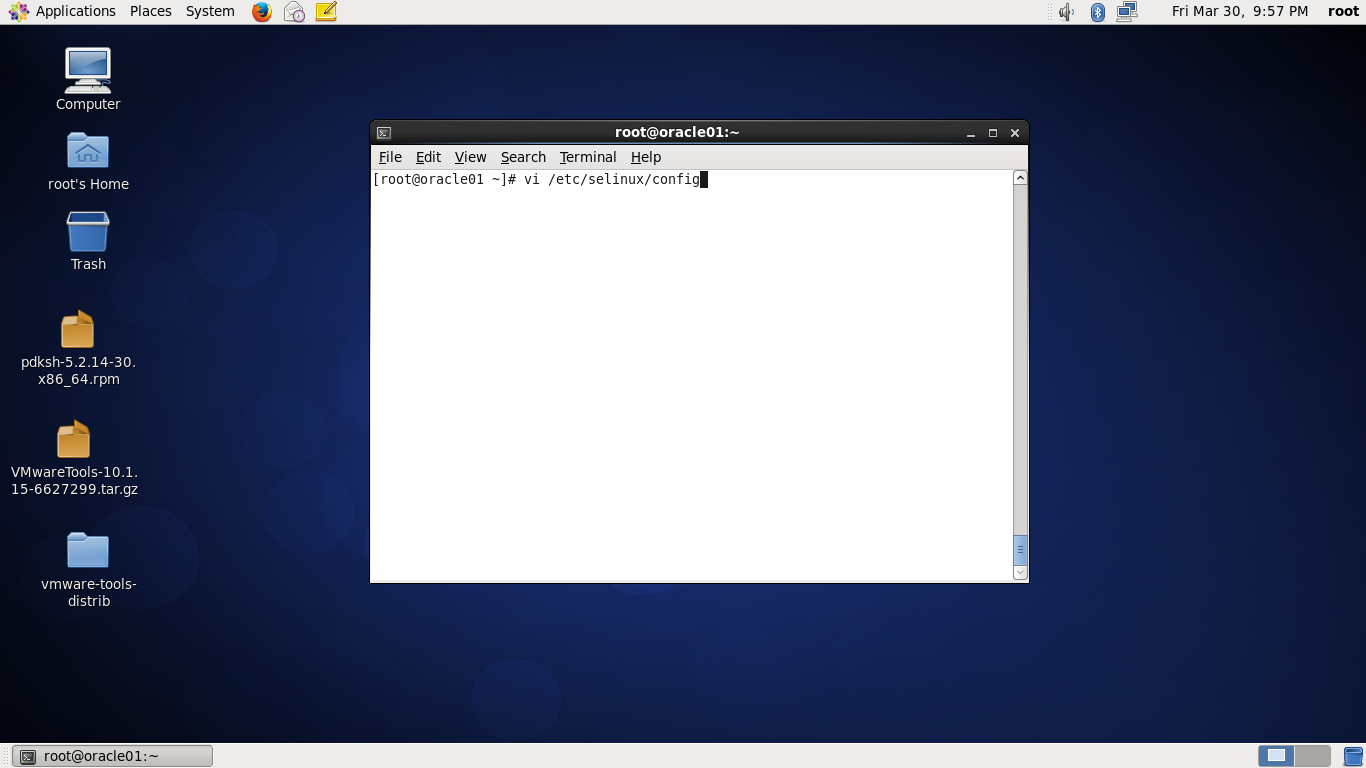
将SELINUX后面改为disabled

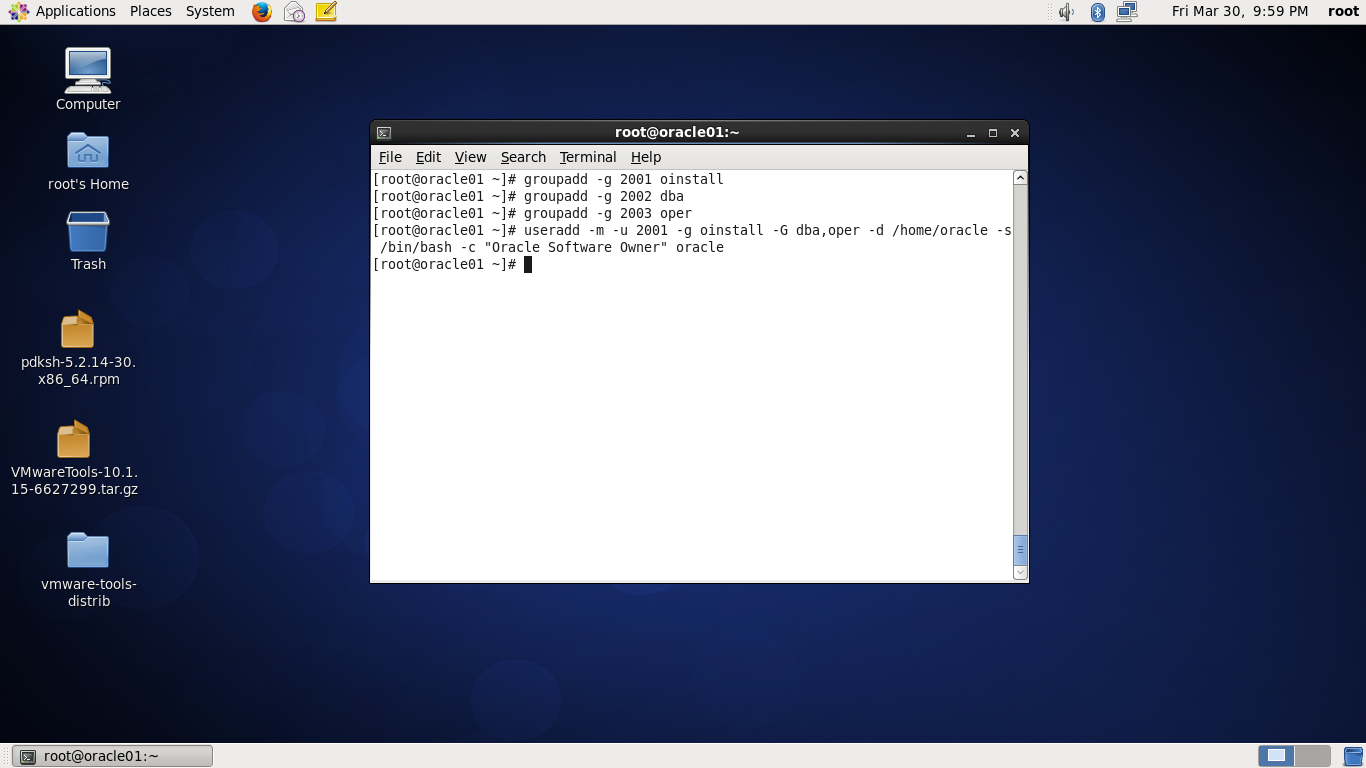
建立用户和组
切换到ORACLE用户

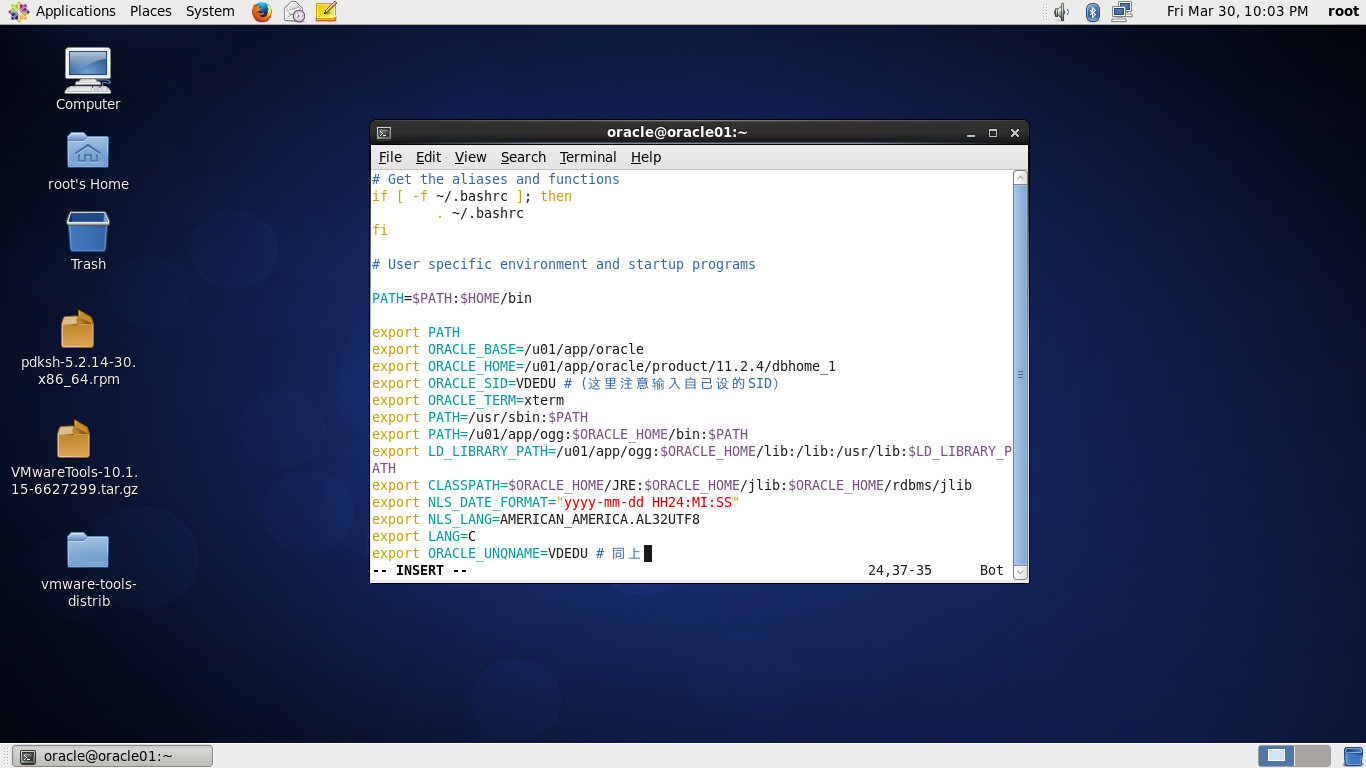
进入.bash_profile

修改为以下参数
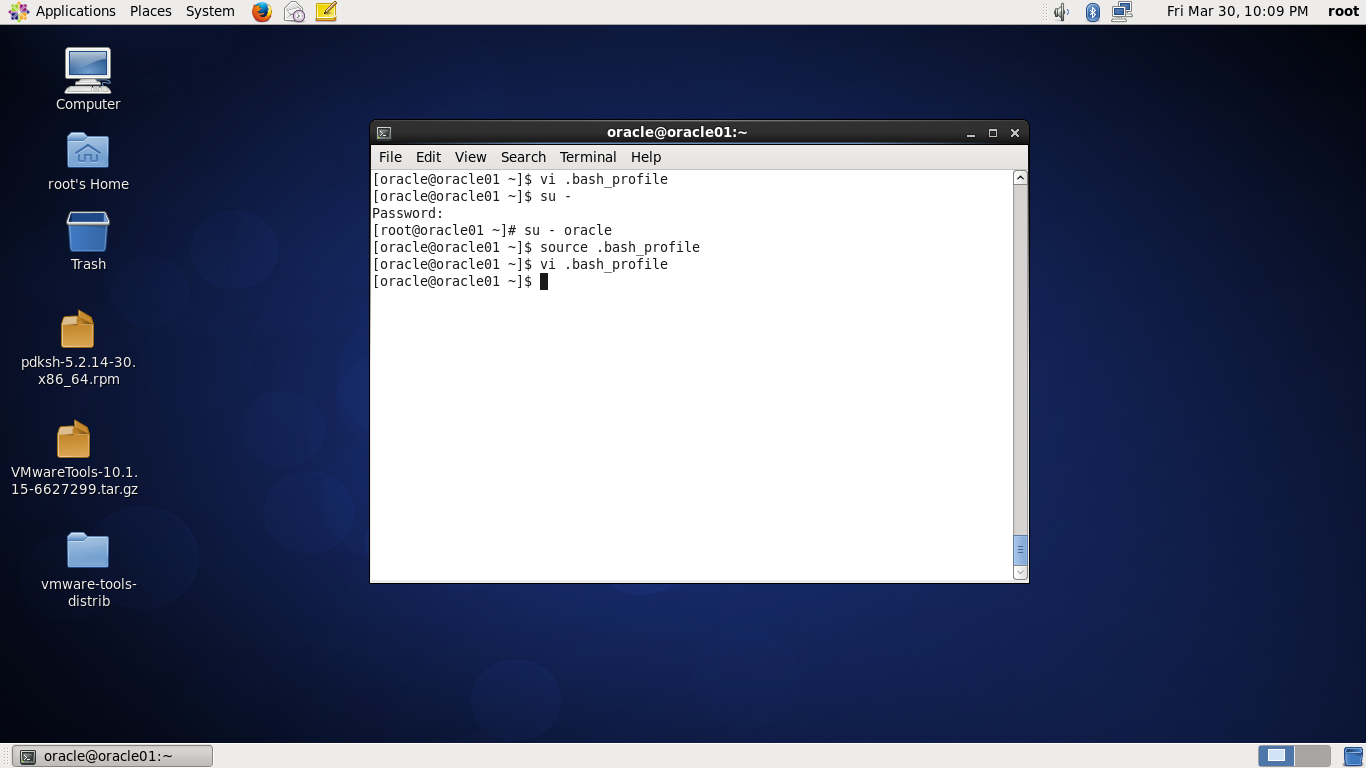
Source .bash_profile
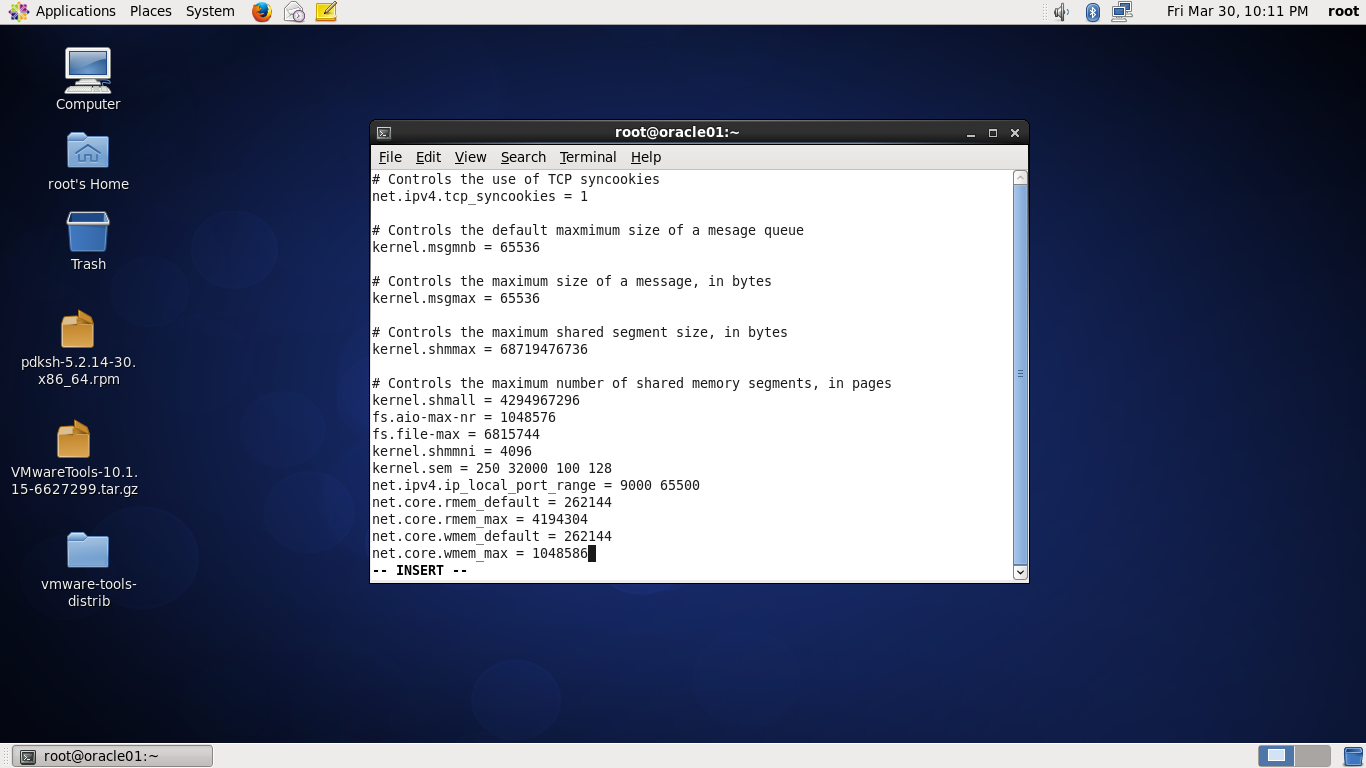
进入sysctl.conf

修改为以下参数
/sbin/sysctl -p

进入limits.conf文件

修改为以下参数

进入pam.d/login文件

修改为以下参数

输入
Export DISPLAY=:0.0
Xhost +

关闭防火墙

用XFTP将ORACLE的安装包传到/home/oracle文件夹下
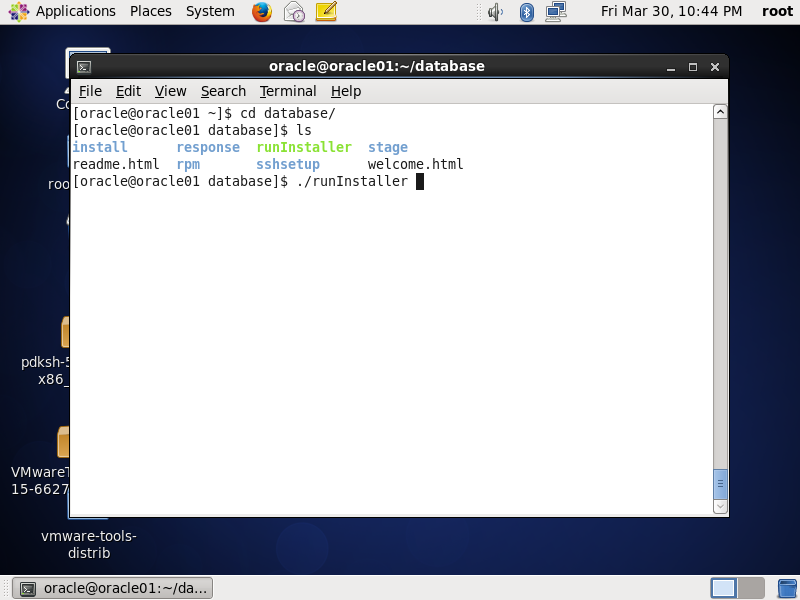
打开终端,分别解压这两个压缩包

解压缩后进入database文件夹 ./runInstaller
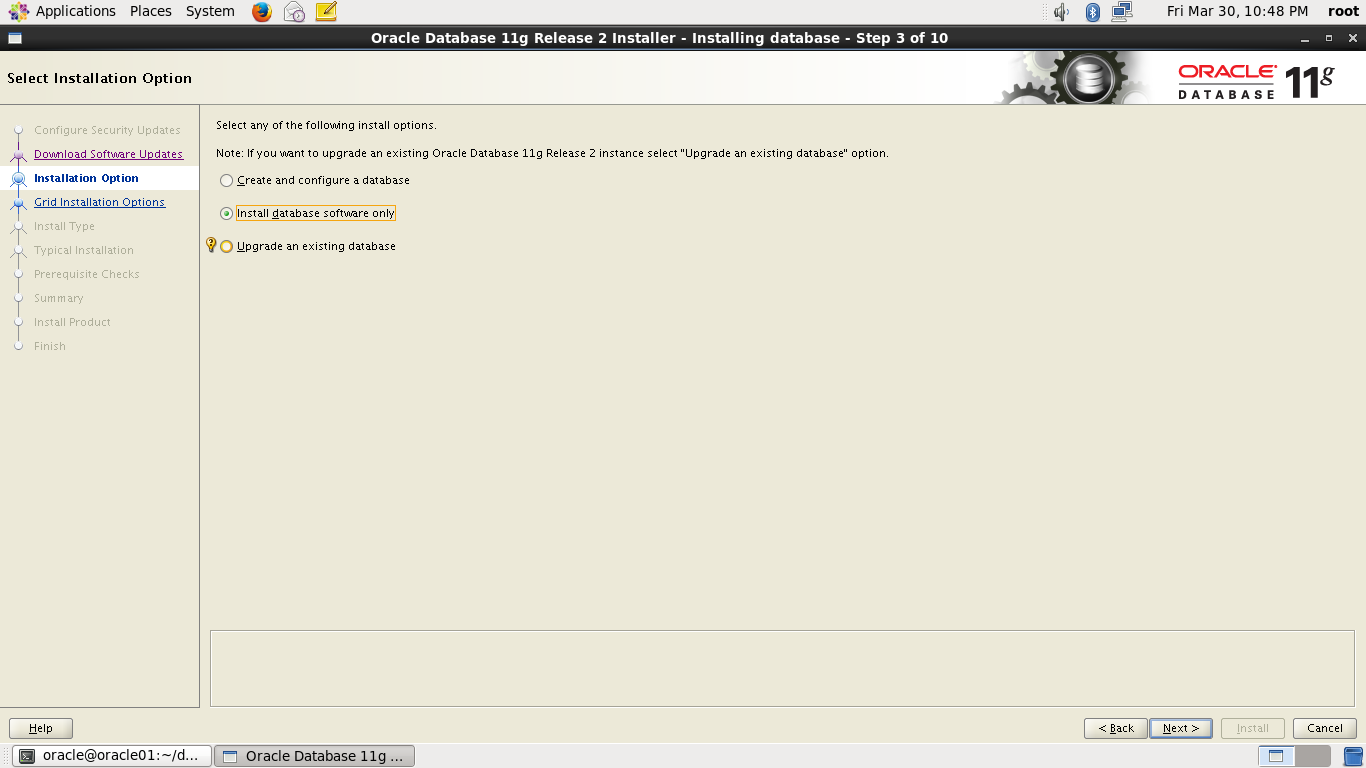
进入ORACLE图形化安装界面,不接受更新,下一步

选择跳过软件更新

选择仅安装数据库软件
选择单实例数据库

选择英语

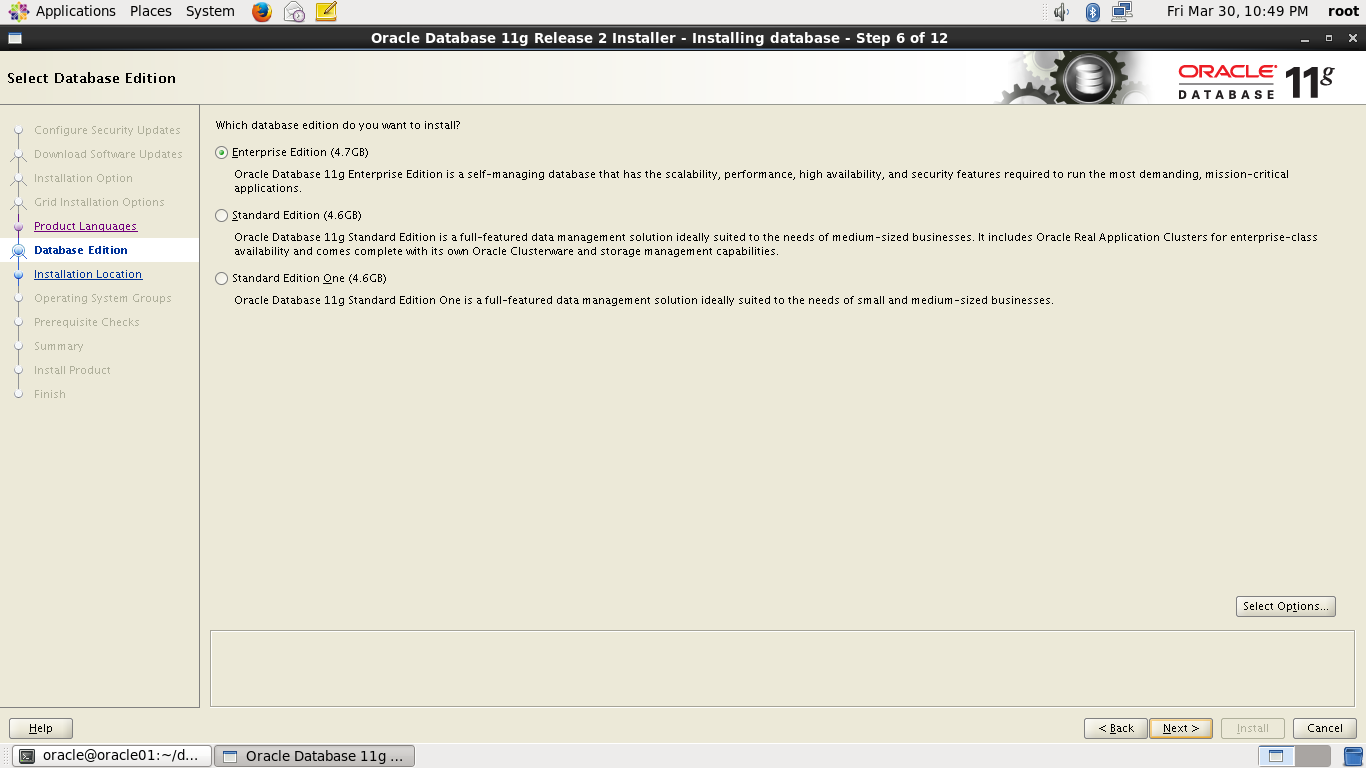
选择企业版
选择下一步
选择下一步

选择下一步

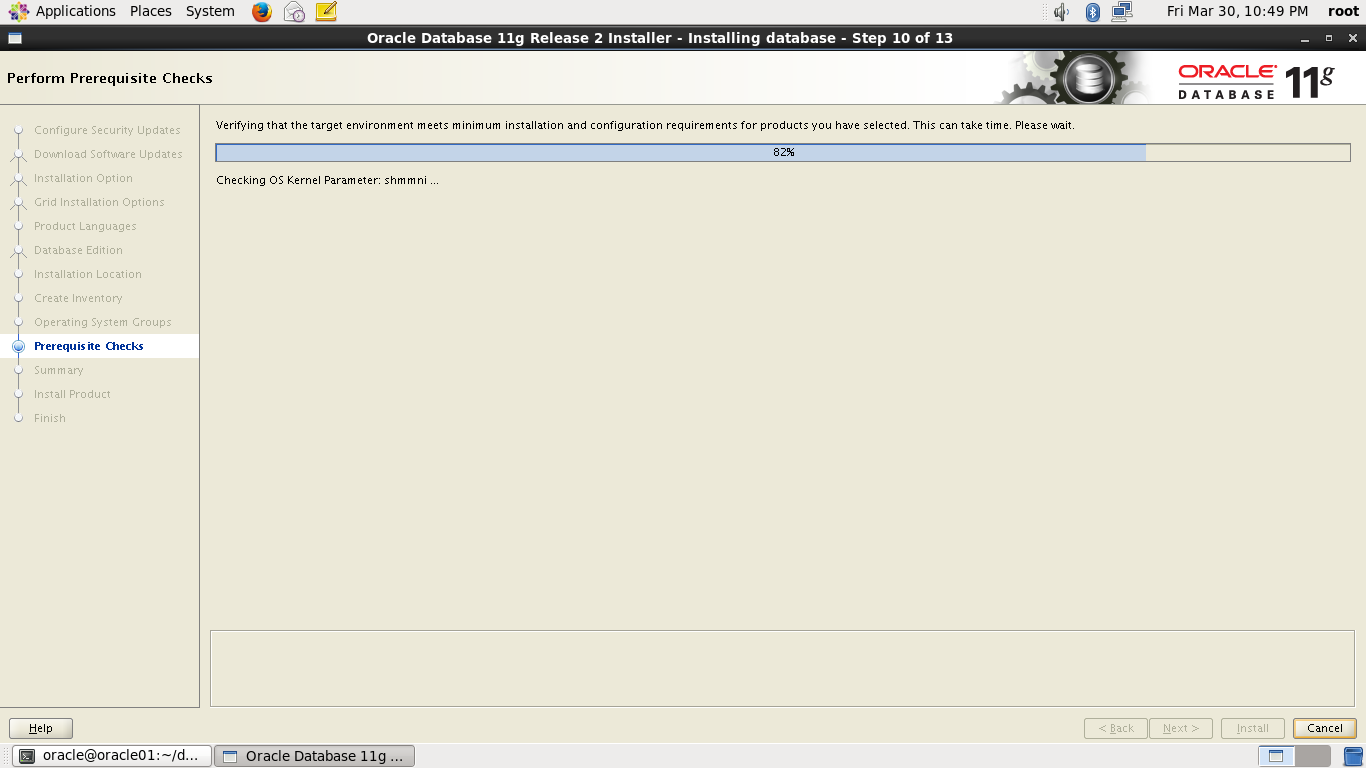
等待安装
选择INSTALL

打开一个新的终端,输入这两行脚本

选择OK

选择CLOSE,完成安装

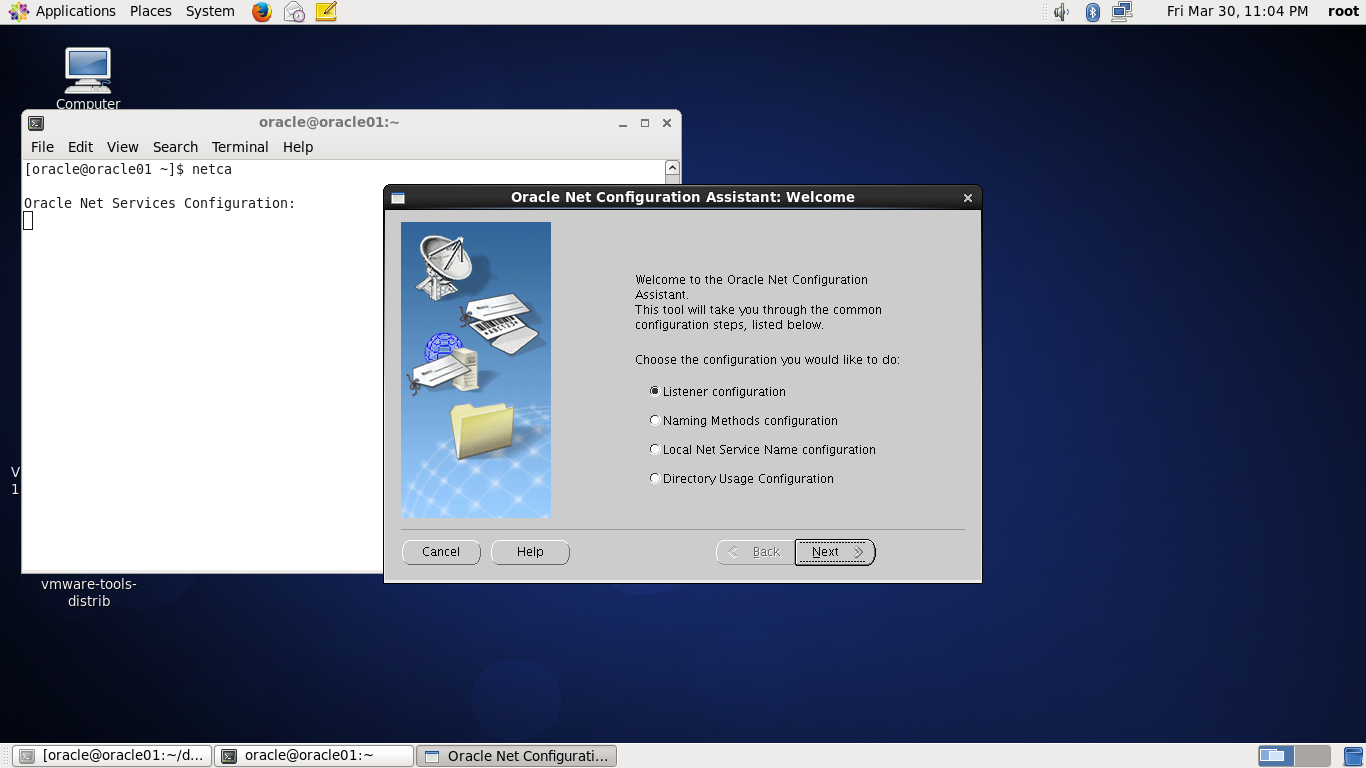
启动监听程序安装

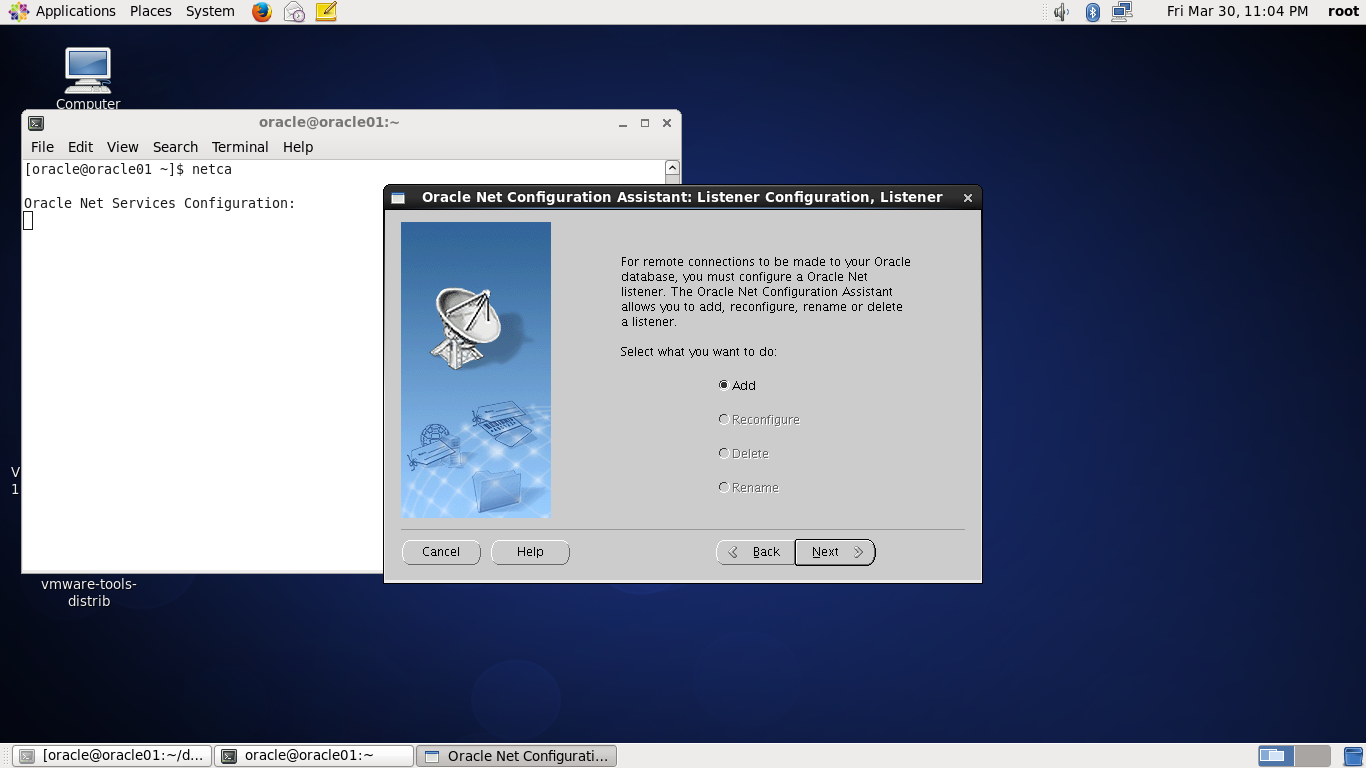
选择下一步
选择下一步
选择下一步

选择下一步

选择下一步

选择下一步

选择下一步,完成安装

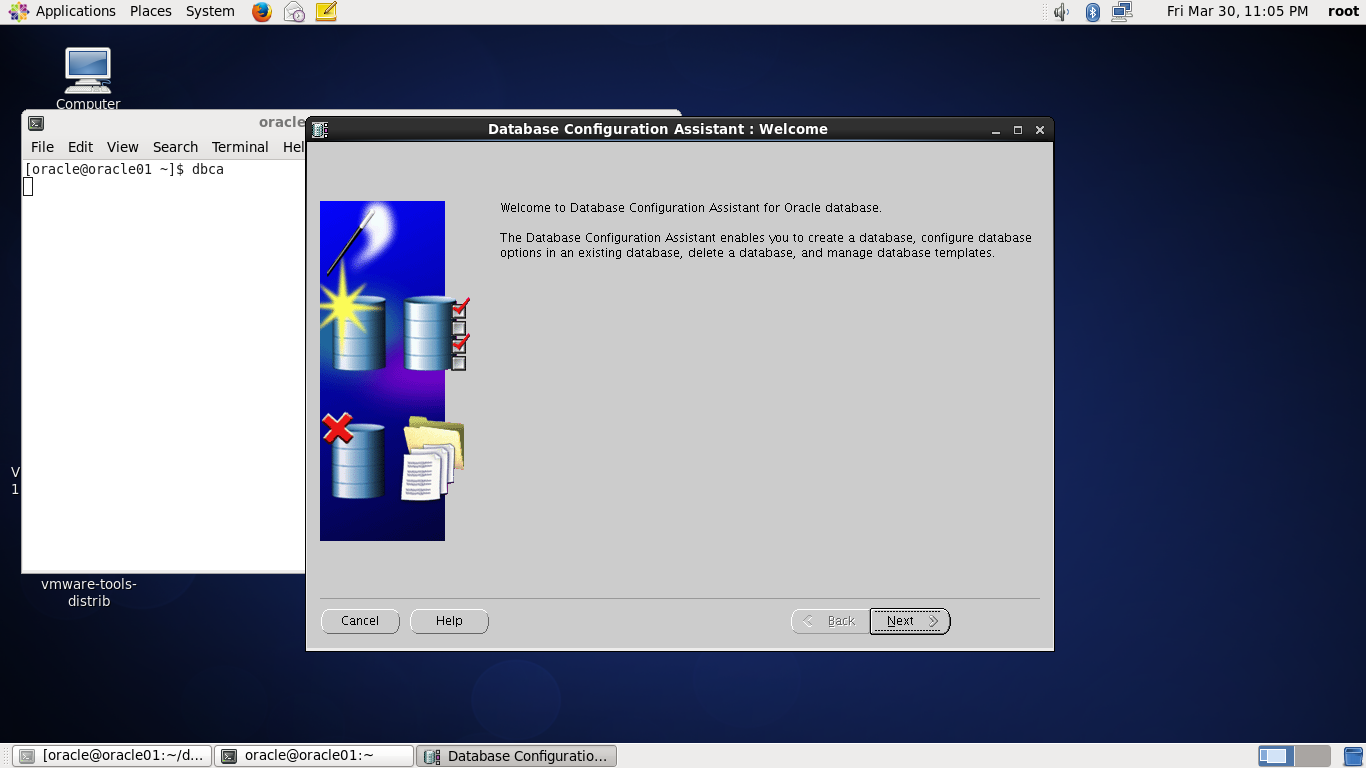
输入dbca,启动数据库配置

选择下一步
选择下一步

选择下一步

输入自己的SID

选择下一步

输入密码并确认
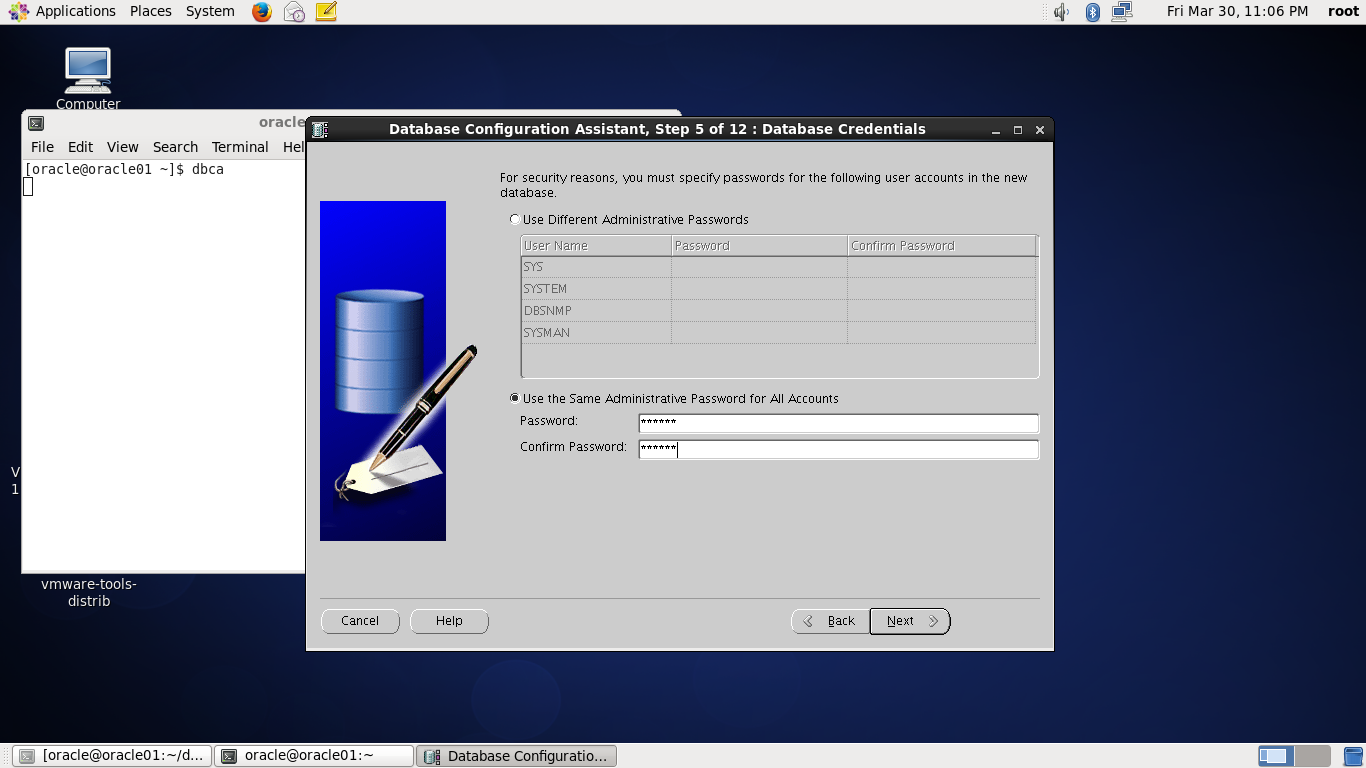
选择下一步

选择下一步

勾选,选择下一步

在character sets中 勾选第三个选项
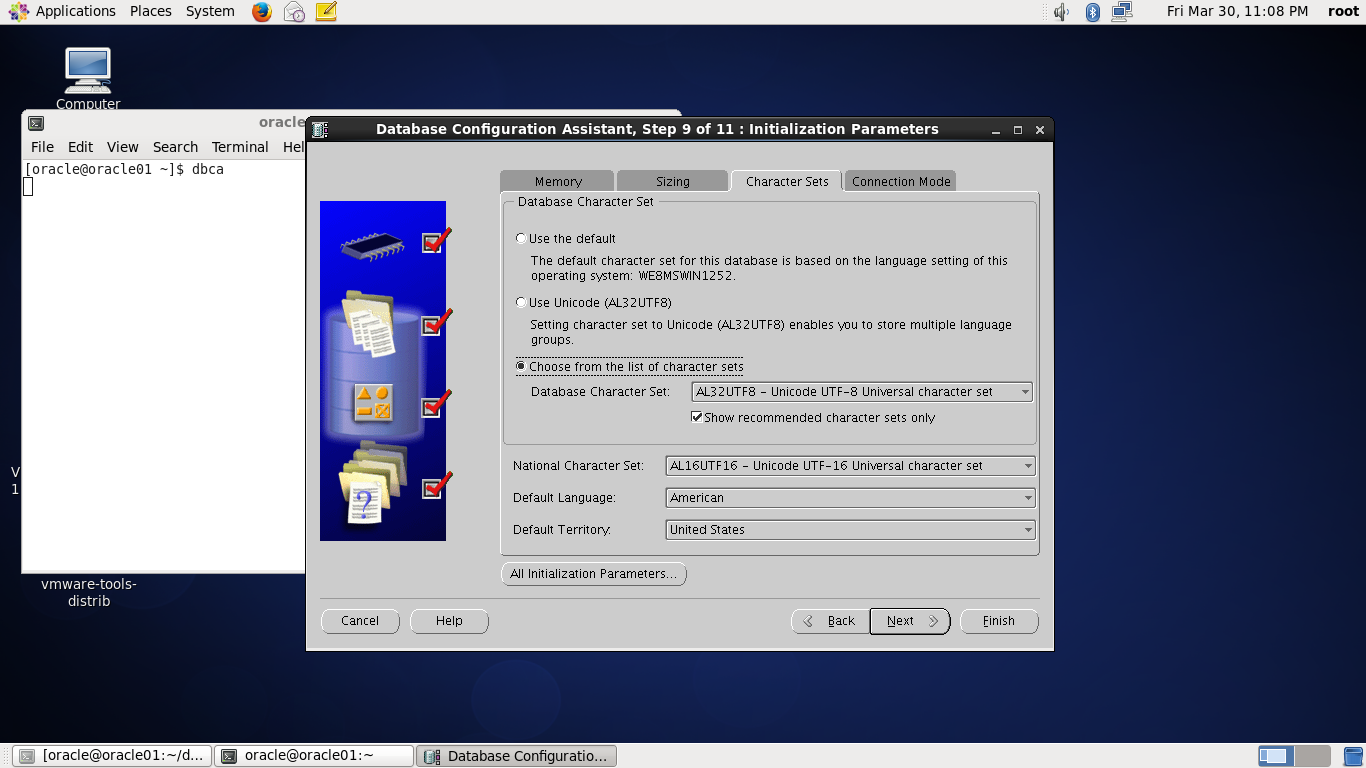
选择下一步

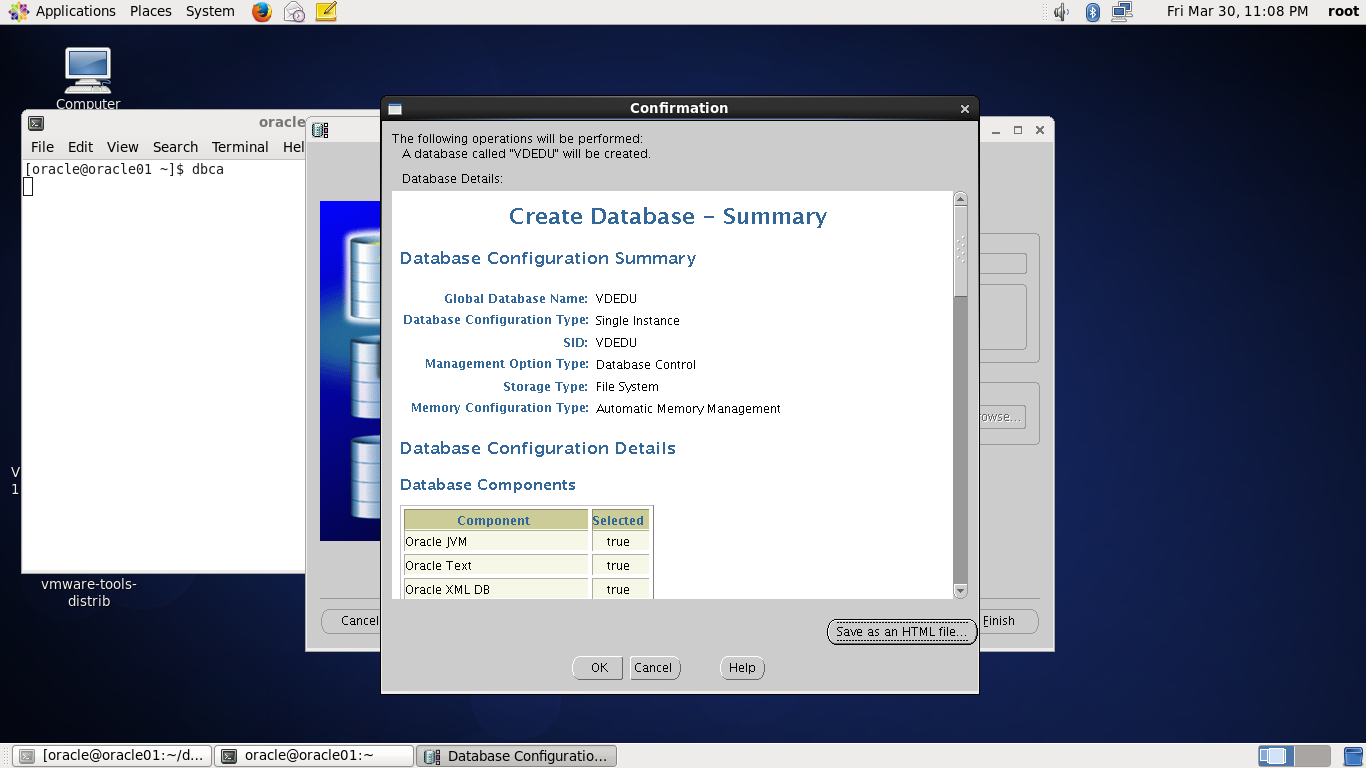
选择下一步

选择OK
等待安装

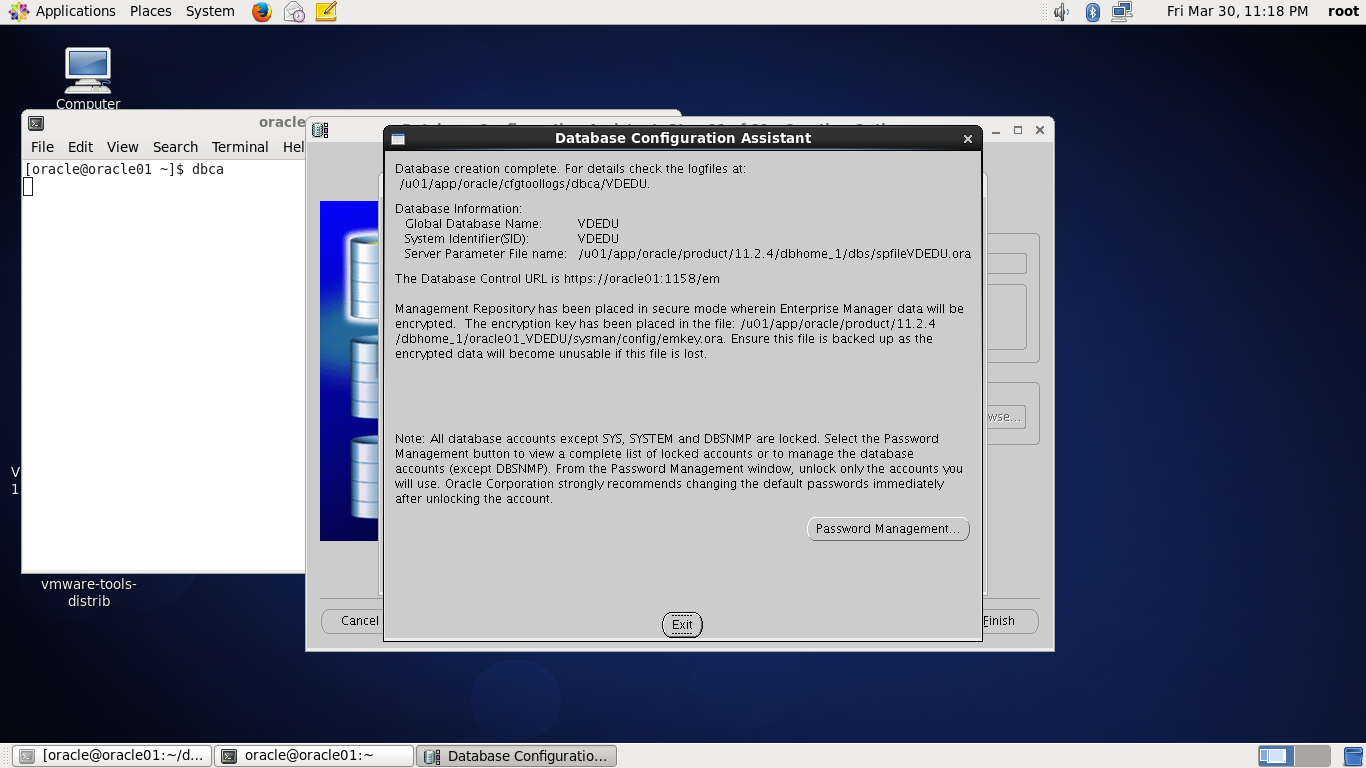
完成安装
附录
以下即为所有文中需要的参数
安装VMtools
打开网络配置
查看ifconfig
vi /etc/hosts 写上IP地址和主机名
ping一下百度
yum install libXp* xterm* unixODBC* sysstat* make* libstdc++* libgomp* libgcc* libaio* kernel-headers* glibc* gcc* elfutils* binutils* bind bind-devel bind-chroot caching-nameserver compat-libcap1* compat-libstdc++-33* openssh* xdpyinfo vi unzip
[root@linux01 ~]# rpm -ivh pdksh-5.2.14-30.x86_64.rpm
warning: pdksh-5.2.14-30.x86_64.rpm: Header V3 DSA/SHA1 Signature, key ID 73307de6: NOKEY
Preparing... ########################################### [100%]
1:pdksh ########################################### [100%]
[root@linux01 ~]#cat /etc/selinux/config
# This file controls the state of SELinux on the system.
# SELINUX= can take one of these three values:
# enforcing - SELinux security policy is enforced.
# permissive - SELinux prints warnings instead of enforcing.
# disabled - No SELinux policy is loaded.
SELINUX=disabled
# SELINUXTYPE= can take one of these two values:
# targeted - Targeted processes are protected,
# mls - Multi Level Security protection.
[root@linux01 ~]# groupadd -g 2001 oinstall
[root@linux01 ~]# groupadd -g 2002 dba
[root@linux01 ~]# groupadd -g 2003 oper
[root@linux01 ~]# useradd -m -u 2001 -g oinstall -G dba,oper -d /home/oracle -s /bin/bash -c "Oracle Software Owner" oracle
[root@linux01 ~]# passwd oracle
更改用户 oracle 的密码 。
新的 密码:
无效的密码: 它基于字典单词
无效的密码: 过于简单
重新输入新的 密码:
passwd: 所有的身份验证令牌已经成功更新。
[root@linux01 ~]# mkdir -p /u01/app/oracle
[root@linux01 ~]# chown -R oracle:oinstall /u01
[root@linux01 ~]# chmod -R 775 /u01
[root@linux01 ~]# su - oracle
[oracle@linux01 ~]$ vi .bash_profile
# .bash_profile
# Get the aliases and functions
if [ -f ~/.bashrc ]; then
. ~/.bashrc
fi
# User specific environment and startup programs
PATH=$PATH:$HOME/bin
export PATH
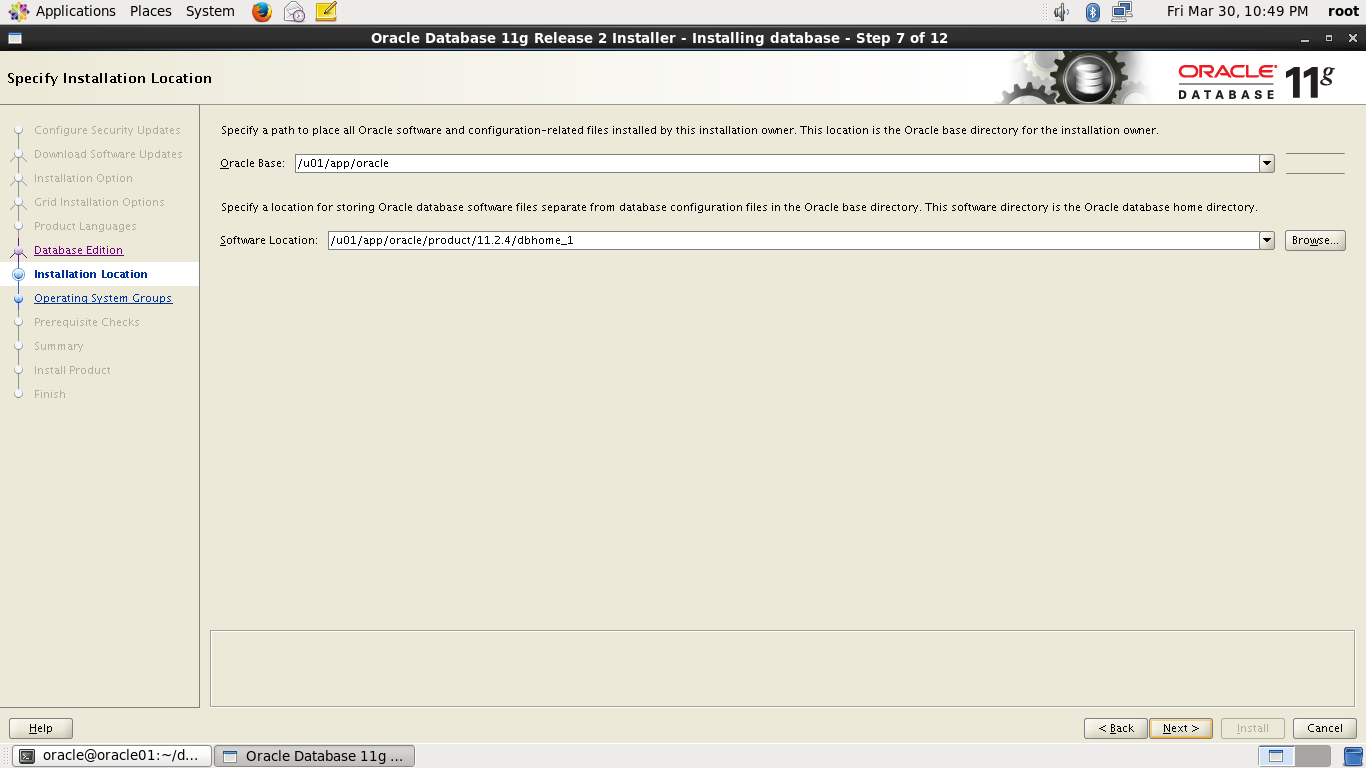
export ORACLE_BASE=/u01/app/oracle
export ORACLE_HOME=/u01/app/oracle/product/11.2.4/dbhome_1
export ORACLE_SID=VDEDU # (这里注意输入自己设的SID)
export ORACLE_TERM=xterm
export PATH=/usr/sbin:$PATH
export PATH=/u01/app/ogg:$ORACLE_HOME/bin:$PATH
export LD_LIBRARY_PATH=/u01/app/ogg:$ORACLE_HOME/lib:/lib:/usr/lib:$LD_LIBRARY_PATH
export CLASSPATH=$ORACLE_HOME/JRE:$ORACLE_HOME/jlib:$ORACLE_HOME/rdbms/jlib
export NLS_DATE_FORMAT="yyyy-mm-dd HH24:MI:SS"
export NLS_LANG=AMERICAN_AMERICA.AL32UTF8
export LANG=C
export ORACLE_UNQNAME=VDEDU # 同上
source .bash_profile 刷新一下文件
[oracle@linux01 ~]su -
[root@linux01 ~]#vi /etc/sysctl.conf
fs.aio-max-nr = 1048576
fs.file-max = 6815744
kernel.shmmni = 4096
kernel.sem = 250 32000 100 128
net.ipv4.ip_local_port_range = 9000 65500
net.core.rmem_default = 262144
net.core.rmem_max = 4194304
net.core.wmem_default = 262144
net.core.wmem_max = 1048586
[root@linux01 ~]# /sbin/sysctl -p
[root@linux01 ~]# vi /etc/security/limits.conf
oracle soft nproc 2047 # 警告设定所有用户最大打开进程数为2047
oracle hard nproc 16384 # 严格设定所有用户最大打开进程数为16384
oracle soft nofile 1024 # 警告设定所有用户最大打开文件数为1024
oracle hard nofile 65536 # 严格设定所有用户最大打开文件数为65536
#soft 表示警告的设定,可以超过这个设定值,但是超过会有警告信息
#hard 表示严格的设定,必定不能超过这个设定的值
[root@linux01 ~]# vi /etc/pam.d/login
session required /lib64/security/pam_limits.so
#要使 limits.conf 文件配置生效,必须要确保pam_limits.so文件被加入到启动文件中。
#查看 /etc/pam.d/login 文件中有:
#session required /lib/security/pam_limits.so
export DISPLAY=:0.0
xhost +
关闭防火墙