author : headsen chen
date : 2018-04-12 09:40:14
一,服务端安装和配置:
环境准备:
systemctl stop firewalld
systemctl disable firewalld
getenforce -->0
安装:
yum -y install rpcbind
yum install -y nfs-utils
编写配置文件
vim /etc/exports
/data 192.168.1.0/24(rw,sync,no_root_squash)
注解:
/data 共享的目录
* :任何人,192.168.1.0这个网段的都可以过来连接
rw :读写权限
sync:资料会先暂存于内存中,而非直接写入硬盘。又有:实时和客户端同步。
no_root_squash:当登录NFS主机使用共享目录的使用者是root时,其权限将被转换成为匿名使用者,通常它的UID与GID 都会变成nobody身份。
启动nfs服务
先为rpcbind和nfs做开机启动:(必须先启动rpcbind服务)
systemctl enable rpcbind.service
systemctl enable nfs-server.service
然后分别启动rpcbind和nfs服务:
systemctl start rpcbind.service
systemctl start nfs-server.service
确认NFS服务器启动成功:
exportfs -rv

二、在客户机上安装NFS 客户端
关闭防火墙:
systemctl stop firewalld
systemctl disable firewalld
安装nfs
yum -y install nfs-utils rpcbind
先为rpcbind做开机启动:
systemctl enable rpcbind.service
systemctl start rpcbind.service
注意:客户端不需要启动nfs服务
检查 NFS 服务器端是否有目录共享:showmount -e nfs服务器的IP
showmount -e 192.168.115.249

在从机上使用 mount 挂载服务器端的目录/home/nfs到客户端某个目录下:
mkdir /home/nfs
mount -t nfs 192.168.115.249:/website /home/nfs
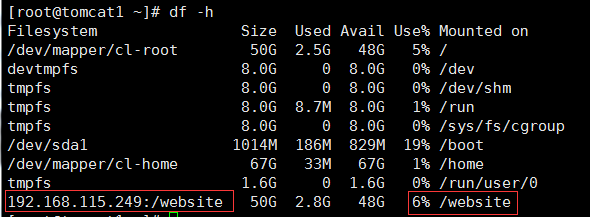
查看是否挂载成功
df -h
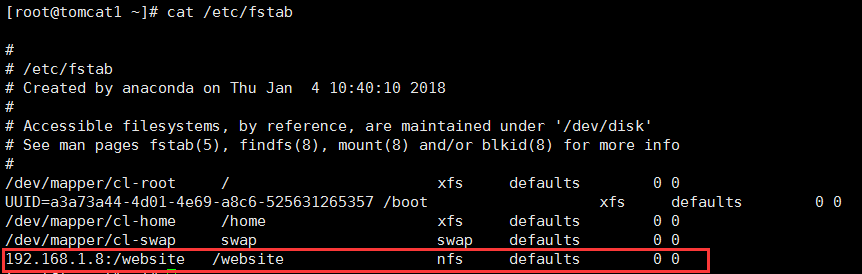
添加到开机自启动挂载
echo "192.168.115.249:/website /home/nfs nfs defaults 0 0" >>/etc/fstab
cat /etc/fstab