大前堤:
如果你需要airtest提供的可视化测试报告,那你的操作系统,一定要有图形化界面.
否则运行你的airtest脚本 会遇到这样的问题
Xlib.error.DisplayNameError: Bad display name ""
你可能百度之后 遇到了xhost +命令
执行这个命令后,再运行测试脚本,又遇到这个问题

然后再百度,原来.Xauthority Xlib模块都是有操作系统图形化界面的模块
再看看为什么会报这个错呢?
因为在airtest_selenium模块下的proxy.py文件调用了这一句代码
from pynput.mouse import Controller, Button
pynput又是干什么的,是和鼠标键盘相关的模块
既然你的操作系统无图形化界面,而使用airtest_selenium又需要图形化界面,这就冲突了.
注释掉airtest_selenium关于pynput的相关代码会发现,程序可以跑了,但是生成的可视化报告就是这样的

所以如果你不需要 可视化的测试 报告,通过 修改proxy.py文件,你的airtest脚本是可以在无图形化的界面的linux系统跑的.如果你需要可视化报告,则可能需要在其它的有图形界面的系统中运行airtest web测试脚本
step1
创建虚拟环境 airtestVenv
mkvirtualenv airtestVenv
列出所有虚拟环境
lsvirtualenv
在虚拟环境中安装airtest pocoui
切换到airtestVenv虚拟环境
workon airtestVenv
pip3install airtest
pip3install pocoui
pip3 install selenium
pip3 install airtest_selenium
pip3 install pynput #有图形化界面的操作系统安装,无图形化界面安装也没用,会报错的
验证安装成功:
(airtestVenv) [root@67 wangju]# airtest
usage: airtest [-h] {run,info,report} ...

positional arguments:
  {run,info,report}  run/info/report
    run              run script
    info             get & print author/title/desc info of script
    report           generate report of script

optional arguments:
  -h, --help         show this help message and exit

step2:
安装chrome
参考:
https://blog.csdn.net/diyiday/article/details/83824878
1.安装浏览器
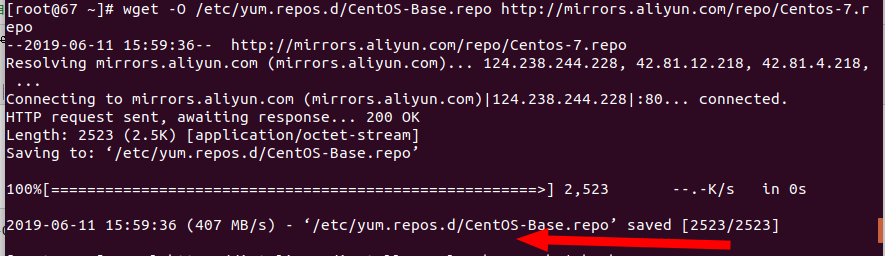
指定yum 源
[root@67 ~]# wget -O /etc/yum.repos.d/CentOS-Base.repo http://mirrors.aliyun.com/repo/Centos-7.repo
安装
[root@67 ~]# curl https://intoli.com/install-google-chrome.sh | bash

验证安装情况
[root@67 ~]# google-chrome-stable --no-sandbox --headless --disable-gpu --screenshot https://www.baidu.com/

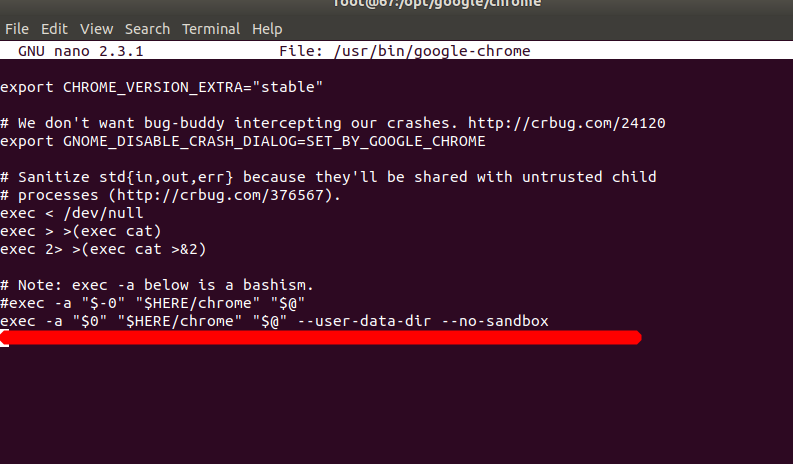
解决问题
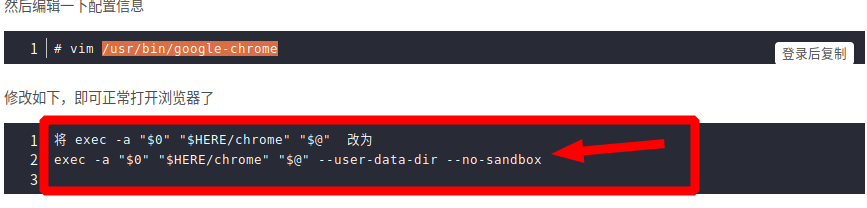
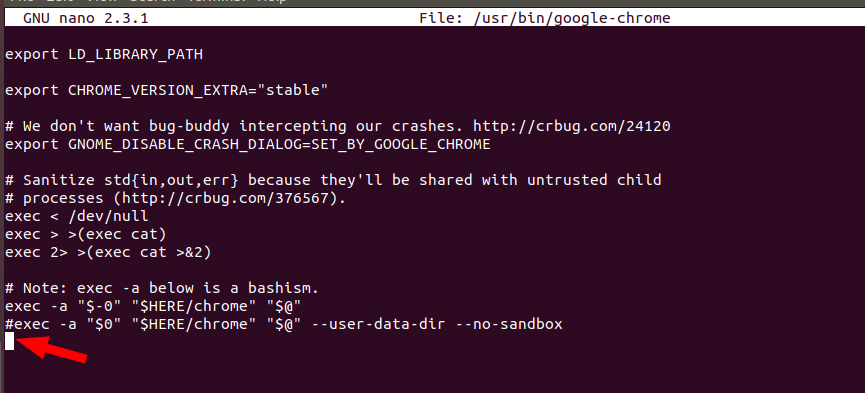
nano /usr/bin/google-chrome
修改如下,即可正常打开浏览器了
将 exec -a "$0" "$HERE/chrome" "$@"  改为
exec -a "$0" "$HERE/chrome" "$@" --user-data-dir --no-sandbox
再次使用命令打开chrome浏览器
[root@67 ~]# google-chrome-stable --no-sandbox --headless --disable-gpu --screenshot https://www.baidu.com/
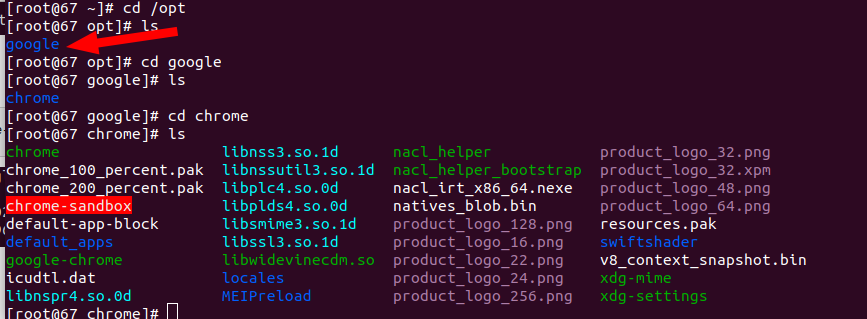
正常打开网页了

安装完成后在/opt目录下生成google安装目录
安装chromedriver
查看当前chrome版本
需选择与chrome对应的版本安装,
[root@67 ~]# google-chrome --version
Google Chrome 75.0.3770.80

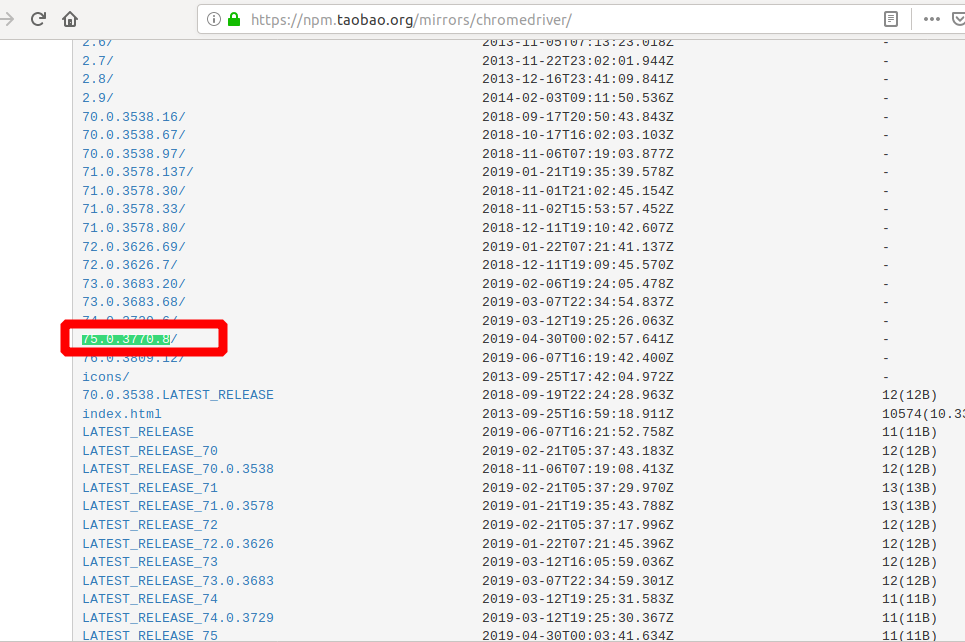
我的chrome版本75.0.3770.8
下载地址:https://npm.taobao.org/mirrors/chromedriver/
在页面搜索75.0.3770.8

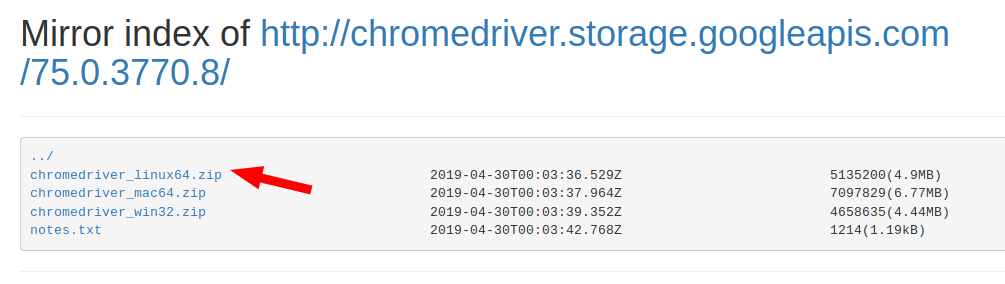
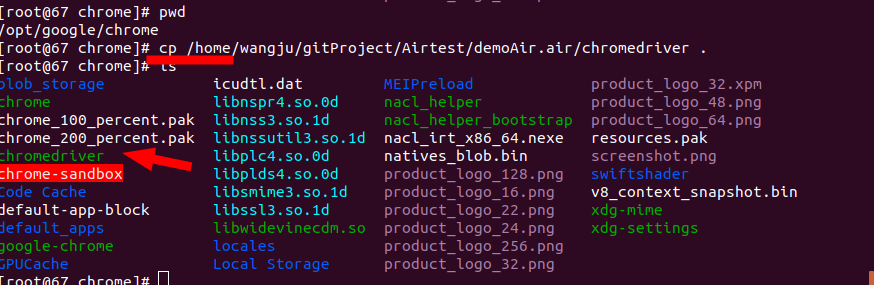
将下载在本地的webdriver传送至服务器
scp -r ./chromedriver root@10.2.1.92:/home/wangju/gitProject/Airtest/demoAir.air

如果下载在服务器使用unzip 解压
unzip chromedriver_linux64.zip
验证安装情况
./chromedriver
如图所示,即安装成功

建立软连接:
才明白原来linux的软链接就相当于windows的快捷方式呀
ln -s /opt/google/chromedriver /usr/bin/chromedriver
step3使用测试脚本测试
偷懒没有使用绝对路径,使用的相对路径,所以要自己切换路径
当前文件夹是demoAir.air
别忘记切换到airtest的虚拟环境

先运行一个selenium脚本测试
报错了
selenium.common.exceptions.WebDriverException: Message: unknown error: DevToolsActivePort file doesn't exist
解决办法:
先排除此错误是由于不兼容的ChromeDriver版本和正在使用的Chrome浏览器版本造成的,使用最新的Chrome浏览器版本68的Chrome Driver.exe(v2.41)
版本号是一致的

我明明在本地测试的时候是可以运行脚本的,但是为什么移到centOS就会出错了呢,是哪里有区别呢?
已经确定chrome和chromeDriver版本是一致的了,唯一不一样的是,我按照教程做了如下配置
nano /usr/bin/google-chrome
这是我的测试脚本
 1 #coding=utf8
 2 from selenium import webdriver
 3 from selenium.webdriver.chrome.options import Options
 4 chrome_options = Options()
 5 chrome_options.add_argument('--headless')
 6 chrome_options.add_argument('--disable-gpu')
 7 driver = webdriver.Chrome(executable_path="./chromedriver", chrome_options=chrome_options)
 8 #driver = webdriver.Chrome()
 9 driver.get("https://www.baidu.com")
10 print(driver.page_source)
11 print(driver.current_url)
12 #driver.quit()
这篇教程是把禁止沙箱模式写到了chrome的配置文件中在代码中并没有体现下面这行代码
我观察了楼主的测试代码
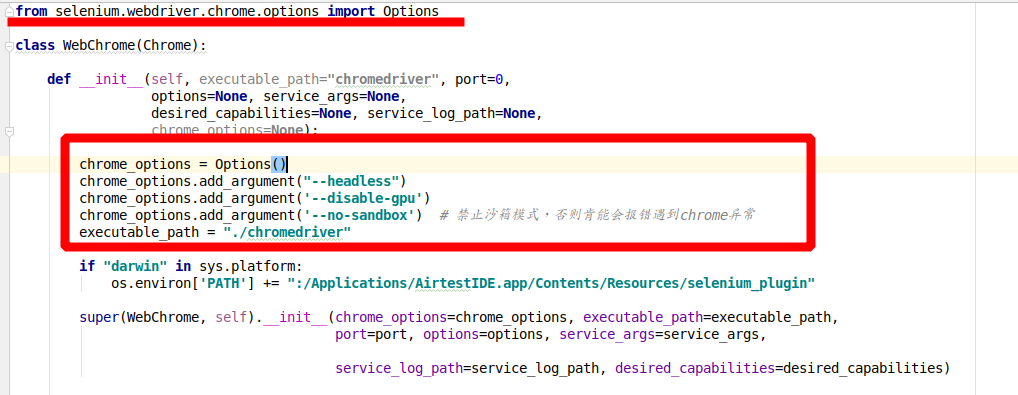
chrome_options.add_argument('--no-sandbox') # 禁止沙箱模式,否则肯能会报错遇到chrome异常
所以猜测是不是配置chrome的配置文件后,所以楼主没有在脚本中再做配置了呢?
是不是我改chrome的配置文件改出问题呢?因为我在本地的时候并没有做这项配置,但在脚本中有 --no-sandbox脚本是可以跑通的
不管怎么说,这是我目前唯一想到有区别的地方了,先改回来试试
注释了增加的代码,而使用默认的配置
再次运行脚本就成功了

step4:修改proxy.py源文件
(指定chromedriver的位置,因为proxy.py默认是使用airtestIDE工具配置的chromedriver的位置的,如果脱离airtestIDE程序就会找不到chromedriver,所以需要自己手动配置)
增加这部分代码 :
先使用find命令查找proxy.py的所在位置
sudo find / -name airtest_selenium
执行如下命令 运行测试脚本,并生成日志文件,注意当前文件夹是demoAir.air:
wangju@wangju-HP-348-G4:~/Airtest/demoAir.air$ airtest run demoAir.py --log log/
执行如下命令,利用上一步生成的日志文件 生成可视化的测试报告 log.html,注意当前文件夹是Airtest
wangju@wangju-HP-348-G4:~/Airtest$ airtest report demoAir.air --log_root demoAir.air/log/ --outfile demoAir.air/log/log.html --lang zh
demoAir.air/log/log.html
如果看到demoAir.air/log/log.html表示已经在log文件夹下生成测试报告了,将该文件复制到本地,使用浏览器打开,查看脚本运行结果
在/home/wangju/Airtest/demoAir.air/log文件夹中找到log.html文件,打开该文件查看测试结果
