前言
Elasticsearch是一个基于Apache Lucene(TM)的开源搜索引擎。无论在开源还是专有领域,Lucene可以被认为是迄今为止最先进、性能最好的、功能最全的搜索引擎库。但是,Lucene只是一个库。想要使用它,你必须使用Java来作为开发语言并将其直接集成到你的应用中,更糟糕的是,Lucene非常复杂,你需要深入了解检索的相关知识来理解它是如何工作的。Elasticsearch也使用Java开发并使用Lucene作为其核心来实现所有索引和搜索的功能,但是它的目的是通过简单的RESTful API来隐藏Lucene的复杂性,从而让全文搜索变得简单。
不过,Elasticsearch不仅仅是Lucene和全文搜索,我们还能这样去描述它:
  -分布式的实时文件存储,每个字段都被索引并可被搜索
  -分布式的实时分析搜索引擎
  -可以扩展到上百台服务器,处理PB级结构化或非结构化数据
而且,所有的这些功能被集成到一个服务里面,你的应用可以通过简单的RESTful API、各种语言的客户端甚至命令行与之交互。
ElasticSearch-head 是一个web端的ElasticSearch管理工具。
安装
一、docker安装Elasticsearch
1.docker拉取Elasticsearch镜像
https://www.docker.elastic.co/ 选择适用的版本。这里选择6.3.2
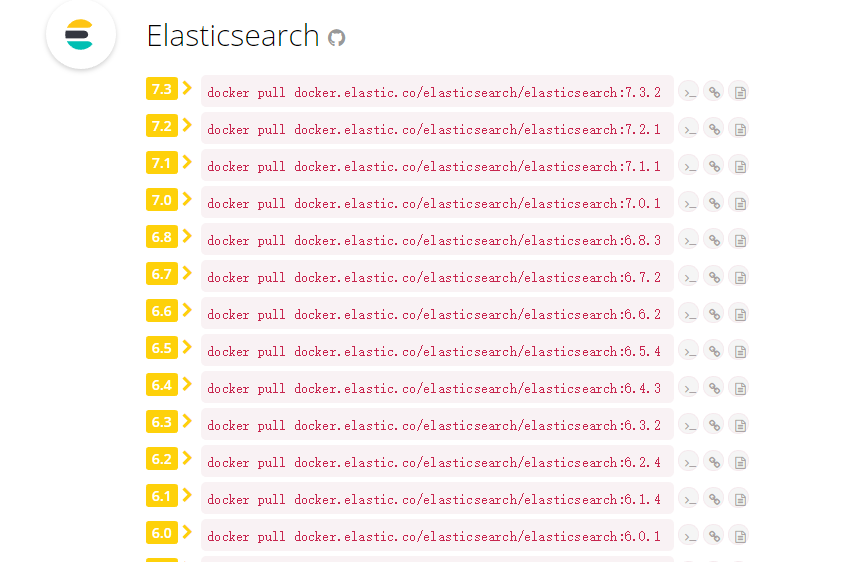
docker pull docker.elastic.co/elasticsearch/elasticsearch:6.3.2
如果docker pull error,请添加国内镜像加速源,参考:https://www.cnblogs.com/jxd283465/p/11571943.html
 1 # 拉取镜像
 2 [root@localhost ~]# docker pull docker.elastic.co/elasticsearch/elasticsearch:6.3.2
 3 6.3.2: Pulling from elasticsearch/elasticsearch
 4 7dc0dca2b151: Pull complete
 5 72d60ff53590: Pull complete
 6 ca55c9f7cc1f: Pull complete
 7 822d6592a660: Pull complete
 8 22eceb1ece84: Pull complete
 9 30e73cf19e42: Pull complete
10 f05e800ca884: Pull complete
11 3e6ee2f75301: Pull complete
12 Digest: sha256:8f06aecf7227dbc67ee62d8d05db680f8a29d0296ecd74c60d21f1fe665e04b0
13 Status: Downloaded newer image for docker.elastic.co/elasticsearch/elasticsearch:6.3.2
14 # 查看镜像
15 [root@localhost ~]# docker images
16 REPOSITORY                                      TAG                 IMAGE ID            CREATED             SIZE
17 docker.elastic.co/elasticsearch/elasticsearch   6.3.2               96dd1575de0f        14 months ago       826MB
2.运行容器
docker run -d --name es -p 9200:9200 -p 9300:9300 -e "discovery.type=single-node" docker.elastic.co/elasticsearch/elasticsearch:6.3.2
-p 9200 9300:映射虚拟机端口到宿主机端口
9200 http协议,为elasticsearch默认端口,用于外部通讯。
9300 tcp协议,用于集群之间通信。.
-e 设置elasticsearch为单节点启动
1 # 启动容器
2 [root@localhost ~]# docker run -d --name es -p 9200:9200 -p 9300:9300 -e "discovery.type=single-node" docker.elastic.co/elasticsearch/elasticsearch:6.3.2
3 af895f4ddc62a981c72217f547a2a67fea9695b5b113c4317a1965cc76153bd4
4 # 查看容器
5 [root@localhost ~]# docker ps
6 CONTAINER ID        IMAGE                                                 COMMAND                  CREATED             STATUS              PORTS                                            NAMES
7 af895f4ddc62        docker.elastic.co/elasticsearch/elasticsearch:6.3.2   "/usr/local/bin/dock…"   4 seconds ago       Up 3 seconds        0.0.0.0:9200->9200/tcp, 0.0.0.0:9300->9300/tcp   es
3.设置跨域
 1 # 进入es容器,es为容器的name,bash为命令行
 2 [root@localhost ~]# docker exec -it es bash
 3 # 查看文件
 4 [root@af895f4ddc62 elasticsearch]# ls
 5 LICENSE.txt  README.textile  config  lib   modules
 6 NOTICE.txt   bin             data    logs  plugins
 7 # 进入elasticsearch的配置文件夹
 8 [root@af895f4ddc62 elasticsearch]# cd config
 9 [root@af895f4ddc62 config]# ls
10 elasticsearch.keystore  ingest-geoip  log4j2.properties  roles.yml  users_roles
11 elasticsearch.yml       jvm.options   role_mapping.yml   users
12 # 修改elasticsearch的配置文件
13 [root@af895f4ddc62 config]# vi elasticsearch.yml
14 # 增加跨域配置
15     http.cors.enabled: true
16     http.cors.allow-origin: "*"
17 # :wq保存
18 # exit退出容器
19 [root@af895f4ddc62 config]# exit
20 exit
21 # 重启es容器
22 [root@localhost ~]# docker restart es
23 es
# curl "http://localhost:9200"

{
  "name" : "rSLhlFi",
  "cluster_name" : "docker-cluster",
  "cluster_uuid" : "QTLXwiz_Sx-udJAofc2RIQ",
  "version" : {
    "number" : "6.3.2",
    "build_flavor" : "default",
    "build_type" : "tar",
    "build_hash" : "053779d",
    "build_date" : "2018-07-20T05:20:23.451332Z",
    "build_snapshot" : false,
    "lucene_version" : "7.3.1",
    "minimum_wire_compatibility_version" : "5.6.0",
    "minimum_index_compatibility_version" : "5.0.0"
  },
  "tagline" : "You Know, for Search"
}
二、docker安装Elasticsearch-head
1.docker search elasticsearch-head搜索镜像
- docker search elasticsearch-head
2.拉取 mobz/elasticsearch-head 镜像
- docker pull mobz/elasticsearch-head:5
3.运行容器
- docker run -d --name es_admin -p 9000:9100 mobz/elasticsearch-head:5
由于我宿主机9100端口被占用,所以这里将容器的9100端口映射到宿主机的9000端口
4.访问elasticsearch-head
浏览器打开http://192.168.8.10:9000/
