官网给出的配置文件大全:
一、配置文件自动映射到属性
步骤1:Controller上面配置 @PropertySource({"classpath:xxxx.properties"})
步骤2:属性上增加注解
@Value("${test.name}")
private String name;
承接上文的例子:https://www.cnblogs.com/jwen1994/p/11184566.html
我们通过配置文件设置上传文件存放的地址,而不是通过硬编码的方式
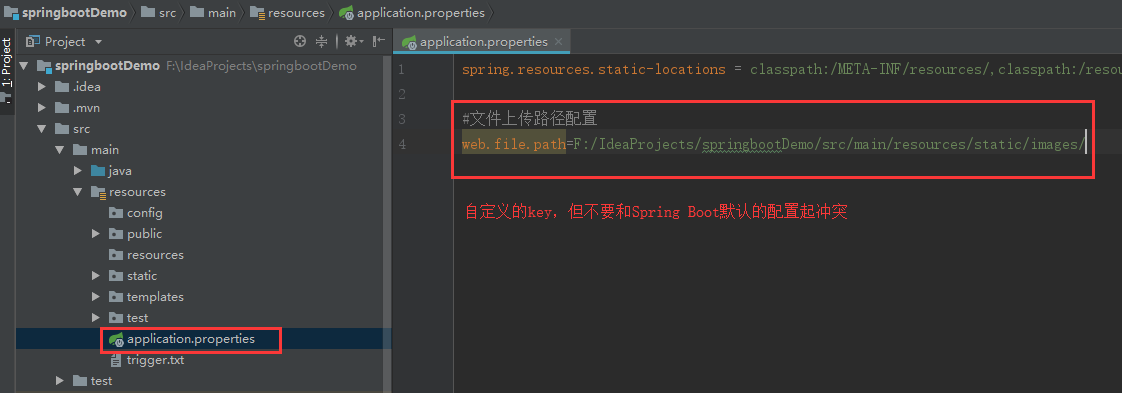
注意加粗的部分
@Controller
@PropertySource({"classpath:application.properties"})
public class FileController {

    @Value("${web.file.path}")
    private static final String filePath = "F:/IdeaProjects/springbootDemo/src/main/resources/static/images/";

    @RequestMapping(value = "upload")
    @ResponseBody
    public JsonData upload(@RequestParam("head_img") MultipartFile file, HttpServletRequest request) {

        //file.isEmpty(); 判断图片是否为空
        //file.getSize(); 图片大小进行判断

        String name = request.getParameter("name");
        System.out.println("用户名:"+name);

        // 获取文件名
        String fileName = file.getOriginalFilename();
        System.out.println("上传的文件名为:" + fileName);

        // 获取文件的后缀名,比如图片的jpeg,png
        String suffixName = fileName.substring(fileName.lastIndexOf("."));
        System.out.println("上传的后缀名为:" + suffixName);

        // 文件上传后的路径
        fileName = UUID.randomUUID() + suffixName;
        System.out.println("转换后的名称:"+fileName);

        File dest = new File(filePath + fileName);

        try {
            file.transferTo(dest);

            return new JsonData(0, fileName);
        } catch (IllegalStateException e) {
            e.printStackTrace();
        } catch (IOException e) {
            e.printStackTrace();
        }
        return  new JsonData(-1, "fail to save ", null);
    }
}
二、实体类配置文件
步骤1:添加 @Component 或者 @Configuration 注解(为了让 SpringBoot 扫描成一个 Bean)
步骤2:使用 @PropertySource 注解指定配置文件位置。
步骤3:使用 @ConfigurationProperties 注解,设置相关属性。注意:这个注解可以设置前缀,但不是必须使用
步骤4:必须通过注入 IOC 对象,才能在类中使用获取的配置文件值。

类文件如下:
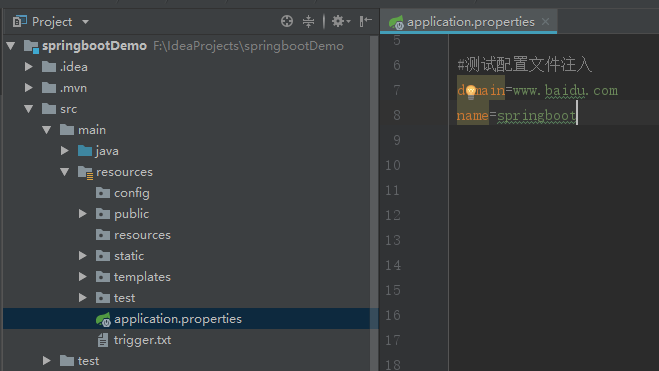
import org.springframework.beans.factory.annotation.Value;
import org.springframework.boot.context.properties.ConfigurationProperties;
import org.springframework.context.annotation.PropertySource;
import org.springframework.stereotype.Component;

//服务器配置
@Component
@PropertySource({"classpath:application.properties"})
@ConfigurationProperties
public class ServerSettings {

    @Value("${test.appname}")
    private String name;

    @Value("${test.domain}")
    private String domain;

    //省略getter、setter方法

}
@ConfigurationProperties 可以设置前缀,如果设置了前缀,@Value 就可以不写前缀,修改后的代码如下所示。
import org.springframework.beans.factory.annotation.Value;
import org.springframework.boot.context.properties.ConfigurationProperties;
import org.springframework.context.annotation.PropertySource;
import org.springframework.stereotype.Component;

//服务器配置
@Component
@PropertySource({"classpath:application.properties"})
@ConfigurationProperties(prefix="test")//设置前缀
public class ServerSettings {

    @Value("${appname}")
    private String name;

    @Value("${domain}")
    private String domain;

    //省略getter、setter方法

}
如果不写@Value,那么属性值就得和配置文件里的 key 一样。
类文件如下:
import org.springframework.beans.factory.annotation.Value;
import org.springframework.boot.context.properties.ConfigurationProperties;
import org.springframework.context.annotation.PropertySource;
import org.springframework.stereotype.Component;

//服务器配置
@Component
@PropertySource({"classpath:application.properties"})
@ConfigurationProperties
public class ServerSettings {

    private String name;

    private String domain;

    //省略getter、setter方法

}
获取这个对象信息
@Autowired//必须通过IOC依赖注入,才能获取这个对象的值
private ServerSettings serverSettings;

@GetMapping("/v1/test_properties")
public Object testPeroperties(){
    return serverSettings;
}
常见问题:
1)配置文件注入失败,Could not resolve placeholder
解决:根据 SpringBoot 启动流程,会有自动扫描包没有扫描到相关注解,默认 Spring 框架实现会从声明 @ComponentScan 所在的类的 package 进行扫描,来自动注入,因此启动类最好放在根路径下面,或者指定扫描包范围 SpringBoot 扫描启动类对应的目录和子目录
2)注入 Bean 的方式,属性名称和配置文件里面的key一一对应,就不用加 @Value 这个注解,如果不一样,就要加 @value("${XXX}")