一:结构
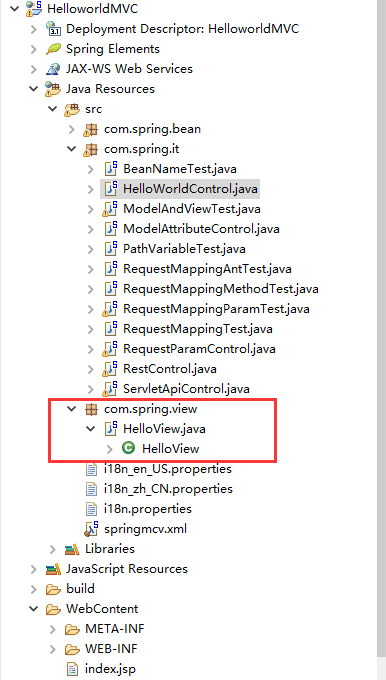
1.新建一个包
这个包用来放自定义的view
二:程序
1.新建一个view类
注意要写@Component
 1 package com.spring.view;
 2
 3 import java.util.Date;
 4 import java.util.Map;
 5
 6 import javax.servlet.http.HttpServletRequest;
 7 import javax.servlet.http.HttpServletResponse;
 8
 9 import org.springframework.stereotype.Component;
10 import org.springframework.web.servlet.View;
11
12 @Component
13 public class HelloView implements View{
14
15     @Override
16     public String getContentType() {
17         return "text/html";
18     }
19
20     @Override
21     public void render(Map<String, ?> model, HttpServletRequest request, HttpServletResponse response) throws Exception {
22         response.setHeader("Content-type", "text/html;charset=UTF-8");
23         response.setCharacterEncoding("UTF-8");
24         response.getWriter().print("hello view,time "+new Date());
25     }
26 }
2.注册视图解析器BeanNameViewResolver
InternalResourceViewResolver解析器是最后一个解析器,如果有其他的会先执行其他的,因为order越小,优先级越高。
注意点:重新配置扫描包,这个扫描包是view的扫描包,不然view不会被加载到。
 1 <?xml version="1.0" encoding="UTF-8"?>
 2 <beans xmlns="http://www.springframework.org/schema/beans"
 3     xmlns:context="http://www.springframework.org/schema/context"
 4     xmlns:xsi="http://www.w3.org/2001/XMLSchema-instance"
 5     xmlns:mvc="http://www.springframework.org/schema/mvc"
 6     xsi:schemaLocation="http://www.springframework.org/schema/beans
 7                        http://www.springframework.org/schema/beans/spring-beans-3.0.xsd
 8                        http://www.springframework.org/schema/context
 9                        http://www.springframework.org/schema/context/spring-context-3.0.xsd
10                        http://www.springframework.org/schema/mvc
11                        http://www.springframework.org/schema/mvc/spring-mvc-3.0.xsd">
12     <!-- 配置自定义扫描的包 -->
13     <context:component-scan base-package="com.spring.it" ></context:component-scan>
14
15     <!-- 配置视图解析器 -->
16     <bean class="org.springframework.web.servlet.view.InternalResourceViewResolver">
17         <property name="prefix" value="/WEB-INF/views/" />
18           <property name="suffix" value=".jsp" />
19     </bean>
20
21     <!-- 让spring扫描你注解的包 -->
22     <context:component-scan base-package="com.spring.view"></context:component-scan>
23     <!-- 配置视图BeanNameViewResolver解析器 -->
24     <!-- 使用视图的名字进行解析 -->
25     <bean class="org.springframework.web.servlet.view.BeanNameViewResolver">
26         <property name="order" value="100"></property>
27     </bean>
28
29
30
31
32
33     <!-- 配置国际化资源文件 -->
34     <bean id="messageSource" class="org.springframework.context.support.ResourceBundleMessageSource">
35         <property name="basename" value="i18n"></property>
36     </bean>
37
38     <!-- 配置直接转发的页面 -->
39     <!-- 可以直接相应转发的页面, 而无需再经过 Handler 的方法.  -->
40     <mvc:view-controller path="/success" view-name="success"/>
41
42     <!-- 在实际开发中通常都需配置 mvc:annotation-driven 标签 -->
43     <mvc:annotation-driven></mvc:annotation-driven>
44
45 </beans>
3.index
<%@ page language="java" contentType="text/html; charset=utf-8"
    pageEncoding="utf-8"%>
<!DOCTYPE html PUBLIC "-//W3C//DTD HTML 4.01 Transitional//EN" "http://www.w3.org/TR/html4/loose.dtd">
<html>
<head>
<meta http-equiv="Content-Type" content="text/html; charset=utf-8">
<title>Insert title here</title>
</head>
<body>
    <a href="BeanNameTest">Test BeanNameTest</a>
    <br><br>
</body>
</html>
4.concroller
 1 package com.spring.it;
 2
 3 import org.springframework.stereotype.Controller;
 4 import org.springframework.web.bind.annotation.RequestMapping;
 5
 6 @Controller
 7 public class BeanNameTest {
 8     @RequestMapping("/BeanNameTest")
 9     public String hello() {
10         System.out.println("ha ha");
11         //刚写的view,但是第一个字母小写
12         return "helloView";
13     }
14 }
5.效果、
