《微信二维码引擎OpenCV开源研究》
一、编译和Test测试 opencv_wechat_qrcode的编译需要同时下载opencv(https://github.com/opencv/opencv)和opencv_contrib(https://github.com/opencv/opencv_contrib),如果需要正常运行Test,还要下载opencv_extra(https://github.com/opencv/opencv_extra)。
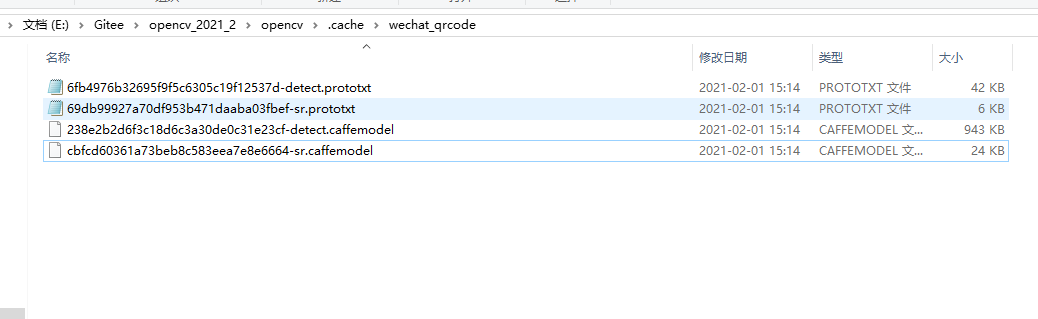
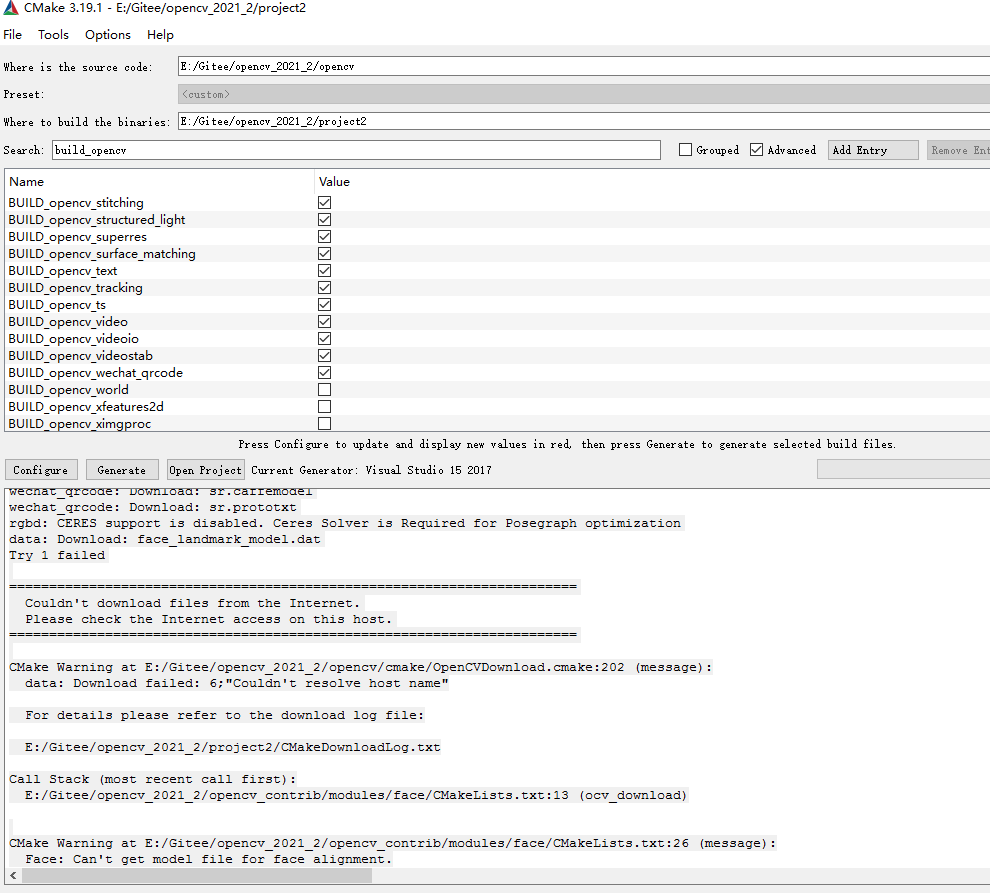
Windows环境下,使用Cmake进行编译,总的来说是“两次Configue一次Generate",这个过程中,由于网络和基础环境原因,可能出现各种问题,需要根据实际情况解决,其中一个必须解决的一个问题是需要自己下载模型文件,改名后拷贝到指定目录下来。
在cmake的过程中,可以关闭不需要生产的模块。
打开VisualStudio,选择”批生成Install",确保编译过程中不出现错误。
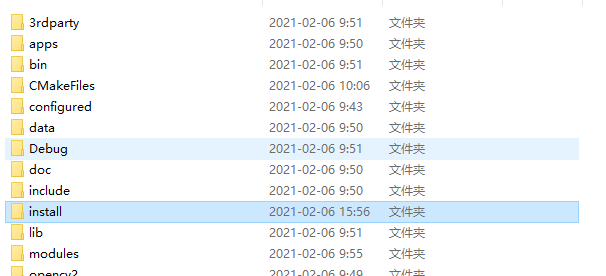
如果上面都顺利,那么我们能够在Cmake中“where to build the binaries"目录下得到新建的Install目录。
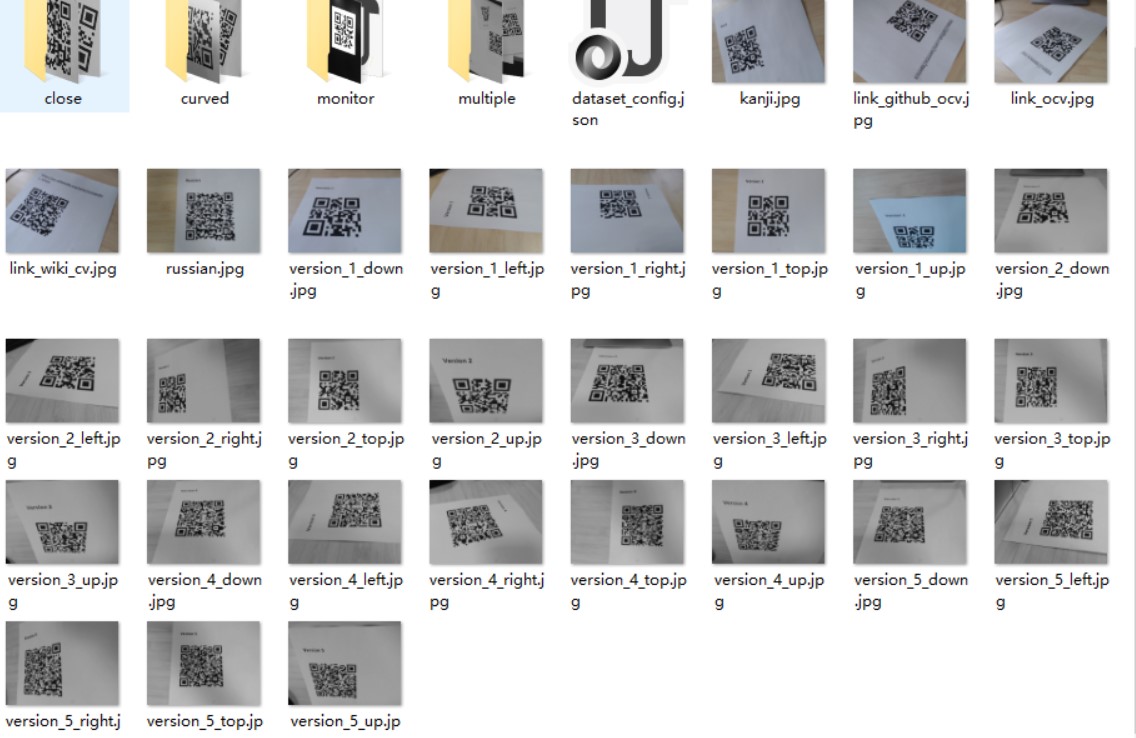
进一步,将opencv_extra解压出来的testdata目录防止install下,则可以开启Test测试。
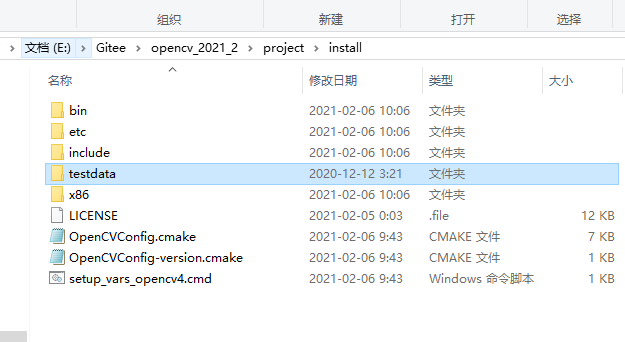
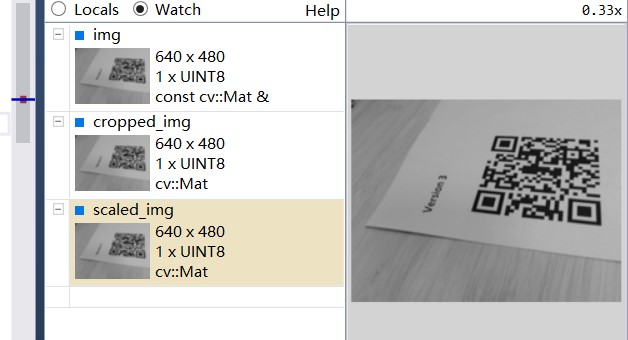
这些图片还是非常有代表性的,具体位置:testdatacvqrcode
进入VisualStudio,找到opencv_test_wechat_qrcode,右击设置为启动,如果看到全绿回显,证明前面配置全部正确。
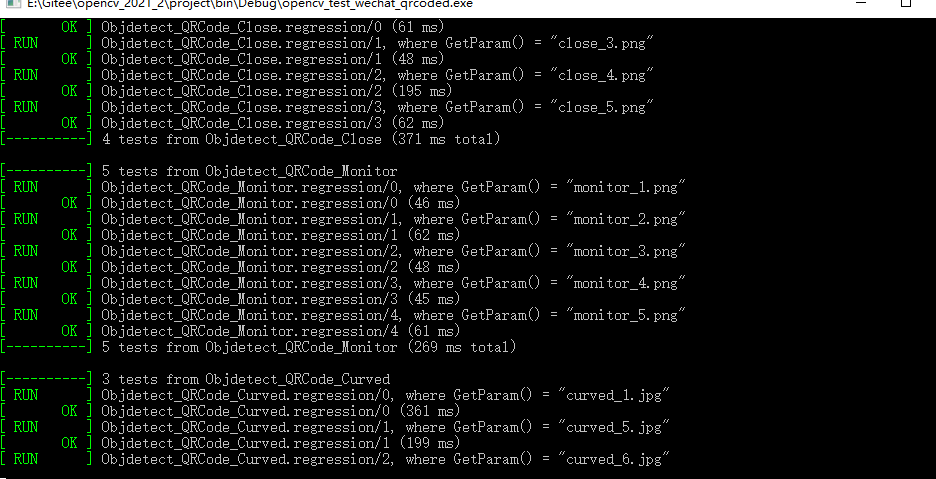
这样,我们就可以在opencv_wechat_qrcode中设置断点,逐句解析其实现。
二、代码理解
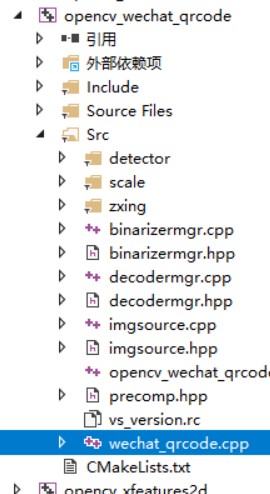
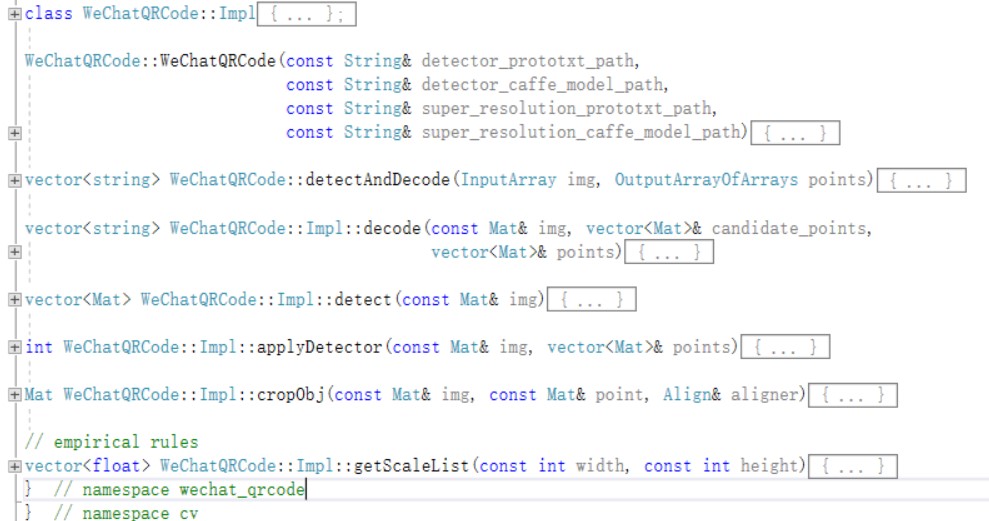
在Opencv_wechat_qrcode中,wechat_qrcode.cpp是主要文件,其他的是配合文件。
vector<float> WeChatQRCode::Impl::getScaleList(const int width, const int height) {
    if (width < 320 || height < 320) return {1.0, 2.0, 0.5};
    if (width < 640 && height < 640) return {1.0, 0.5};
    return {0.5, 1.0};
}
根据分辨率获得缩放的可能选项。
Mat SuperScale::processImageScale(const Mat &src, float scale, const bool &use_sr,
                                  int sr_max_size) {
    Mat dst = src;
    if (scale == 1.0) {  // src
        return dst;
    }
    int width = src.cols;
    int height = src.rows;
    if (scale == 2.0) {  // upsample
        int SR_TH = sr_max_size;
        if (use_sr && (int)sqrt(width * height * 1.0) < SR_TH && net_loaded_) {
            int ret = superResoutionScale(src, dst);
            if (ret == 0) return dst;
        }
        { resize(src, dst, Size(), scale, scale, INTER_CUBIC); }
    } else if (scale < 1.0) {  // downsample
        resize(src, dst, Size(), scale, scale, INTER_AREA);
    }
    return dst;
}
具体调用方法是使用dnn的方法
int SuperScale::superResoutionScale(const Mat &src, Mat &dst) {
    Mat blob;
    dnn::blobFromImage(src, blob, 1.0 / 255, Size(src.cols, src.rows), {0.0f}, false, false);
    srnet_.setInput(blob);
    auto prob = srnet_.forward();
    dst = Mat(prob.size[2], prob.size[3], CV_8UC1);
    for (int row = 0; row < prob.size[2]; row++) {
        const float *prob_score = prob.ptr<float>(0, 0, row);
        for (int col = 0; col < prob.size[3]; col++) {
            float pixel = prob_score[col] * 255.0;
            dst.at<uint8_t>(row, col) = static_cast<uint8_t>(CLIP(pixel, 0.0f, 255.0f));
        }
    }
    return 0;
}这里的srnet_就是特定的网络。
int DecoderMgr::decodeImage(cv::Mat src, bool use_nn_detector, string& result) {
    int width = src.cols;
    int height = src.rows;
    if (width <= 20 || height <= 20)
        return -1;  // image data is not enough for providing reliable results
    std::vector<uint8_t> scaled_img_data(src.data, src.data + width * height);
    zxing::ArrayRef<uint8_t> scaled_img_zx =
        zxing::ArrayRef<uint8_t>(new zxing::Array<uint8_t>(scaled_img_data));
    zxing::Ref<zxing::Result> zx_result    ;    decode_hints_.setUseNNDetector(use_nn_detector);
    Ref<ImgSource> source;
    qbarUicomBlock_ = new UnicomBlock(width, height);
    // Four Binarizers
    int tryBinarizeTime = 4;
    for (int tb = 0; tb < tryBinarizeTime; tb++) {
        if (source == NULL || height * width > source->getMaxSize()) {
            source = ImgSource::create(scaled_img_zx.data(), width, height);
        } else {
            source->reset(scaled_img_zx.data(), width, height);
        }
        int ret = TryDecode(source, zx_result);
        if (!ret) {
            result = zx_result->getText()->getText();
            return ret;
        }
        // try different binarizers
        binarizer_mgr_.SwitchBinarizer();
    }
    return -1;
}相比较直接使用ZXing来解码,这里做了很多的前置算法操作.目前能够看懂的部分就是tryBinarizeTime=4,这里进行了4次运算。每一次都是trydecode,这种模式是可以借鉴的。
int DecoderMgr::TryDecode(Ref<LuminanceSource> source, Ref<Result>& result) {
    int res = -1;
    string cell_result;
    // get binarizer
    zxing::Ref<zxing::Binarizer> binarizer = binarizer_mgr_.Binarize(source);
    zxing::Ref<zxing::BinaryBitmap> binary_bitmap(new BinaryBitmap(binarizer));
    binary_bitmap->m_poUnicomBlock = qbarUicomBlock_;
    result = Decode(binary_bitmap, decode_hints_);
    res = (result == NULL) ? 1 : 0;
    if (res == 0) {
        result->setBinaryMethod(int(binarizer_mgr_.GetCurBinarizer()));
    }
    return res;
}
TryDecode这个就是具体的解码操作,具体就是调用
zxing::Ref<zxing::qrcode::QRCodeReader> reader_;从Test结果来看,如果不适用DNN,是33个通过;如果使用DNN是30个通过。这里的差异的原因是什么?那么使用DNN、训练这些模型的价值体现在哪里?
[  PASSED  ] 30 tests.
[  FAILED  ] 3 tests, listed below:
[  FAILED  ] Objdetect_QRCode.regression/0, where GetParam() = "version_1_down.jpg"
[  FAILED  ] Objdetect_QRCode.regression/10, where GetParam() = "version_4_left.jpg"
[  FAILED  ] Objdetect_QRCode.regression/19, where GetParam() = "link_ocv.jpg"
三、借鉴使用
1、规范的语法和构建
我也在向OpenCV提交代码,我需要从这个例子中学到业务方面的操作。
2、CNN方法和传统方法无缝连接
    p = makePtr<WeChatQRCode::Impl>();
    if (!detector_caffe_model_path.empty() && !detector_prototxt_path.empty()) {
        // initialize detector model (caffe)
        p->use_nn_detector_ = true;
        CV_Assert(utils::fs::exists(detector_prototxt_path));
        CV_Assert(utils::fs::exists(detector_caffe_model_path));
        p->detector_ = make_shared<SSDDetector>();
        auto ret = p->detector_->init(detector_prototxt_path, detector_caffe_model_path);
        CV_Assert(ret == 0);
    } else {
        p->use_nn_detector_ = false;
        p->detector_ = NULL;
    }
当CNN无法正确调用的时候,几个图片都是一致的,采用传统方法进行处理:
3、最后我想说值得学习的还有这个思想
传统已经无法实现很好解决的问题,我们通过训练模型方式来进行解决。OpenCV用于实际的解码,就部署来说是非常方便的。这是一种绝佳的配合。二维码的扫描具有很强的专用性,只有微信、支付宝一类的平台软件才会具备,当然我们自己也可以写来测试一下。因此这里将其开源出来,是非常聪明的选择。