1.以前cordova远程调试,Android的直接连接USB后,用chrome打开chrome://inspect网址
(有人遇到第一次打开chrome inspect是空白页面,是因为第一次要下载一些工具,是要翻墙的。当然有离线包可用,具体可以网上搜索。)
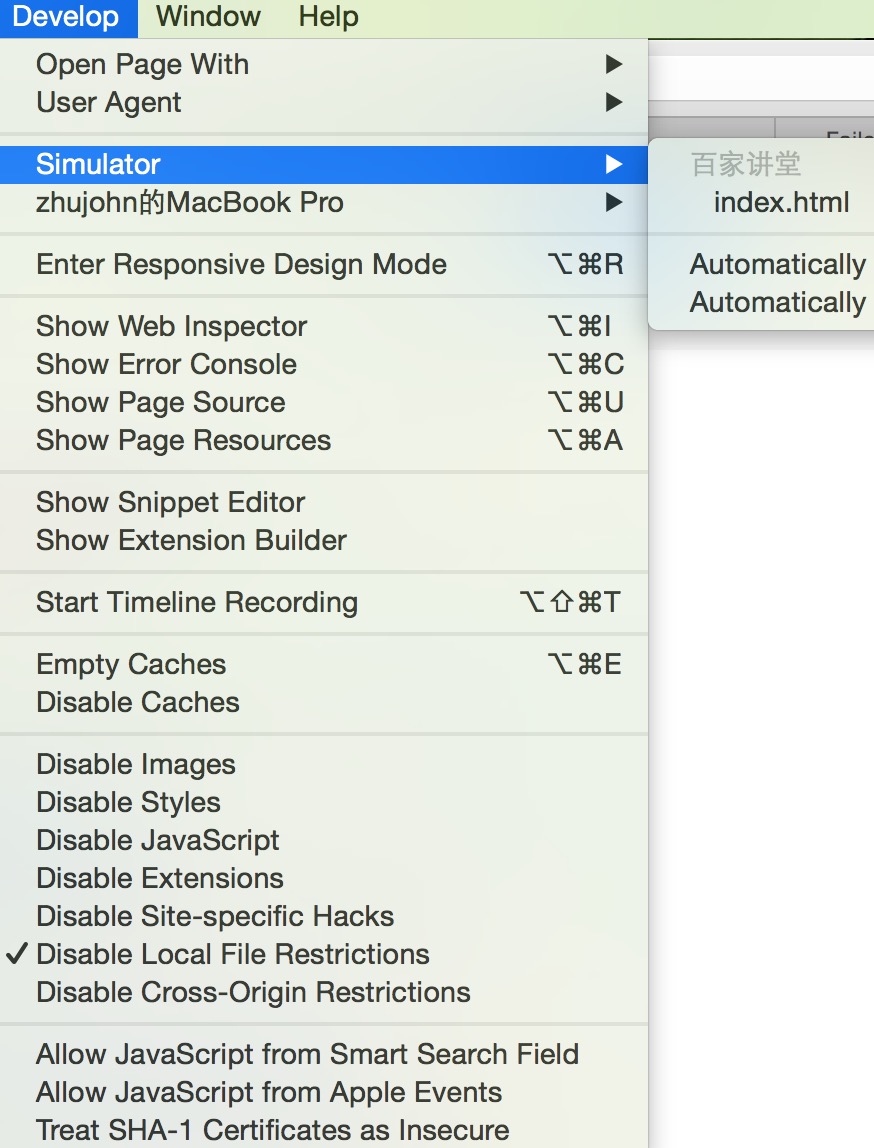
IOS的打开Safari的developer下。
这是因为cordova的webView都已经开放了远程调试,
如果是自己的加的webView,要进行远程调试
Android:
在调试WebView需要满足安卓系统版本为Android 4.4+已上。并且需要再你的APP内配置相应的代码,在WebView类中调用静态方法setWebContentsDebuggingEnabled,如下:
if (Build.VERSION.SDK_INT >=Build.VERSION_CODES.KITKAT) {

   WebView.setWebContentsDebuggingEnabled(true);

}
IOS:
利用WebView隐含的一个API
- (BOOL)application:(UIApplication *)application didFinishLaunchingWithOptions:(NSDictionary *)launchOptions {
  // ......
  [NSClassFromString(@"WebView") _enableRemoteInspector];
  // ......
}
不过这是个私有API,ARC关闭的情况下才能这么写,不然会报错。
微信:
利用微信开发者工具进行远程调试,具体操作很简单
2.远程调试可以debug那些web上看不出来,但是在在device上就出问题的情况
1.weex安装完weex-toolkit
  $ npm install  -g  weex-toolkit
  就可以直接通过weex debug命令进行调试

2.比如下载的weex demo,进入根目录,运行
weex debug examples
就会出现一些二维码页面,用playground app扫这个二维码,浏览器里出现如下页面
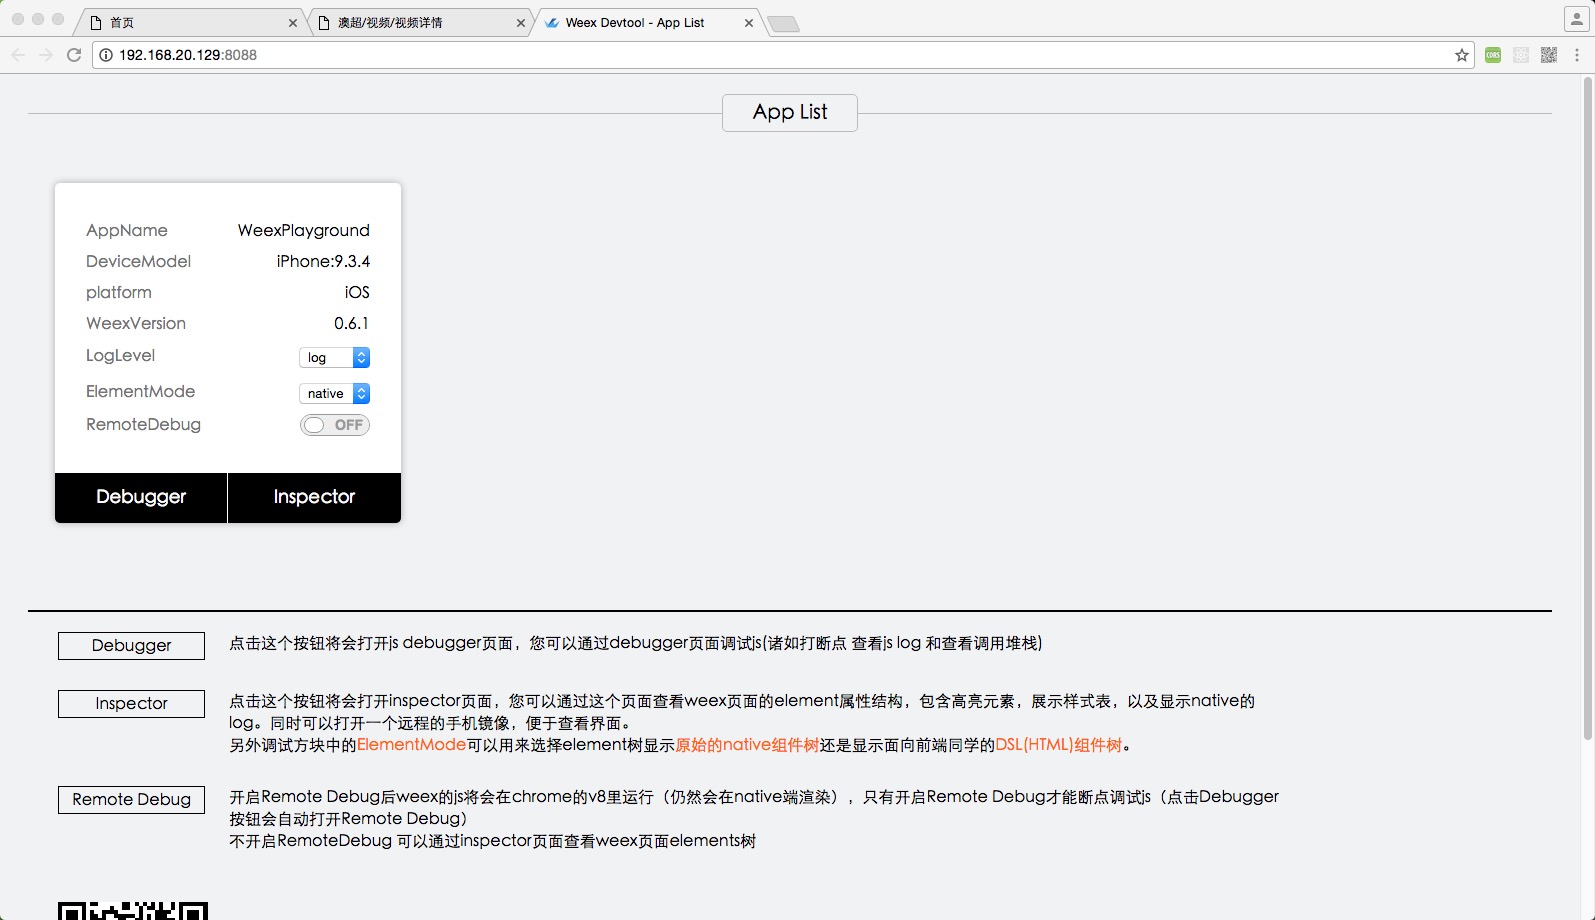
点击remotedebug按钮就可以进行远程调试了
真机调试微信(android,ios)H5页面:https://www.jianshu.com/p/c620ef778e1c
3.React Native
在运行带RN的工程后,当前页面下ios模拟器通过cmd+D(真机可以通过摇一摇),android通过Menu按键,调出RN的开发者菜单,

4.electron和node调试(vscode中)
{
    // Use IntelliSense to learn about possible attributes.
    // Hover to view descriptions of existing attributes.
    // For more information, visit: https://go.microsoft.com/fwlink/?linkid=830387
    "version": "0.2.0",
    "configurations": [
        {
            "type": "node",
            "request": "launch",
            "name": "Launch Program",
            "program": "${workspaceFolder}/app/templates/electron/node-util/encrypt.js"  //如果是debug当前文件,就是"${file}"
},
        {
            "name": "Debug Main Process",
            "type": "node",
            "request": "launch",
            "cwd": "${workspaceRoot}/app/templates/electron",
            "runtimeExecutable": "${workspaceRoot}/app/templates/electron/node_modules/.bin/electron",
            "windows": {
                "runtimeExecutable": "${workspaceRoot}/app/templates/electron/node_modules/.bin/electron.cmd"
            },
            "args": [
                "."
            ]
        },
    ]
}
vscode的launch.json里添加配置,然后就可以在vscode里打断点调试node或者RN项目了
上面的第一个configure是调试node的,比如我的encrypt.js
第二个是调试npm 脚本
第三个调试webpack,并且加参数的
第四个是调试electron的,目录那么长是因为是我自己的一个脚手架项目(https://github.com/johnzhu12/generator-rocky),electron的目录比较深
各个配置的目录各不相同,对应自己项目的目录设置
最后deBugger jest
 5.vscode调试karma

  debugging Karma with Visual Studio Code
  这里debug的断点一定要打在sourcemap里,大在源码里是不会被hit的
6. vscode 配置c/c++环境
clang编译c,clang++编译c++
launch.json和task.json
"configurations": [
        {
            "name": "clang++ build and debug active file",
            "type": "cppdbg",
            "request": "launch",
            "program": "${fileDirname}/${fileBasenameNoExtension}",
            "args": [],
            "stopAtEntry": false,
            "cwd": "${workspaceFolder}",
            "environment": [],
            "externalConsole": false,
            "MIMode": "lldb",
            "preLaunchTask": "clang++ build active file"
        }
    ]
{
    "tasks": [
        {
            "type": "shell",
            "label": "clang++ build active file",
            "command": "/usr/bin/clang++",
            "args": [
                "-g",
                "${file}",
                "-o",
                "${fileDirname}/${fileBasenameNoExtension}"
            ],
            "options": {
                "cwd": "/usr/bin"
            }
        }
    ],
    "version": "2.0.0"
}
c_cpp_properties.json
{
    "configurations": [
        {
            "name": "Mac",
            "includePath": [
                "/usr/local/include",
                "/Applications/Xcode.app/Contents/Developer/Platforms/MacOSX.platform/Developer/SDKs/MacOSX10.11.sdk/usr/include/c++/4.2.1",
                "${workspaceFolder}/**"
            ],
            "defines": [],
            "macFrameworkPath": [
                "/Applications/Xcode.app/Contents/Developer/Platforms/MacOSX.platform/Developer/SDKs/MacOSX10.11.sdk/System/Library/Frameworks"
            ],
            "compilerPath": "/usr/bin/clang++",
            "cStandard": "c11",
            "cppStandard": "c++17",
            "intelliSenseMode": "clang-x64"
        }
    ],
    "version": 4
}
上面配置都自己试过,亲测有用