Part 1 升级Bootrom
概述:启动启动菜单,用xmodem协议升级BootRom
升级的文件如下:
wnm2.2.3-0004.zip :web网管zip压缩包文件。
S2008_16-VRP310-R0021P01.app :app软件,用于在线升级。
S2008_16-180.btm:bootrom文件。
1.用控制线连接console口和笔记本的RS232口
打开超级终端,注意硬件流控为无。思科设备硬件流控为有。
2.设备通电,
*******************************************
* *
* Quidway S2016 BOOTROM, Version 160 *
* *
*******************************************
Copyright(C) 2000-2003 by HUAWEI TECHNOLOGIES CO.,LTD.
Creation Date : Jul 22 2003, 14:27:17
CPU Type : ARM
CPU Clock Speed : 62.5MHz
Memory Size : 24MB
Initialize LS45LTSU ......................
Initialize LS45LTSU ......................OK!
SDRAM selftest............................OK!
FLASH selftest............................
FLASH selftest............................OK!
Switch chip selftest......................
Switch chip selftest......................OK!
CPLD selftest.............................
CPLD selftest.............................OK!
Port 19 has no module
PHY selftest..............................
PHY selftest..............................OK!
Please check port leds..............finished!
The switch Mac is: 00E0-FC3B-EE03
Press Ctrl-B to enter Boot Menu... 5
按ctrl+B
3.输入口令,缺省为空
Password :
BOOT MENU
1. Download application file to flash
2. Select application file to boot
3. Display all files in flash
4. Delete file from Flash
5. Modify bootrom password
6. Set switch HGMP mode
0. Reboot
Enter your choice(0-6): 3
No. File Name File Size(bytes)
===========================================================================
1 * S2008_16-VRP310-r0013-160.app 2223592
2 vrpcfg.txt 1147
Free Space : 5183488 bytes
The current application file is S2008_16-VRP310-r0013-160.app
BOOT MENU
1. Download application file to flash
2. Select application file to boot
3. Display all files in flash
4. Delete file from Flash
5. Modify bootrom password
6. Set switch HGMP mode
0. Reboot
Enter your choice(0-6):
4.按ctrl+u,出现隐含菜单,先升级bootrom
Please set bootrom download protocol parameter:
1. Set TFTP protocol parameter
2. Set FTP protocol parameter
3. Set XMODEM protocol parameter
0. Return to boot menu
Enter your choice(0-3): 3
Please select your download baudrate:
1. 9600
2. 19200
3. 38400
4. 57600
5. *115200
0. Return
Enter your choice(0-5): 5
Are you sure to download file to flash? Yes or No(Y/N)y
Download baudrate is 115200 bps. Please change the terminal's baudrate to 115200 bps, and select XMODEM protocol.
Press enter key when ready.
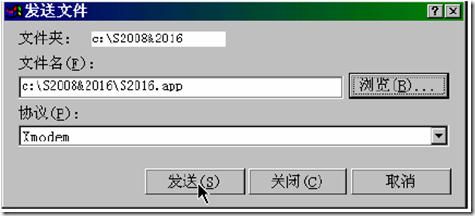
断开超级终端,修改波特率为115200,重新连接,用xmodem协议发送bootrom文件。
Now please start transfer file use XMODEM protocol.
If you want to exit, Press <Ctrl+X>.
Waiting CC
传送完毕选择重启。
Part2 : 配置Telnet用户登录和升级VRP
概述:设置vlan1的IP地址,用FTP删除flash中原有app文件,并上传新的vrp和web程序到flash.
1.仍然是用超级终端连接。
正常启动后到<quidway>模式(用户模式,级别为参观级别)
2.<quidway>sys (进入系统视图)
3.【quidway】display current (查看当前配置)
4.系统视图下如下命令:
interface vlan1 (进入vlan1视图)
undo ip address
ip address 192.168.2.3 255.255.255.0
user-interface vty 0 4
authentication-mode scheme (表示需要进行本地或远端用户名和口令认证。)
#设置本地用户名和密码
local-user admin (用户视图)
service-type telnet level 3
password simple admin
5.进入<quidway>视图,输入super
<quidway>super
Now user privilege is 3 level, and just commands which level is
equal to or less than this level can be used.
Privilege note: 0-VISIT, 1-MONITOR, 2-SYSTEM, 3-MANAGE
<quidway>save
This will save the configuration in the flash memory.
The switch configurations will be written to flash.
Are you sure?[Y/N]y
Now saving current configuration to flash memory.
Please wait for a while...
Save current configuration to flash memory successfully.
6.启用交换机上的FTP服务器。
ftp server enable
local-user ftp
password simple ftp
service-type ftp ftp-directory flash:/
设置管理用PC和交换机同一网段,连上网线
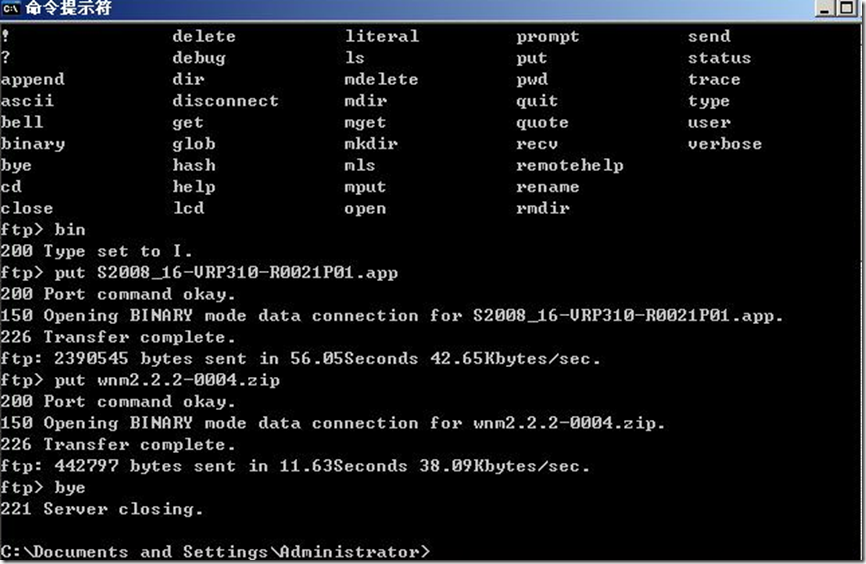
从PC上ftp到交换机,先删除原有的app文件腾出空间,再上传新的app.
Part 3: 交换机各个界面的登录设定
方式一【TELNET登录-无验证配置】
[SwitchA-ui-vty0-4]authentication-mode none //不需要验证
方式二【TELNET登录-密码验证配置】
1.进入用户界面视图
[SwitchA]user-interface vty 0 4
2.设置认证方式为密码验证方式
[SwitchA-ui-vty0-4]authentication-mode password
3.设置明文密码
[SwitchA-ui-vty0-4]set authentication password simple Huawei
4.缺省情况下,从VTY用户界面登录后可以访问的命令级别为0级。需要将用户的权限设置为3,这用户可以进入系统视图进行操作,否则只有0级用户的权限
[SwitchA-ui-vty0-4]user privilege level 3
方式三【TELNET登录-本地用户名和密码验证配置】
1.进入用户界面视图
[SwitchA]user-interface vty 0 4
2.使用authentication-mode scheme //表示需要进行本地或远端用户名和口令认证。
[SwitchA-ui-vty0-4]authentication-mode scheme
3.设置本地用户名和密码
[SwitchA]local-user Huawei
[SwitchA-user-huawei]service-type telnet level 3
[SwitchA-user-huawei]password simple Huawei
4.如果不改变TELNET登录用户的权限,用户登录以后是无法直接进入其它视图的,可以设置super password,来控制用户是否有权限进入其它视图
[SwitchA]local-user Huawei
[SwitchA-user-huawei]service-type telnet
[SwitchA-user-huawei]password simple Huawei
[SwitchA]super password level 3 simple huawei
方式四:console登录-密码验证
1.进入用户界面视图
[SwitchA]user-interface aux 0
2.设置认证方式为密码验证方式
[SwitchA-ui-vty0-4]authentication-mode password
3.设置明文密码
[SwitchA-ui-vty0-4]set authentication password simple Huawei
4.
[SwitchA-ui-vty0-4]user privilege level 3
方式五:console登录-用户和密码验证:
1.进入用户界面视图
[SwitchA]user-interface aux 0
2.使用authentication-mode scheme //表示需要进行本地或远端用户名和口令认证。
[SwitchA-ui-vty0-4]authentication-mode scheme
3.设置本地用户名和密码
[SwitchA]local-user Huawei
[SwitchA-user-huawei]service-type telnet level 3
[SwitchA-user-huawei]password simple Huawei
part 4: Web界面
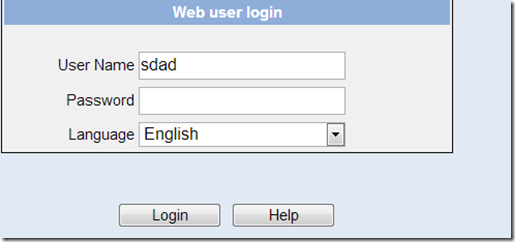
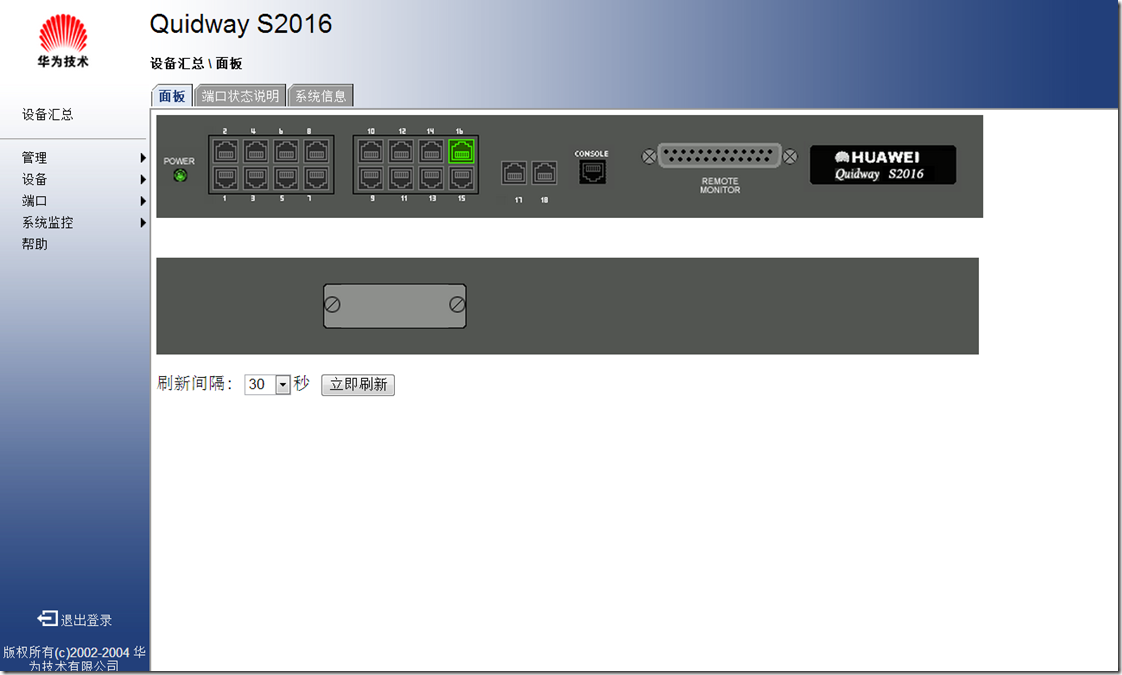
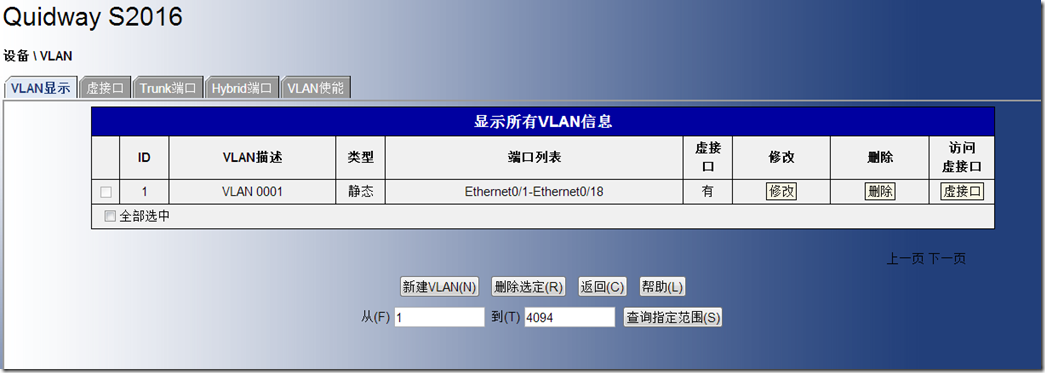
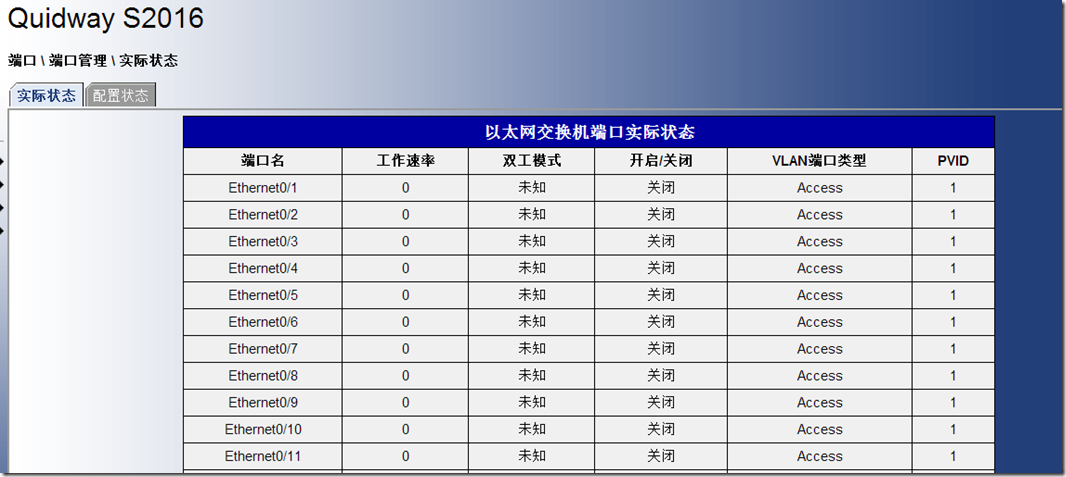
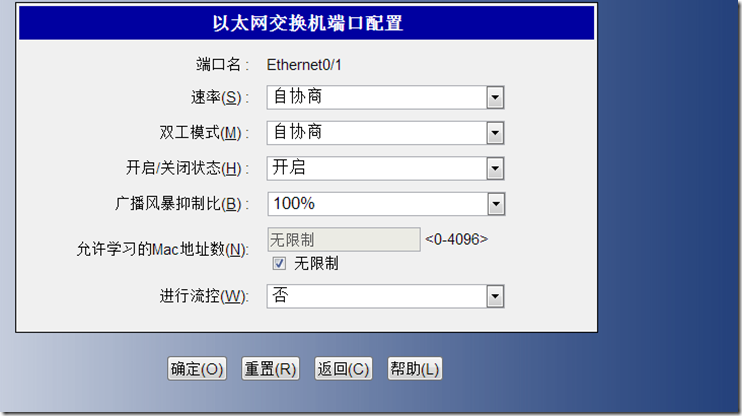
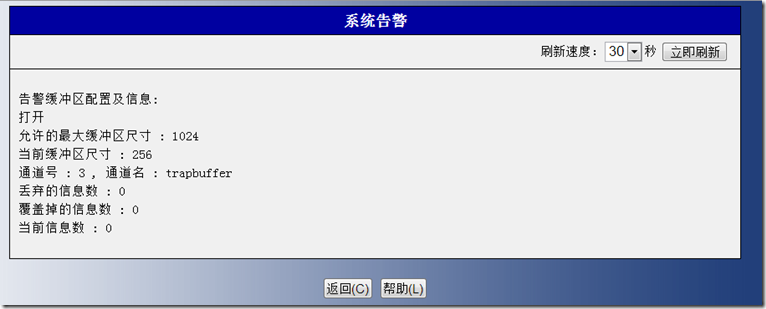
上传好web网管文件,设置好登录用户和配置好vlan1的IP后,登录web界面如下:
`

