Background:
From Windows Forms Application in Visual C++ ???!!!!:
"MS removed the WinForms C++/CLI template starting in either VS2012 or VS2013. The official explanation is that they want to encourage managed desktop UI development in C# or VB and relegate C++/CLI to serve as glue between native back end code and managed UI code."
But for some reason, there are still many people who have reason to create a Windows Forms project of type C++/CLI, for these people, the following steps will show you how to start a C++/CLI Windows Forms app in Visual Studio 2017.
Environmental configuration:
Modify your Visual Studio 2017 installer and make sure your Visual Studio 2017 have installed C++ package with C++/CLR:

Create new project:
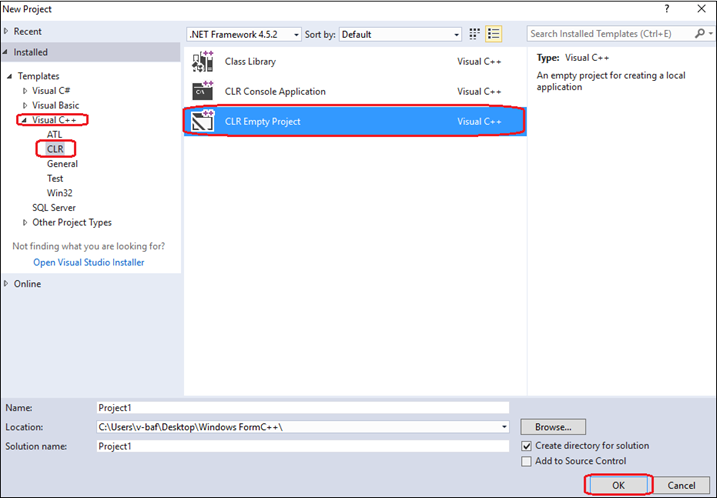
1, If you have installed all the package and components, then open Visual Studio 2017 and create a new project:
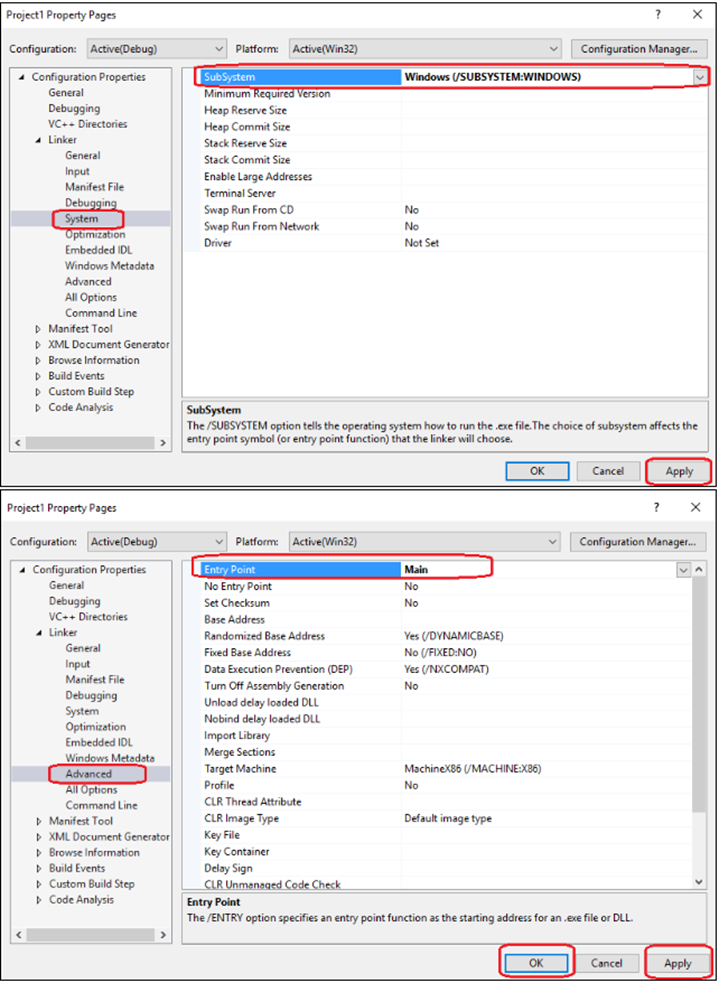
2, You need to configure some properties first, right click on the Project and choose Properties option:
Add new item:
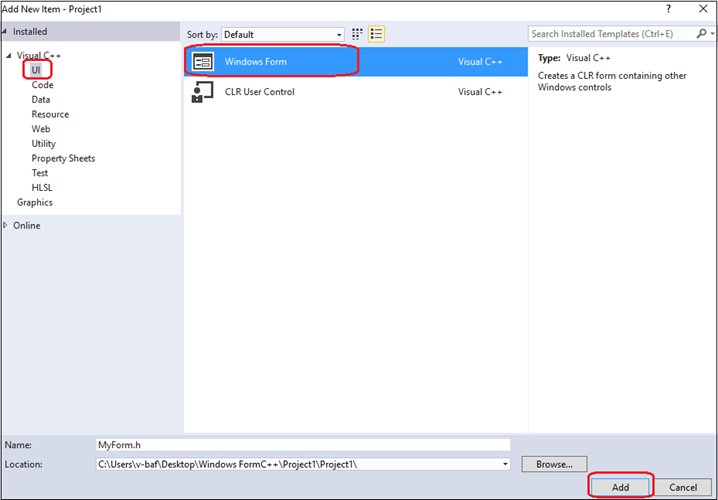
1, Right click on the project to add a new item, select UI under Visual C++,then choose Windows Form:
In general, you will get error as below in this step:
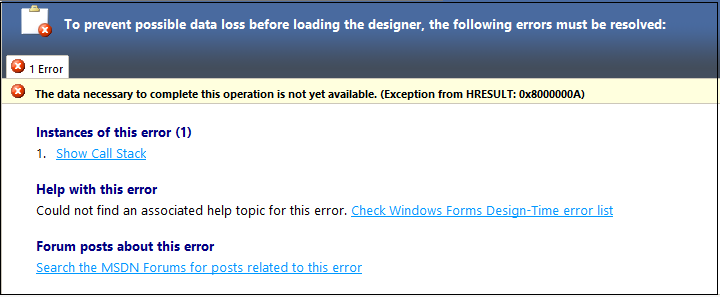
2, Don't worry, close it and add the following code to the MyForm.cpp:
using namespace System;
using namespace System::Windows::Forms;
[STAThreadAttribute]
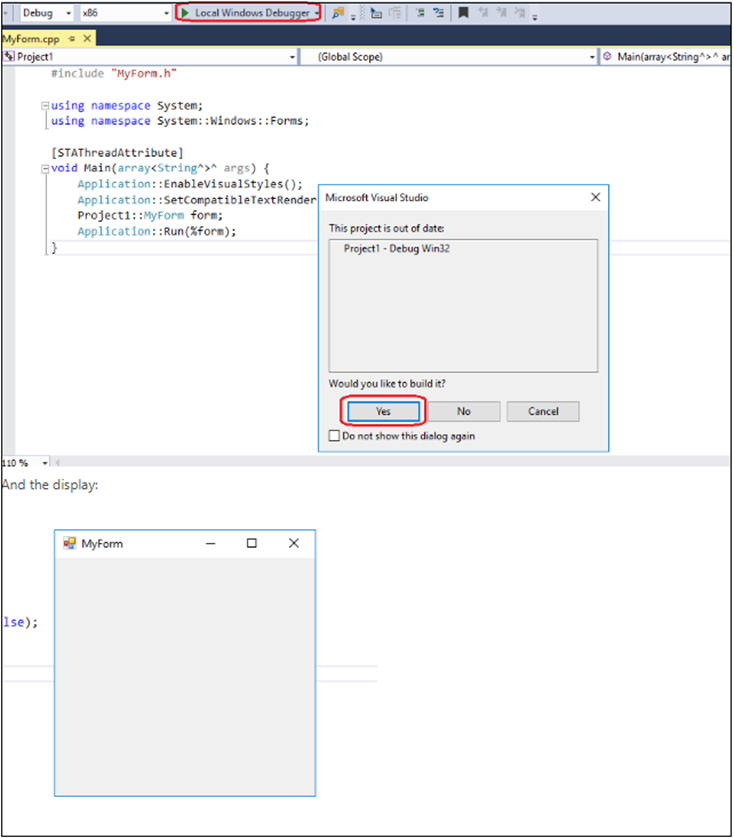
void Main(array<String^>^ args) {
Application::EnableVisualStyles();
Application::SetCompatibleTextRenderingDefault(false);
Project1::MyForm form;
Application::Run(%form);
}
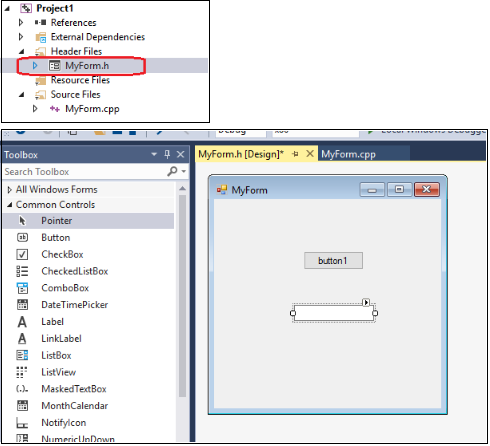
3, After that, save it and close the Visual Studio, then reopen your Project. Note that when you reopen your Project, remember to build(or run directly) it first:
4, Now you can do your options in the form by double click MyForm.h: