spring boot 系列学习记录:http://www.cnblogs.com/jinxiaohang/p/8111057.html
码云源码地址:https://gitee.com/jinxiaohang/springboot
本篇重点介绍bootstrap-table,一款很棒的前端框架,需要bootstrap支持,可以用于数据的展示,后端没有实现数据分页,只是前端将所接收的数据进行分页。
本次练习在之前整合Spring Data JPA基础上进行。
一、下载组件
下载bootstrap-table:http://bootstrap-table.wenzhixin.net.cn/zh-cn/getting-started/
下载bootstrap:https://v3.bootcss.com/
下载jqurey:http://jquery.com/
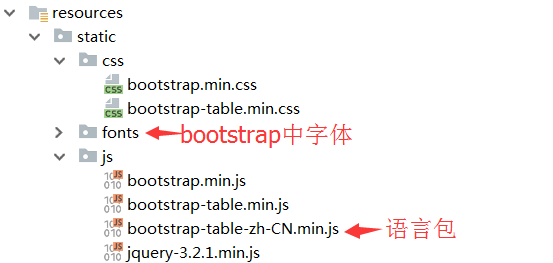
下载源码后解压出来,在demo中导入我们想要的代码。
如下图所示:
jquery的一个js文件、
bootstrap的一个js文件、一个css文件、一个字体包
bootstrap-table的两个js文件、一个css文件
二、bootstrap-table使用
在resources下的static中,新建一个html文件添加以下内容:
<!DOCTYPE html>
<html lang="zh-CN">
<head>

    <meta charset="utf-8">
    <meta name="viewport" content="width=device-width, initial-scale=1">
    <meta name="viewport" content="width=device-width, initial-scale=1, maximum-scale=1, user-scalable=no">

    <title>
        开始使用 Bootstrap Table
    </title>

    <link rel="stylesheet" href="css/bootstrap.min.css"><!--需要添加fonts图标显示才会好-->
    <link rel="stylesheet" href="css/bootstrap-table.min.css">
    <script src="js/jquery-3.2.1.min.js"></script>
    <script src="js/bootstrap.min.js"></script>
    <script src="js/bootstrap-table.min.js"></script>
    <script src="js/bootstrap-table-zh-CN.min.js"></script>

</head>

<body>
<div class="container">
    <div id="toolbar" class="btn-group">
        <button id="btn_add" type="button" class="btn btn-default">
            <span class="glyphicon glyphicon-plus" aria-hidden="true"></span>新增
        </button>
        <button id="btn_edit" type="button" class="btn btn-default">
            <span class="glyphicon glyphicon-pencil" aria-hidden="true"></span>修改
        </button>
        <button id="btn_delete" type="button" class="btn btn-default">
            <span class="glyphicon glyphicon-remove" aria-hidden="true"></span>删除
        </button>
    </div>
    <table id="table"></table>
</div>
</body>

<script>
    $('#table').bootstrapTable({

        url: '/api/user/list',//获取所有数据的接口
        method: 'get',                      //请求方式(*)
        toolbar: '#toolbar',                //工具按钮用哪个容器
        pagination: true,                   //是否显示分页(*)
        striped: true,                      //是否显示行间隔色
        //sortOrder: "asc",                   //排序方式
        uniqueId: "userId",                 //每一行的唯一标识,一般为主键列
        pageSize: 10,                       //每页的记录行数(*)
        pageList: [5,10,20],//可供选择的每页的行数(*)
        showRefresh: true,                  //是否显示刷新按钮
        showToggle:true,                    //是否显示详细视图和列表视图的切换按钮
        columns: [{
            field: 'userId',//与返回数据对象属性一致
            title: 'Item userId'//表头显示
        }, {
            field: 'userName',
            title: 'Item userName'
        }, {
            field: 'password',
            title: 'Item password'
        }, ]
    });

</script>
如果实体不同,只需修改url、和columns。
三、运行效果
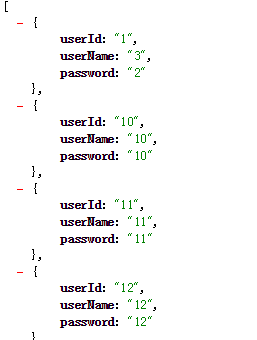
接口数据格式展示:
运行效果展示:
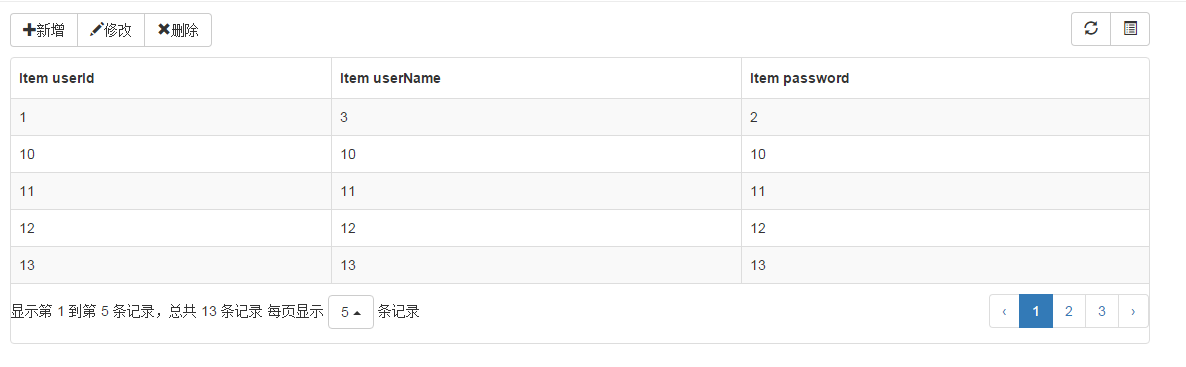
每页5条数据
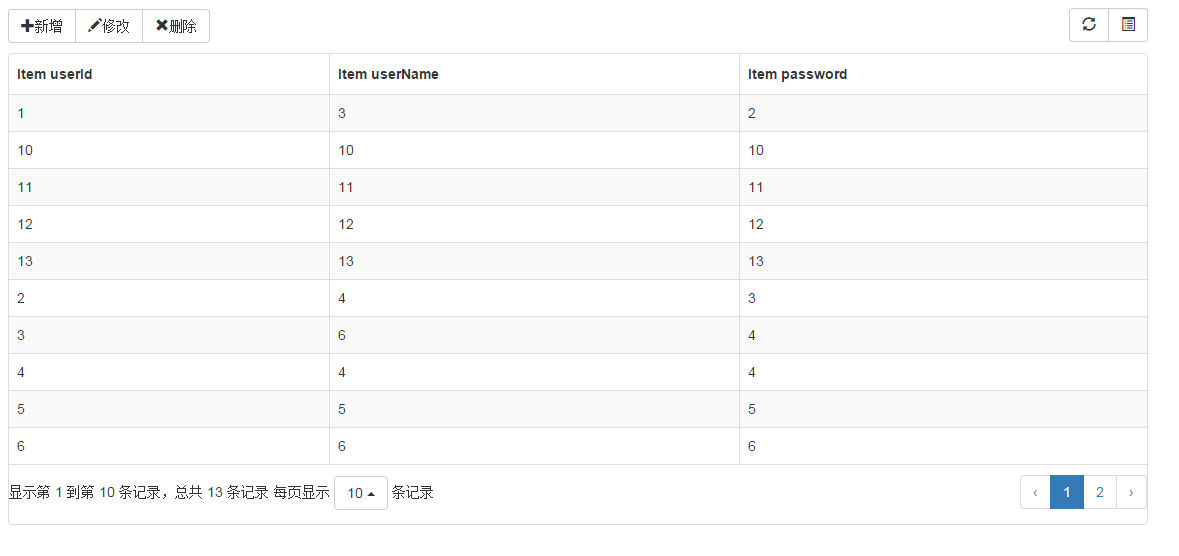
每页10条数据
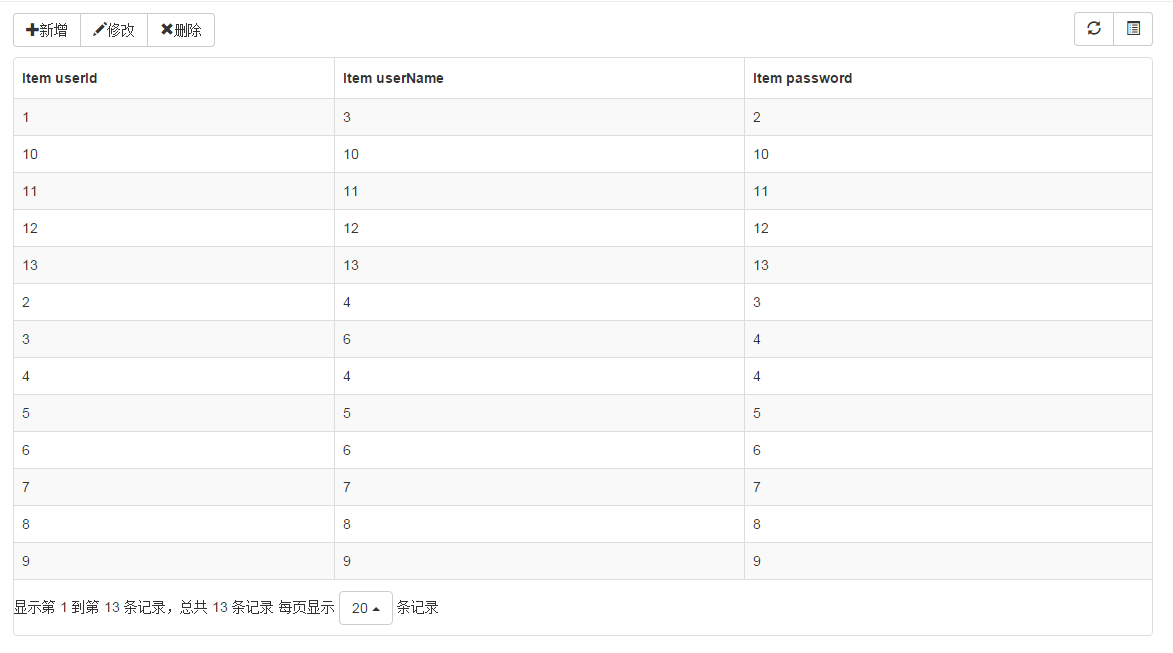
每页20条数据
显示条数可根据两项修改。
pageSize: 10,           //每页的记录行数(*)
pageList: [5,10,20],  //可供选择的每页的行数(*)
四、总结
没有实现真正意义上的分页,不能缓解后端查询和数据传输的压力,只是bootstrap-table将数据很好展现出来。
bootstrap-table还有更多使用方式参考:http://bootstrap-table.wenzhixin.net.cn/zh-cn/getting-started/