1、查看pod信息
kubectl describe po hollow-node-1693 -n kubemark
2、描述节点信息
kubectl describe no izuf6clt44axl097nfxyoaz
3、分析节点日志
kubectl logs hollow-node-999 -n kubemark -c hollow-kubelet
4、查看kubemark资源信息
kubectl get sts -n kubemark -o yaml

5、搜索不是Running状态的pod
kubectl get po -n kubemark | grep -v Running

6、给hollow-node扩缩容
kubectl scale sts hollow-node --replicas=3000 -n kubemark
replicas表示hollow-node的数量
7、实时查看kubemark的拉起hollow-node进度
kubectl get po -n kubemark -w
8、批量操作资源(如pod、node),demo的是删除节点
kubectl get node | grep hollow-node | awk '{print $1}' | xargs -I{} kubectl delete node {}
9、删除kubemark里的hollow-node
kubectl delete po hollow-node-3627 -n kubemark
10、查看hollow-node的yaml
kubectl get hollow-node-579 -n kubemark -o yaml
11、删除hollow-node的pod
kubectl get po -n kubemark | grep -v Running |awk '{print $1}' | xargs -I{} kubectl delete pod {}
12、给hollow-node打标签
kubectl get node | grep hollow-node | awk '{print $1}' | xargs -I{} kubectl label node {} only-use-for-test-pod=true

13、给指定的node打标签
kubectl get no -o wide |egrep "10.197.75.79|10.197.75.80|10.197.75.81|10.197.75.82|10.197.75.83|10.197.75.84" | awk '{print $1}' | xargs -i kubectl label node {} only-use-for-kubemark-pod-2=true
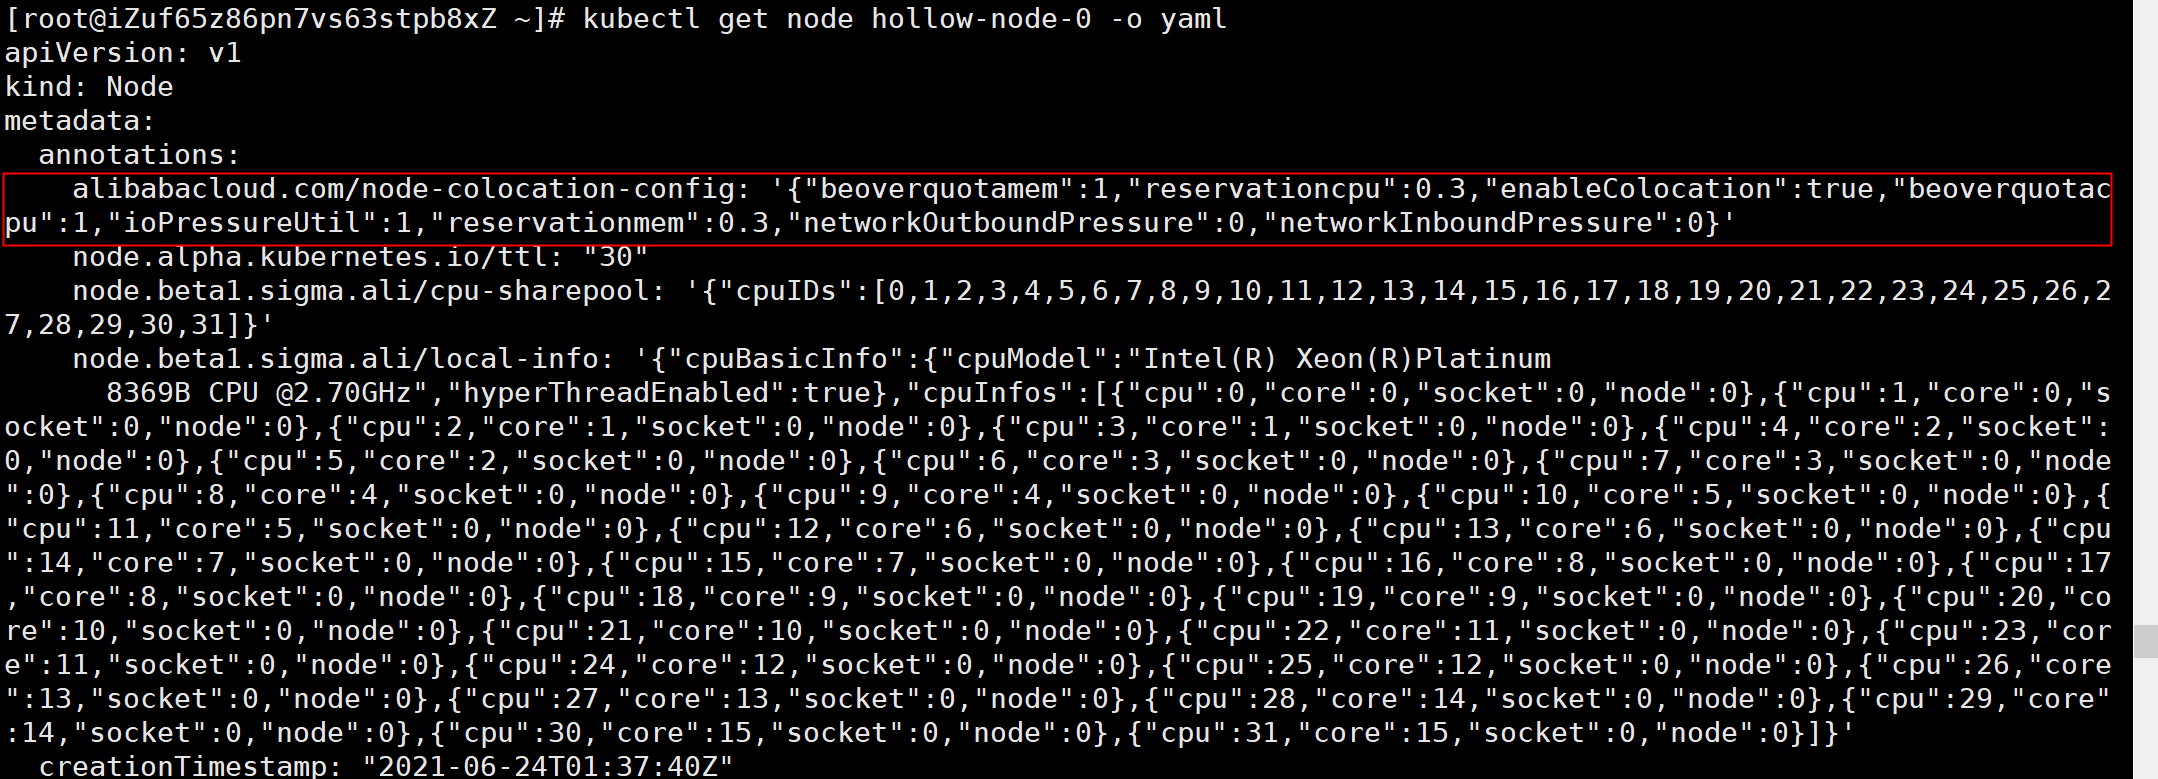
14、给hollow-node打注解
kubectl get node |grep hollow-node |awk '{print $1}' | xargs -I{} kubectl annotate node {} alibabacloud.com/node-colocation-config='{"beoverquotamem":1,"reservationcpu":0.3,"enableColocation":true,"beoverquotacpu":1,"ioPressureUtil":1,"reservationmem":0.3,"networkOutboundPressure":0,"networkInboundPressure":0}'
15、去除标签
demo是去除了所有节点的标签:not-hollow-node=
kubectl get node | awk '{print $1}' | xargs -I{} kubectl label nodes {} not-hollow-node-