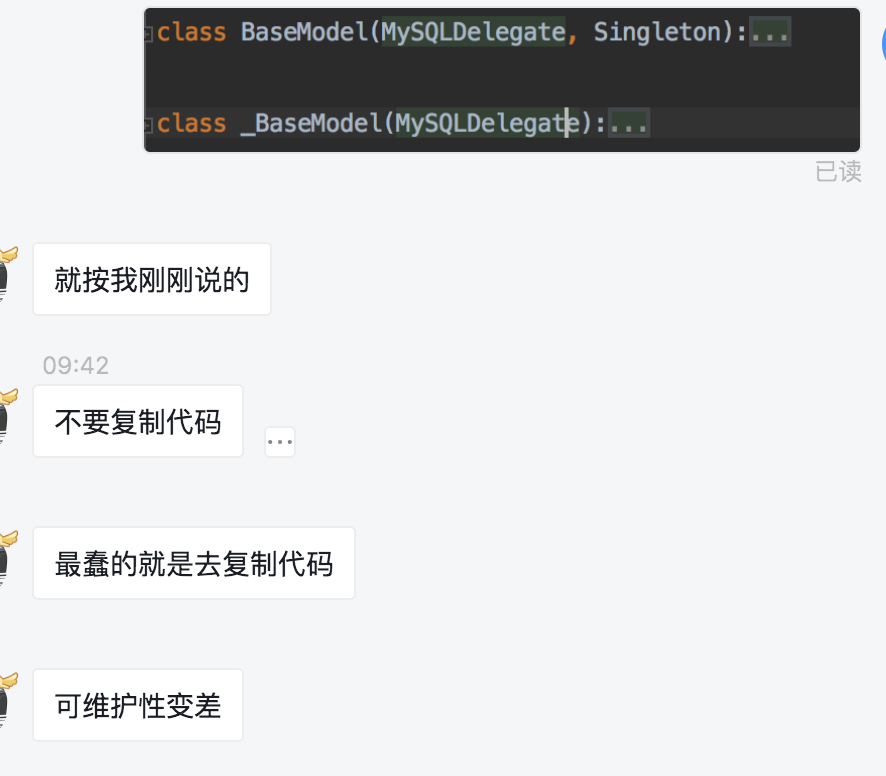
以一张图开始今天的死磕,这时早上组长刚说我的。有感,想跟深入的再熟悉一下元编程。
软件开发领域中最经典的口头禅就是“don’t repeat yourself”。 也就是说,任何时候当你的程序中存在高度重复(或者是通过剪切复制)的代码时,都应该想想是否有更好的解决方案。 在Python当中,通常都可以通过元编程来解决这类问题。 简而言之,元编程就是关于创建操作源代码(比如修改、生成或包装原来的代码)的函数和类。 主要技术是使用装饰器、类装饰器和元类。
一、你想在函数上添加一个包装器,增加额外的操作处理(比如日志、计时等)。
之前思路:利用装饰器。
装饰器最基本的原理如下:
@timethis
def countdown(n):
    pass
效果等同如下:
def countdown(n):
    pass
countdown = timethis(countdown)
所以我们在inner函数中实现我们想要的业务逻辑即可。
def wraper(func):
    def inner(*args,**kwargs):
        # 你想实现的额外功能
        res = func()
        return res
return inner
但是如果我们打印 func.__name__,就会出现inner,这个函数的重要的元信息比如名字、文档字符串、注解和参数签名都丢失了。
二、如何解决上述问题呢
注意:任何时候你定义装饰器的时候,都应该使用 functools 库中的 @wraps 装饰器来注解底层包装函数
def wraper(func):
    @wraps
    def inner(*args,**kwargs):
        # 你想实现的额外功能
        res = func()
        return res
return inner
这样就能解决元信息丢失的情况了。__wrapped__ 属性还能让被装饰函数正确暴露底层的参数签名信息。例如:
>>> from inspect import signature
>>> print(signature(countdown))
(n:int)
>>>
特别的,内置的装饰器 @staticmethod 和 @classmethod 就没有遵循这个约定 (它们把原始函数存储在属性 __func__ 中)。
三、如何解除装饰器
遗漏点:要使用__wrapped__,原函数必须被@wraps包裹
>>> @somedecorator
>>> def add(x, y):
...     return x + y
...
>>> orig_add = add.__wrapped__
>>> orig_add(3, 4)
7
四、什么时候会用到三层包裹的装饰器。
遗漏点:最外层处理装饰器的参数,返回次外层函数。相当于可以传递除被装饰函数名外的其他参数。
假设你想写一个装饰器,给函数添加日志功能,同时允许用户指定日志的级别和其他的选项。
from functools import wraps
import logging

def logged(level, name=None, message=None):
    """
    Add logging to a function. level is the logging
    level, name is the logger name, and message is the
    log message. If name and message aren't specified,
    they default to the function's module and name.
    """
    def decorate(func):
        logname = name if name else func.__module__
        log = logging.getLogger(logname)
        logmsg = message if message else func.__name__

        @wraps(func)
        def wrapper(*args, **kwargs):
            log.log(level, logmsg)
            return func(*args, **kwargs)
        return wrapper
    return decorate

# Example use
@logged(logging.DEBUG)
def add(x, y):
    return x + y

@logged(logging.CRITICAL, 'example')
def spam():
    print('Spam!')
五、给静态方法和类方法提供装饰器
import time
from functools import wraps

# A simple decorator
def timethis(func):
    @wraps(func)
    def wrapper(*args, **kwargs):
        start = time.time()
        r = func(*args, **kwargs)
        end = time.time()
        print(end-start)
        return r
    return wrapper

# Class illustrating application of the decorator to different kinds of methods
class Spam:
    @timethis
    def instance_method(self, n):
        print(self, n)
        while n > 0:
            n -= 1

    @classmethod
    @timethis
    def class_method(cls, n):
        print(cls, n)
        while n > 0:
            n -= 1

    @staticmethod
    @timethis
    def static_method(n):
        print(n)
        while n > 0:
            n -= 1
注意:类方法和静态方法应该在装饰器函数之后,@classmethod 和 @staticmethod 实际上并不会创建可直接调用的对象, 而是创建特殊的描述器对象。因此当你试着在其他装饰器中将它们当做函数来使用时就会出错。
六、你想通过反省或者重写类定义的某部分来修改它的行为,但是你又不希望使用继承或元类的方式。
这种情况可能是类装饰器最好的使用场景了。例如,下面是一个重写了特殊方法 __getattribute__的类装饰器, 可以打印日志:
def log_getattribute(cls):
    # Get the original implementation
    orig_getattribute = cls.__getattribute__

    # Make a new definition
    def new_getattribute(self, name):
        print('getting:', name)
        return orig_getattribute(self, name)

    # Attach to the class and return
    cls.__getattribute__ = new_getattribute
    return cls

# Example use
@log_getattribute
class A:
    def __init__(self,x):
        self.x = x
    def spam(self):
        pass
>>> a = A(42)
# a = A(42) = log_getattribute(A)(42) = new_A(42) 这个new_A新增了一个方法,当取属性时,会执行新方法
>>> a.x # a就执行了new_getattribute()
   getting: x
    42
>>> a.spam() getting: spam >>>
七、你想通过改变实例创建方式来实现单例、缓存或其他类似的特性。
假设你不想任何人创建这个类的实例:
class NoInstances(type):
    def __call__(self, *args, **kwargs):
        raise TypeError("Can't instantiate directly")

# Example
class Spam(metaclass=NoInstances):
    @staticmethod
    def grok(x):
        print('Spam.grok')
>>> Spam.grok(42)
Spam.grok
>>> s = Spam()
Traceback (most recent call last):
    File "<stdin>", line 1, in <module>
    File "example1.py", line 7, in __call__
        raise TypeError("Can't instantiate directly")
TypeError: Can't instantiate directly
>>>
还可以根据元类建立单例模式;
class Singleton(type):
    def __init__(self, *args, **kwargs):
        self.__instance = None
        super().__init__(*args, **kwargs)

    def __call__(self, *args, **kwargs):
        if self.__instance is None:
            self.__instance = super().__call__(*args, **kwargs)
            return self.__instance
        else:
            return self.__instance

# Example
class Spam(metaclass=Singleton):
    def __init__(self):
        print('Creating Spam')
>>> a = Spam()
Creating Spam
>>> b = Spam()
>>> a is b
True
>>> c = Spam()
>>> a is c
True
>>>
八、元类的构成
如果我们要修改__new__,我们会经常看到下面这段代码:
class Meta(type):
    def __new__(cls, name, bases, dct):
        return super().__new__(cls, name, bases, dct)
当你定义一个类的时候:
class Foo(p1, p2):
    v = 'var1'

    def func(self):
         return 'func1'
python大致会把他解析成这样:
name = 'Foo'
base = (p1, p2)
def func(self):
    return 'func'
dct = {'v': 'var1', 'func': func}

Foo = type( name, base, dct )
name就是类名,这里是Foo, base是要继承的父类,(Base1,Base2),dict包含了里面所有的方法和变量。
作为一个具体的应用例子,下面定义了一个元类,它会拒绝任何有混合大小写名字作为方法的类定义:class NoMixedCaseMeta(type): def __new__(cls, clsname, bases, clsdict): for name in clsdict: if name.lower() != name: raise TypeError('Bad attribute name: ' + name) return super().__new__(cls, clsname, bases, clsdict) class Root(metaclass=NoMixedCaseMeta): pass class A(Root): def foo_bar(self): # Ok pass class B(Root): def fooBar(self): # TypeError pass
九、用type去定义一个元类
使用函数 types.new_class() 来初始化新的类对象。 你需要做的只是提供类的名字、父类元组、关键字参数,以及一个用成员变量填充类字典的回调函数。
def __init__(self, name, shares, price):
    self.name = name
    self.shares = shares
    self.price = price
def cost(self):
    return self.shares * self.price

cls_dict = {
    '__init__' : __init__,
    'cost' : cost,
}

# Make a class
import types

Stock = types.new_class('Stock', (), {}, lambda ns: ns.update(cls_dict))
Stock.__module__ = __name__
这种方式会构建一个普通的类对象,并且按照你的期望工作
>>> s = Stock('ACME', 50, 91.1)
>>> s
<stock.Stock object at 0x1006a9b10>
>>> s.cost()
4555.0
>>>
下面一个例子:
class Spam(Base, debug=True, typecheck=False):
    pass
那么可以将其翻译成如下的 new_class() 调用形式:
Spam = types.new_class('Spam', (Base,),
                        {'debug': True, 'typecheck': False},
                        lambda ns: ns.update(cls_dict))
ew_class() 第四个参数最神秘,它是一个用来接受类命名空间的映射对象的函数。 通常这是一个普通的字典,但是它实际上是 __prepare__() 方法返回的任意对象,这个函数需要使用上面演示的 update() 方法给命名空间增加内容。
十、你想自己去实现一个新的上下文管理器,以便使用with语句。
contexlib 模块中的 @contextmanager 装饰器。 下面是一个实现了代码块计时功能的上下文管理器例子:import time from contextlib import contextmanager @contextmanager def timethis(label): start = time.time() try: yield finally: end = time.time() print('{}: {}'.format(label, end - start)) # Example use with timethis('counting'): n = 10000000 while n > 0: n -= 1
在函数 timethis() 中,yield 之前的代码会在上下文管理器中作为 __enter__() 方法执行, 所有在 yield 之后的代码会作为 __exit__() 方法执行。 如果出现了异常,异常会在yield语句那里抛出。
通常情况下,如果要写一个上下文管理器,你需要定义一个类,里面包含一个 __enter__() 和一个__exit__() 方法,如下所示:
import time

class timethis:
    def __init__(self, label):
        self.label = label

    def __enter__(self):
        self.start = time.time()

    def __exit__(self, exc_ty, exc_val, exc_tb):
        end = time.time()
        print('{}: {}'.format(self.label, end - self.start))
@contextmanager 应该仅仅用来写自包含的上下文管理函数。 如果你有一些对象(比如一个文件、网络连接或锁),需要支持 with 语句,那么你就需要单独实现 __enter__() 方法和 __exit__() 方法。