html5新增了一个canvas元素,用于在网页上生成一块矩形区域,用于绘制图像,功能非常强大,下面我来简单介绍一下
在页面中添加canvas
1 <canvas id="canvasDemo">您的浏览器暂不支持canvas</canvas>

如上图所示,如果不给canvas设置宽高,默认宽是300px,高是150px。同时,canvas默认是透明的
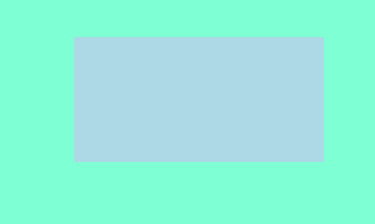
我们可以给它设置宽高,边框,甚至背景颜色。
注意,这边设置的宽高是画布的属性,和style的是不一样的
1 <canvas id="canvasDemo" width="600px" height="400px" style="border:3px solid white">您的浏览器暂不支持canvas</canvas>
canvas的使用
要想使用canvas,必须先渲染上下文,创建context对象,并获取2D运行环境
1 var context = document.getElementById("canvasDemo"); //var context = document.getElementsByTagName("canvas");这样是无效的
2 var ctx = context.getContext("2d");
然后就可以开始画图了
画图之前我们要先了解下是画图是根据什么定位的,答案是坐标,而且这个这边我们平时了解的是上下翻转的,不过到和网页css定位差不多
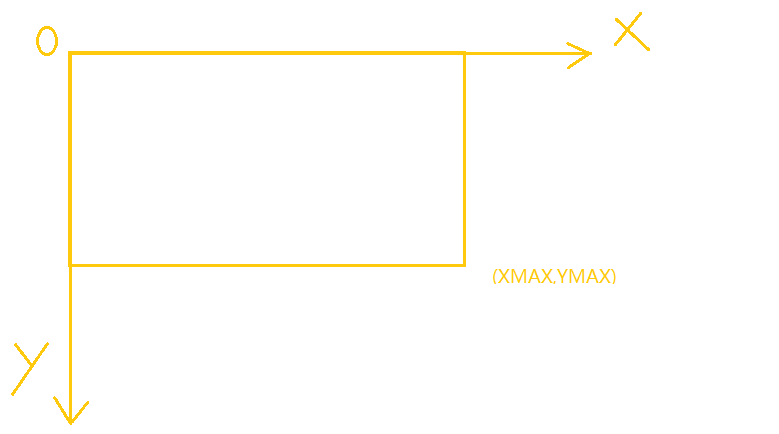
如果刚开始画图确定坐标不习惯的可以自己写个方法转换成正常的(x,canvasHeight-y)
canvas画线
这边画线也没什么好讲的,网上都有
1 var context = document.getElementById("canvasDemo");
2 var ctx = context.getContext("2d");
3
4 ctx.moveTo(0,0);                //线条起点坐标
5 ctx.lineTo(20,20);               //线条终点坐标
6 ctx.lineWidth = 4;              //设置线条宽度
7 ctx.strokeStyle = "white";   //设置线条绘制颜色
8 ctx.stroke();
这边要注意的是设置线条属性值一定要在stroke之前,好比你自己拿笔画画,你肯定是先挑选画笔吧,总不能画完了(stroke)之后在挑笔吧...
这边线条还有一个属性比较有意思就是lineCap,设置了线条的格式,有三个值:butt,round,square;看下面就知道效果了
一个是正常的,一个是两端添加圆形线帽,一个是两端添加方形线帽
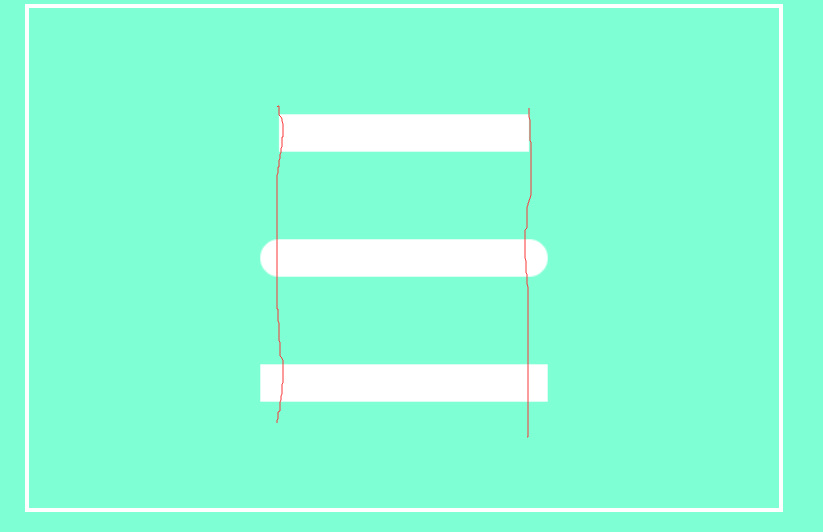
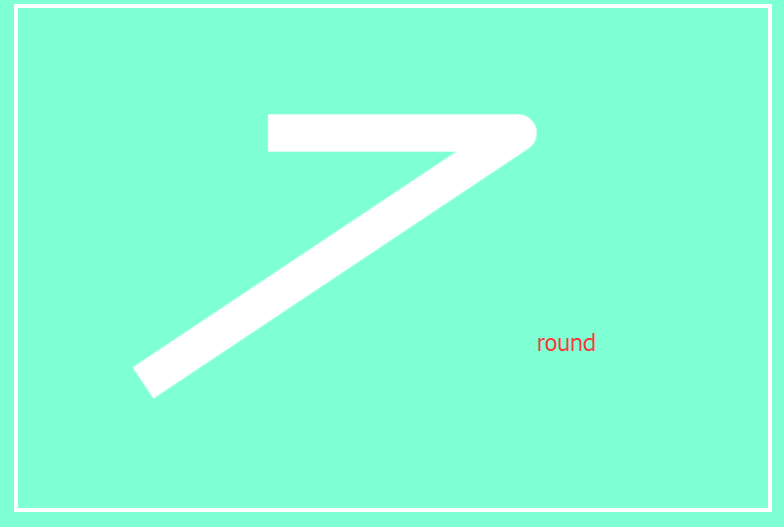
还可以连续画折现
2 ctx.moveTo(200,100);
3 ctx.lineTo(400,100);
4 ctx.lineTo(100,300);
5 ctx.lineWidth = 30;
6 ctx.lineCap = "butt";
7 ctx.strokeStyle = "white";
8 ctx.stroke();
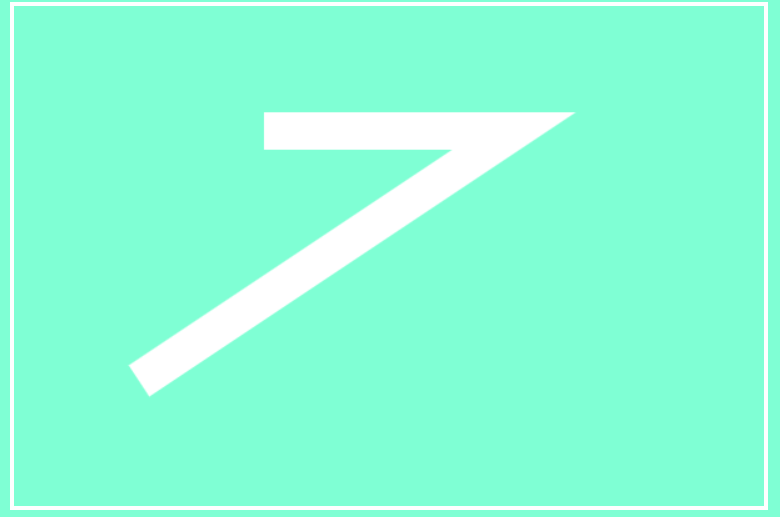
这时候有个lineJoin属性,可以控制线段连接处的线条风格,值有bevel,round,miter
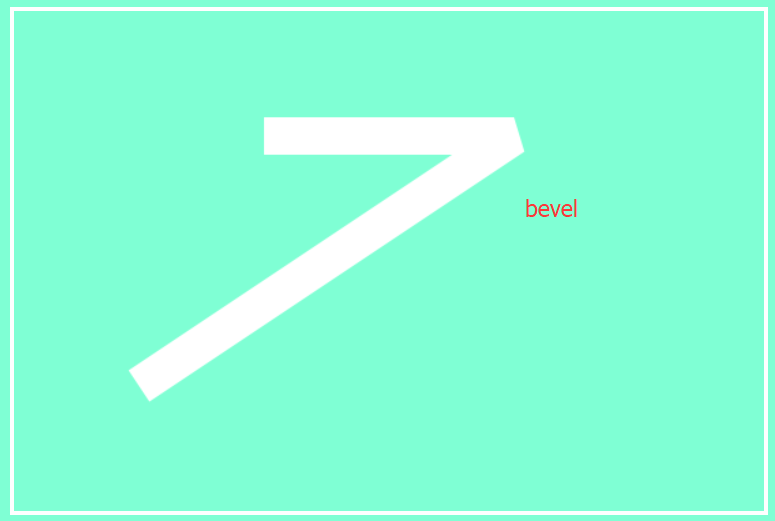
当值为miter时,会多一个属性miterLimit(定义最大斜接长度)多数为角度比较小的时候才会有这种情况
看miterLimit = 5时,斜接长度大于5,
只能按照bevel展示,这时候加大miterLimit的值就能恢复正常

这个连接的属性还是有用的,有的时候画复杂的图形,连接的不好会很丑。
canvas画矩形
矩形的绘画还是比较简单的
有三种画法
1、一种是用线条构建,使用closePath()闭合折线图形
 1     ctx.moveTo(200,100);
 2     ctx.lineTo(400,100);
 3     ctx.lineTo(400,200);
 4     ctx.lineTo(200,200);
 5     ctx.closePath();
 6     ctx.lineWidth = 10;
 7     ctx.lineCap = "butt";
 8     ctx.lineJoin = "miter";
 9     ctx.miterLimit =4;
10     ctx.strokeStyle = "white";
11     ctx.stroke();
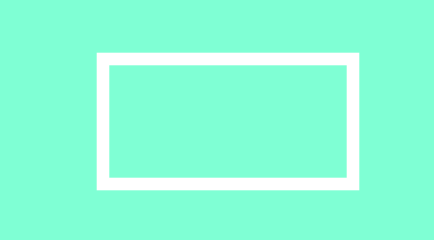
先画边框再填充颜色
1 ctx.fillStyle = "lightBlue";
2 ctx.fill();
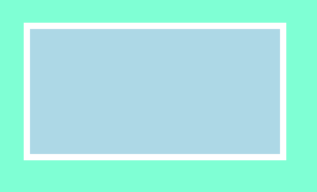
看到没,这边有意思的是线框被占了是不是。
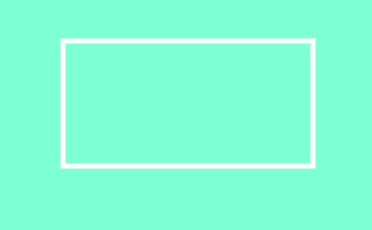
2、第二种相当于分离进化版
1     ctx.strokeStyle = "white";
2     ctx.lineWidth = 4;
3     ctx.strokeRect(200,100,200,100)  //strokeRect(x,y,width,height)
4     ctx.fillStyle="lightBlue";
5     ctx.fill();

  红色代码就没用了
3、第三种直接填充画矩形,再画边框,当然你也可以不画
1     ctx.fillStyle="lightBlue";
2     ctx.fillRect(200,100,200,100);
3     ctx.strokeStyle="white";
4     ctx.strokeRect(200,100,200,100);  //strokeRect(x,y,width,height)

canvas画圆
先来一个表达式吧
ctx.arc(x ,y,r,sAngle,eAngle,counterclockwise); 注意是arc不是src....
x,y 分别圆心的坐标;r为半径;sAngle为起始角;eAngle为结束角;counterclockwise规定逆时针还是顺时针,默认true为顺时针
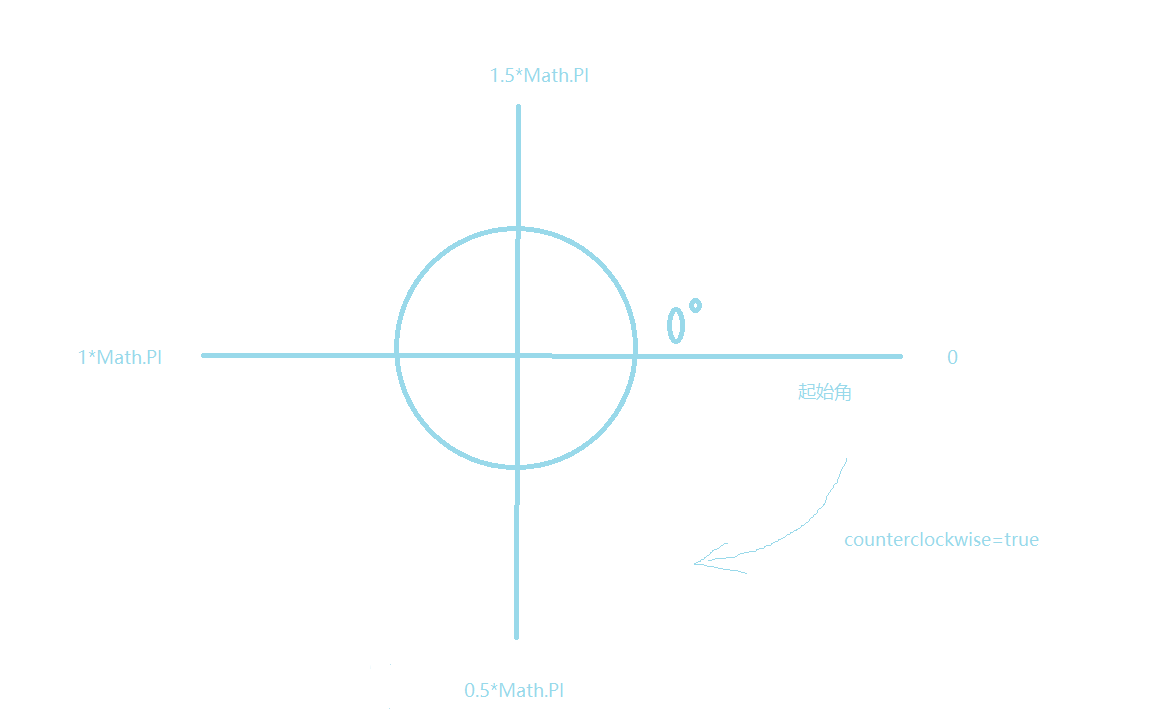
1 ctx.lineWidth = 5;
2 ctx.strokeStyle = "white";
3 ctx.arc(300,200,50,0,1.5*Math.PI);
4 ctx.stroke();

可以填充颜色
1 ctx.lineWidth = 5;
2 ctx.strokeStyle = "white";
3 ctx.arc(300,200,50,0,1.5*Math.PI);
4 ctx.stroke();
5 ctx.fillStyle = "lightBlue";
6 ctx.fill();

来个例子,画个中国太极
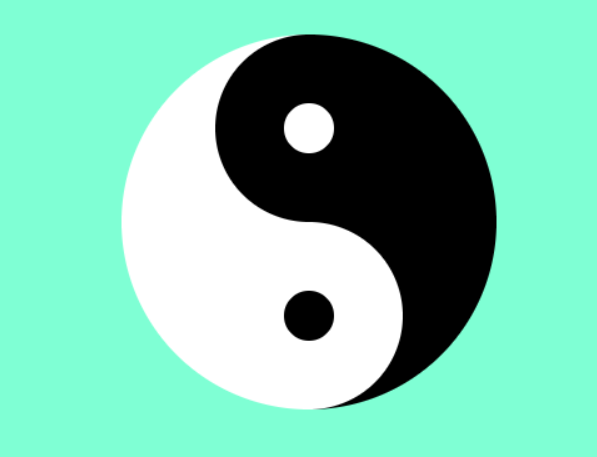
 1         ctx.beginPath();
 2         ctx.arc(300, 200, 150, 0.5 * Math.PI, 1.5 * Math.PI);
 3         ctx.fillStyle = "white";
 4         ctx.fill();
 5         ctx.beginPath();
 6         ctx.arc(300, 200, 150, 1.5 * Math.PI, 0.5 * Math.PI);
 7         ctx.fillStyle = "black";
 8         ctx.fill();
 9         ctx.beginPath();
10         ctx.arc(300, 125, 75, 0.5 * Math.PI, 1.5 * Math.PI);
11         ctx.fillStyle = "black";
12         ctx.fill();
13         ctx.beginPath();
14         ctx.arc(300, 275, 75, 1.5 * Math.PI, 0.5 * Math.PI);
15         ctx.fillStyle = "white";
16         ctx.fill();
17
18         ctx.beginPath();
19         ctx.arc(300, 275, 20, 0, 2 * Math.PI);
20         ctx.fillStyle = "black";
21         ctx.fill();
22         ctx.beginPath();
23         ctx.arc(300, 125, 20, 0, 2 * Math.PI);
24         ctx.fillStyle = "white";
25         ctx.fill();