一、准备
1.安装git
点击下载:链接:https://pan.baidu.com/s/1eToStns 密码:r93r
安装参考之前随笔:http://www.cnblogs.com/jiangbei/p/7704971.html
2.安装node.js
一路next安装即可
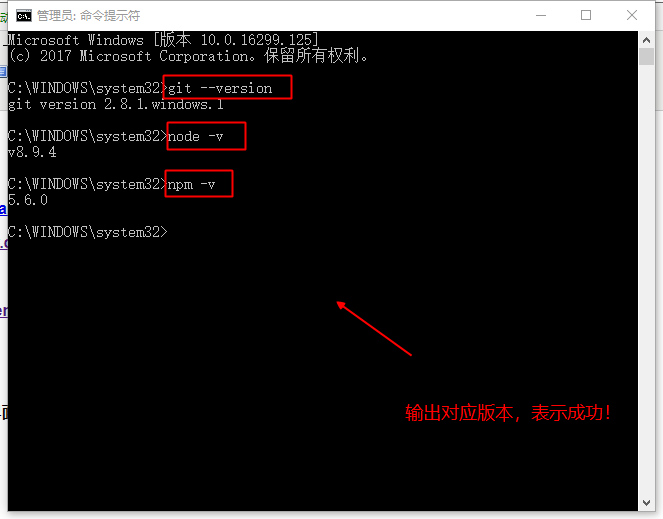
3.验证安装
WIN+R->输入cmd来到命令行界面,输入以下命令进行检验
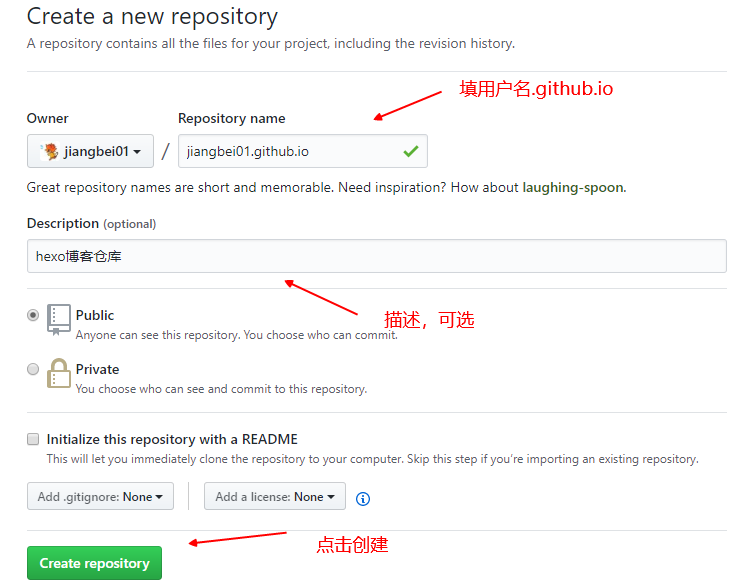
4.github相关配置
登录github(如无帐号请先注册):https://github.com/
创建仓库
配置github pages
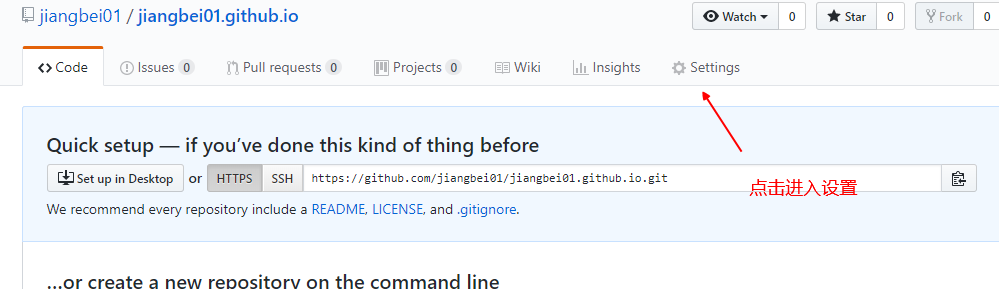
找到github pages即可进行相关配置
5.安装hexo
hexo官网:https://hexo.io/zh-cn/
在F盘创建blog文件夹(当然位置与文件夹名称可以自定义)
在blog文件夹中右键,Git bash here
安装:
$ npm install -g hexo-cli
更新版本至最新版本:
$ npm update hexo -g
初始化:
$ hexo init blog
$ cd blog
$ npm install
生成静态页面:
$ hexo generate
启动服务:
$ hexo server

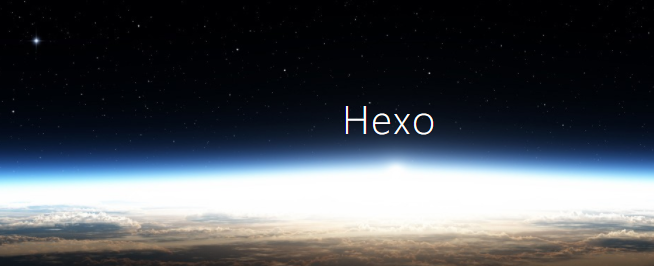
访问INFO网址,即可看到默认页面!
二、Hexo与Github绑定
1.配置个人信息
在git bash中输入github帐号对应的用户名与邮件地址
$ git config --global user.name "John Doe"
$ git config --global user.email johndoe@example.com
生成SSH密钥:
ssh-keygen -t rsa -C "775992759@qq.com"
配置SSH KEYS参考之前随笔:http://www.cnblogs.com/jiangbei/p/7712064.html
2.配置github与hexo的关联
找到配置文件:

修改部署部分:
# Deployment
## Docs: https://hexo.io/docs/deployment.html
deploy:
  type: git
  repo: https://github.com/jiangbei01/jiangbei01.github.io
  branch: master
  message:
保存离开,然后配置插件:
$ npm install hexo-deployer-git --save
部署:
$ hexo deploy
重新部署一次(清理之前相关的东西)
$ hexo clean
$ hexo generate
$ hexo deploy
最后,输入地址即可访问!点击预览
部署配置参考博文:http://blog.csdn.net/gdutxiaoxu/article/details/53576018
https://www.cnblogs.com/wumz/p/8030244.html
三、主题与外观配置
1.主题配置
官方介绍:https://hexo.io/zh-cn/docs/themes.html
官网主题列表:https://hexo.io/themes/
Github 所有主题列表:https://github.com/hexojs/hexo/wiki/Themes
我们以更换主题 yilia 为例:https://github.com/litten/hexo-theme-yilia
在博客根目录下,下载主题:(git bash)
$ git clone https://github.com/litten/hexo-theme-yilia.git themes/yilia
// 此时thenes下会多出yilia文件夹
修改根目录下配置文件:
theme: yilia
执行hexo g(与前面hexo general同义)重新生成:
hexo g
再部署就能能通过hexo s启动服务查看效果了!
hexo d
最后提交到github:在themes/yilia下执行:(以后更改yml等配置,执行此命令即可!)
git pull origin master
重新访问,查看效果!https://jiangbei01.github.io/
2.修改头像
一般都会在主题文件夹的_config.yml中修改,先将图片上传,得到外链地址,然后修改对应配置:

四、写博客
Hexo使用markdown语法的纯文本编辑,文件后缀名.m ,文件存放在:我们的站点目录下/source/_post 文件夹下
测试写博客流程:
执行新建命令
hexo new "new article"

打开md文件,输入博客内容
重新生成并部署(使用简化命令)
hexo d -g
重新访问,即可查看到!
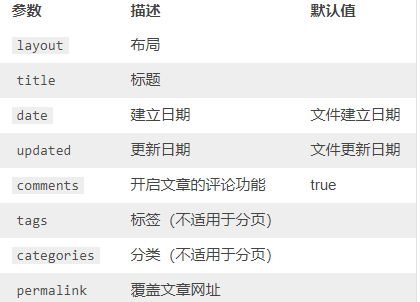
文章所拥有的属性:
所有属性:(官方文档有详细解释)
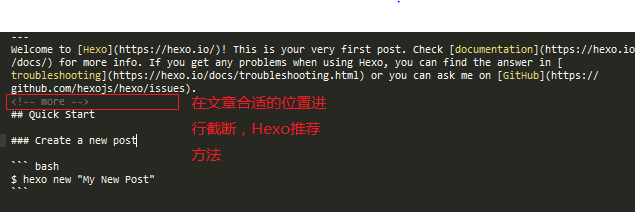
配置文章不显示全文而是显示展开更多:
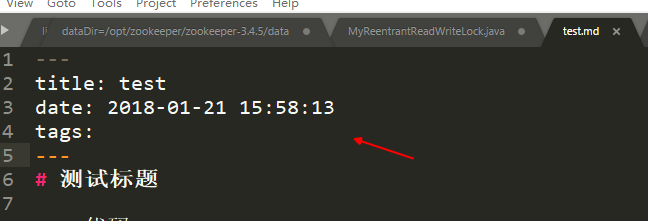
文章标签设置
注意空格!冒号和-号后面都有空格!
---
title: 标题
date: 2016-07-22 15:08:32
categories:
tags:
     - 随笔
     - test
---