下载地址:
Nginx下载地址:http://download.csdn.net/detail/terrly88/9099117
bugfree下载地址:http://download.csdn.net/detail/terrly88/9099133
1、准备环境
yum -y install libmcrypt-devel mhash-devel libxslt-devel
libjpeg libjpeg-devel libpng libpng-devel freetype freetype-devel libxml2 libxml2-devel
zlib zlib-devel glibc glibc-devel glib2 glib2-devel bzip2 bzip2-devel
ncurses ncurses-devel curl curl-devel e2fsprogs e2fsprogs-devel
krb5 krb5-devel libidn libidn-devel openssl openssl-devel
2、安装php-fpm
1)wget http://cn2.php.net/distributions/php-5.5.29.tar.gz(安装wget命令:yum -y install wget)
2)tar zvxf php-5.5.29.tar.gz
3)cd php-5.5.29
4)./configure --prefix=/usr/local/php --enable-fpm --with-mcrypt
--enable-mbstring --disable-pdo --with-curl --disable-debug --disable-rpath
--enable-inline-optimization --with-bz2 --with-zlib --enable-sockets
--enable-sysvsem --enable-sysvshm --enable-pcntl --enable-mbregex
--with-mhash --enable-zip --with-pcre-regex --with-mysql --with-mysqli
--with-gd --with-jpeg-dir
5)make && make install
6)添加www-data用户
groupadd www-data
useradd -g www-data www-data
7)修改php-fpm.conf配置文件
a) cd /usr/local/php
b) cp etc/php-fpm.conf.default etc/php-fpm.conf
c) vi etc/php-fpm.conf
d) 修改user = www-data group = www-data
8)配置php.ini,目录/etc/php.ini
enable_dl = On 是否使dl()有效.
cgi.force_redirect = 0
cgi.fix_pathinfo=1
fastcgi.impersonate = 1
cgi.rfc2616_headers = 1
allow_url_fopen = On是否允许把URLs当作http:.. 或把文件当作ftp
参考:http://blog.csdn.net/motian06/article/details/21172783
3、安装Nginx步骤:
1)从http://nginx.org/download/上下载相应的版本
(或者wget http://nginx.org/download/nginx-1.9.4.tar.gz直接在Linux上用命令下载)
1) 解压 tar -zxvf nginx-1.9.4.tar.gz
2) yum -y install pcre-devel
3) yum -y install openssl openssl-devel
4) ./configure --prefix=/usr/local/nginx
5) make && make install
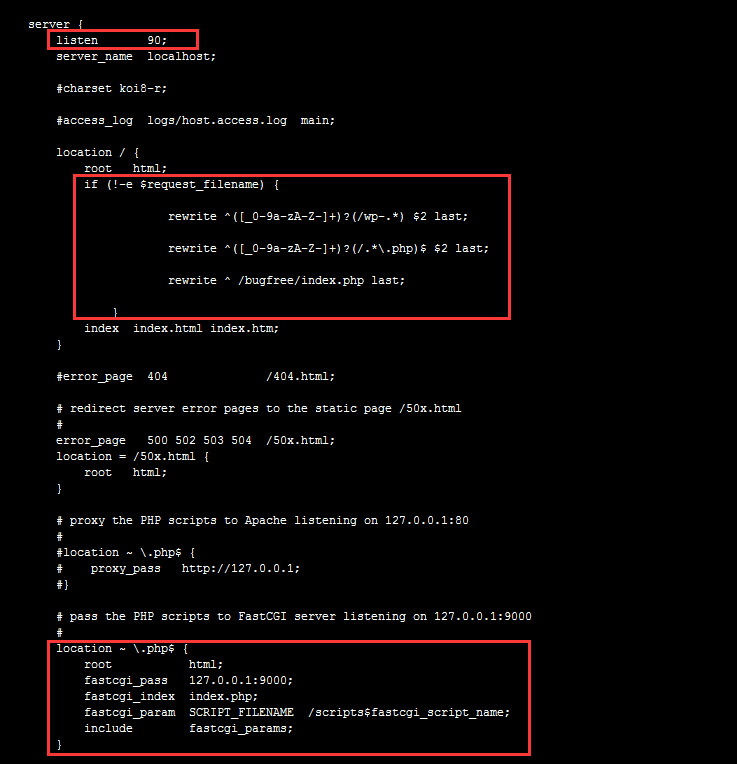
6) 修改配置文件,如下:
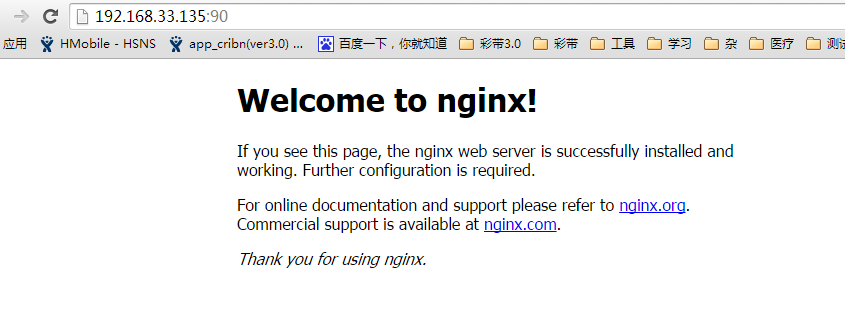
7) 访问浏览器
4、测试php文件是否能访问
1)在/usr/local/nginx/html新建index.php文件,添加如下内容:
<?php

    echo "Hello";

?>
2)启动服务php-fpm
3)重启Nginx:./nginx –s reload
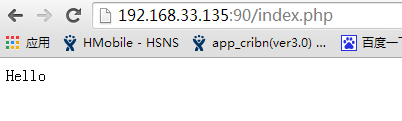
4)浏览器访问http://你的服务器ip/index.php
结果:提示找不到文件
5)检查Nginx配置文件,再次修改如下:

6)刷新浏览器
5、安装bugfree
1)上传bugfree.zip
2)解压tar zxvf bugfree.zip
3)cd bugfree3.0.1
4)改名:mv bugfree3.0.1 bugfree
5)拷贝到/usr/local/nginx/html
6)打开浏览器http://ip:端口/bugfree/install
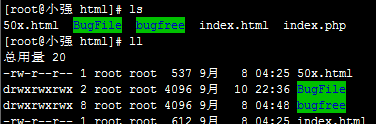
7)新建文件夹,并修改BugFile和bugfree的权限
8)刷新浏览器页面
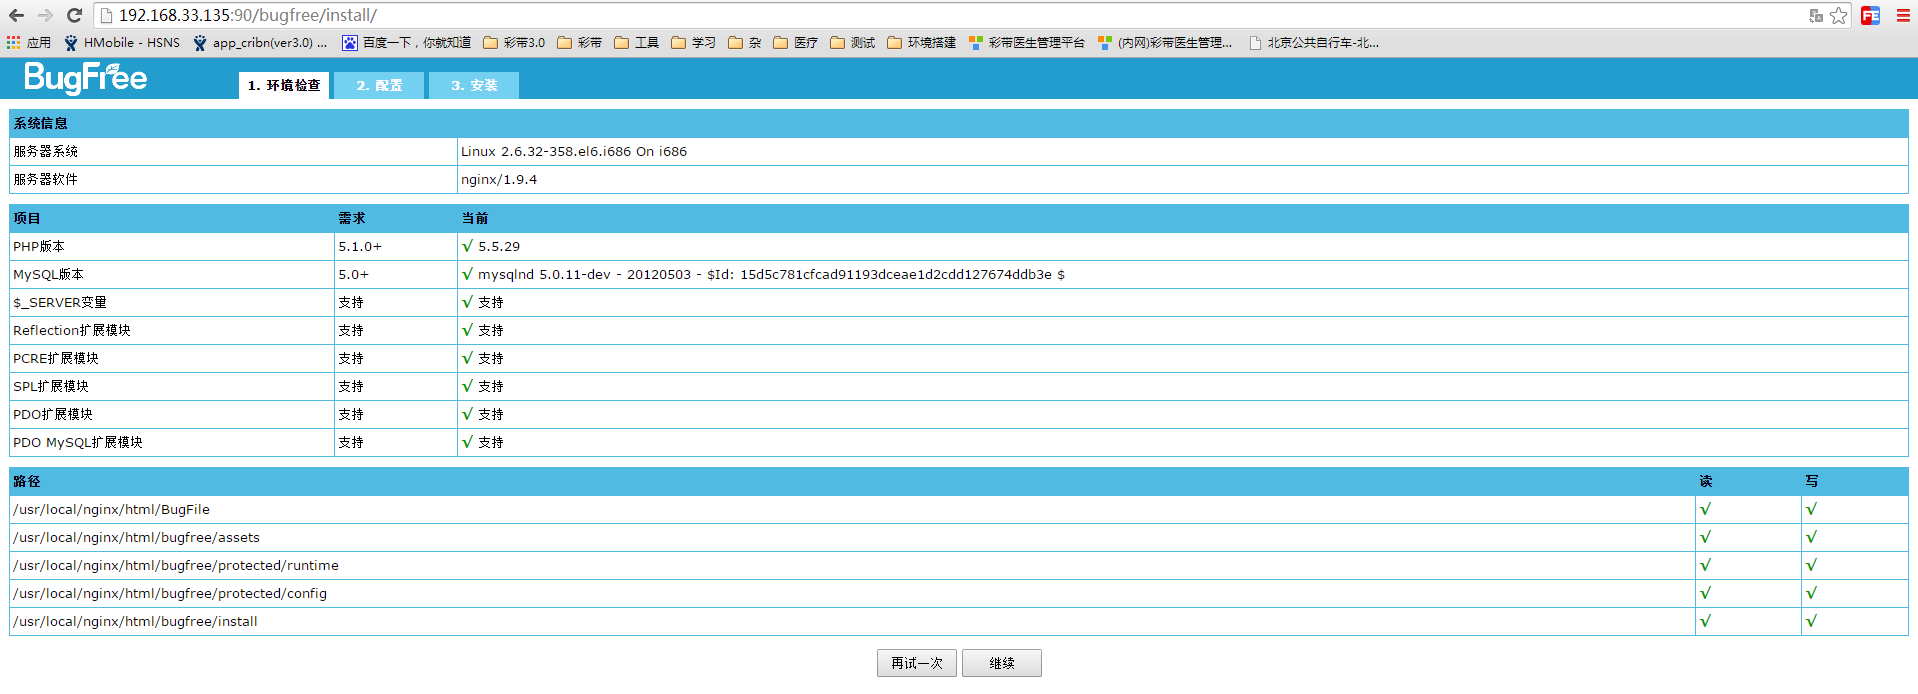
9) 点击继续
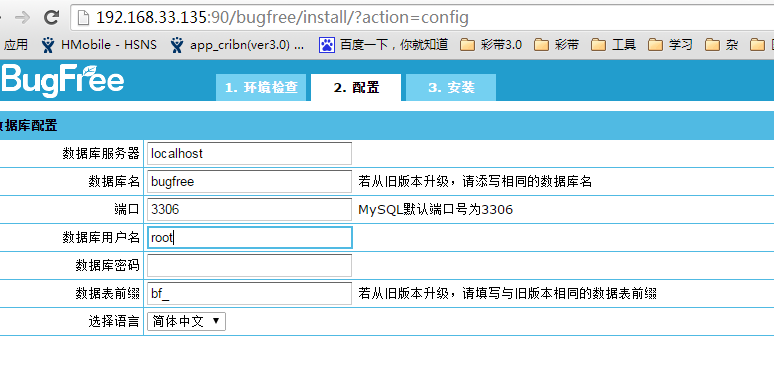
这里注意服务器名写localhost或者服务器的IP地址
数据库名随便
用户名:root
密码为空,不要填写
前缀:随意
10) 点击安装
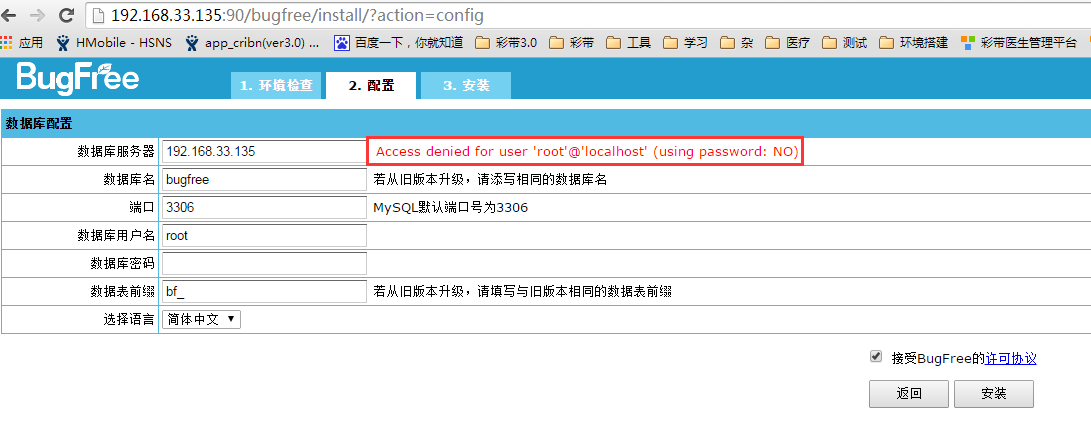
原因:由于我是在本机上用浏览器访问的,而不是在安装的虚拟机上,所以需要将localhost改为虚拟机的ip ,并填写上数据库密码
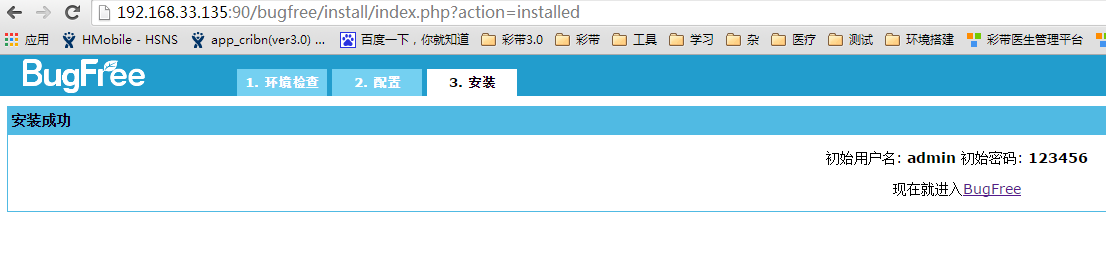
11) 加上数据库的密码,再次点击安装
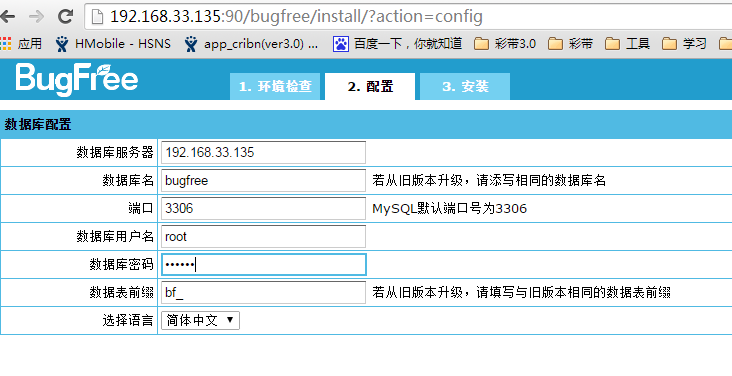
安装成功
6、打开bugfree,并登陆

7、将Nginx添加为系统服务
由于出现service nginx restart nginx: 未被识别的服务
1)在/etc/init.d/目录下编写脚本,名为nginx
#!/bin/sh
#
# nginx - this script starts and stops the nginx daemon
#
# chkconfig:   - 85 15
# description: Nginx is an HTTP(S) server, HTTP(S) reverse
#               proxy and IMAP/POP3 proxy server
# processname: nginx
# config:      /etc/nginx/nginx.conf
# config:      /etc/sysconfig/nginx
# pidfile:     /var/run/nginx.pid

# Source function library.
. /etc/rc.d/init.d/functions

# Source networking configuration.
. /etc/sysconfig/network

# Check that networking is up.
[ "$NETWORKING" = "no" ] && exit 0

nginx="/usr/local/nginx/sbin/nginx"
prog=$(basename $nginx)

NGINX_CONF_FILE="/usr/local/nginx/conf/nginx.conf"

[ -f /etc/sysconfig/nginx ] && . /etc/sysconfig/nginx

lockfile=/var/lock/subsys/nginx

start() {
    [ -x $nginx ] || exit 5
    [ -f $NGINX_CONF_FILE ] || exit 6
    echo -n $"Starting $prog: "
    daemon $nginx -c $NGINX_CONF_FILE
    retval=$?
    echo
    [ $retval -eq 0 ] && touch $lockfile
    return $retval
}

stop() {
    echo -n $"Stopping $prog: "
    killproc $prog -QUIT
    retval=$?
    echo
    [ $retval -eq 0 ] && rm -f $lockfile
    return $retval
killall -9 nginx
}

restart() {
    configtest || return $?
    stop
    configtest || return $?
    stop
    sleep 1
    start
}

reload() {
    configtest || return $?
    echo -n $"Reloading $prog: "
    killproc $nginx -HUP
RETVAL=$?
    echo
}

force_reload() {
    restart
}

configtest() {
$nginx -t -c $NGINX_CONF_FILE
}

rh_status() {
    status $prog
}

rh_status_q() {
    rh_status >/dev/null 2>&1
}

case "$1" in
    start)
        rh_status_q && exit 0
    $1
        ;;
    stop)
        rh_status_q || exit 0
        $1
        ;;
    restart|configtest)
        $1
        ;;
    reload)
        rh_status_q || exit 7
        $1
        ;;
    force-reload)
        force_reload
        ;;
    status)
        rh_status
        ;;
    condrestart|try-restart)
        rh_status_q || exit 0
    condrestart|try-restart)
        rh_status_q || exit 0
            ;;
    *)
      echo $"Usage: $0 {start|stop|status|restart|condrestart|try-restart|reload|force-reload|configtest}"
        exit 2
esac
2)修改权限和添加服务
cp nginx /etc/init.d/
chmod 755 /etc/init.d/nginx
chkconfig --add nginx
3)nginx启动、停止、无间断服务重启
service nginx start
service nginx stop
service nginx reload
4)验证下,再次执行service nginx restart命令