SpringBoot 快速入门
-
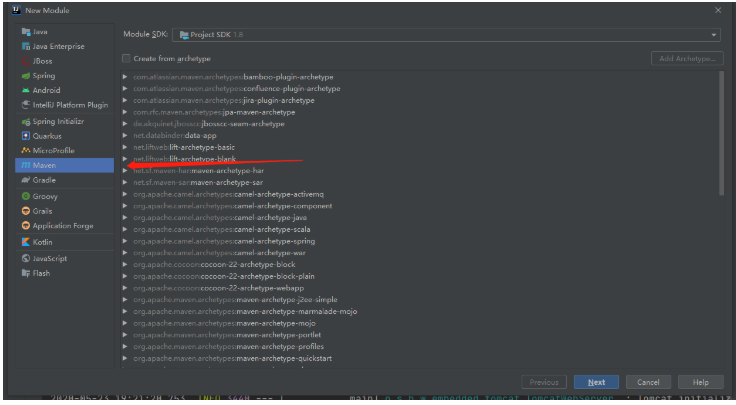
1、 在 idea 中 new 一个 module
- 不需要勾选 web 等选项,就一普通的 Maven 工程
-
2、创建好之后在 pom.xml 中添加SpringBoot 的 父依赖和起步依赖以及热部署依赖
<-- 父依赖 --> <parent> <groupId>org.springframework.boot</groupId> <artifactId>spring-boot-starter-parent</artifactId> <version>2.3.0.RELEASE</version> </parent> <!-- web 功能的起步依赖 这个 spring-boot-starter-web 的坐标底层是整合了 spring 和 springMVC 的坐标 是一个打包了的坐标 --> <dependencies> <dependency> <groupId>org.springframework.boot</groupId> <artifactId>spring-boot-starter-web</artifactId> </dependency> </dependencies> <!-- 热部署配置--> <dependency> <groupId>org.springframework.boot</groupId> <artifactId>spring-boot-devtools</artifactId> </dependency> <!-- 热部署配置在 IDEA 中一般分为三步进行: 1、在 pom.xml 添加上面的依赖 2、打开 IDEA - File - Setting - 搜索框输入(compiler),然后勾选 build project autoactically (自动构建项目) 3、在 pom.xml 中 按下快捷键 Ctrl + Shift + Alt + / ,然后点击 registry 进去勾选 conpiler.automake.allow.app.running --> -
3、编写 SpringBoot 引导类
- 在 src/main/java 下面创建 SpringBoot 的引导类

-
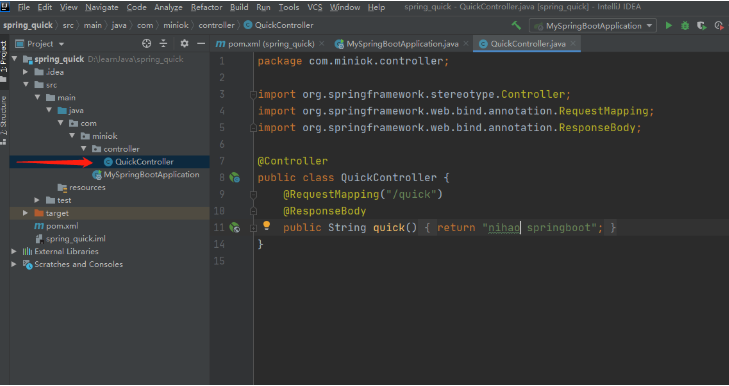
4、创建 controller
-
-
然后进行 注解 配置
-
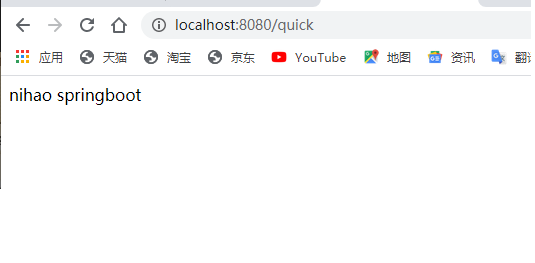
在引导类中启动项目
- 在浏览中其中输入:http://localhost:8080/quick
-