Ubuntu Desktop 16.04 LTS 安装好系统默认就有python两个不同版本(2.7.12和3.5.2)
现在来熟悉一下jupyter的对python这两个不同python版本的内核配置过程:
1.分别下载不同的python内核版本
命令如下:
sudo pip2 install ipykernel
sudo pip3 install ipykernel
2.安装不同的python内核版本
命令如下:
sudo python2 -m ipykernel install --user
sudo python3 -m ipykernel install --user
3.配置不同的python内核版本
python2的配置命令:
sudo jupyter kernelspec install /usr/bin/ (python2的路径可通过which python2 命令查看)
python3的配置命令:
sudo jupyter kernelspec install /usr/local/bin/ (python3的路径可通过which python3 命令查看)
4.启动jupyter notebook
sudo jupyter notebook --allow-root
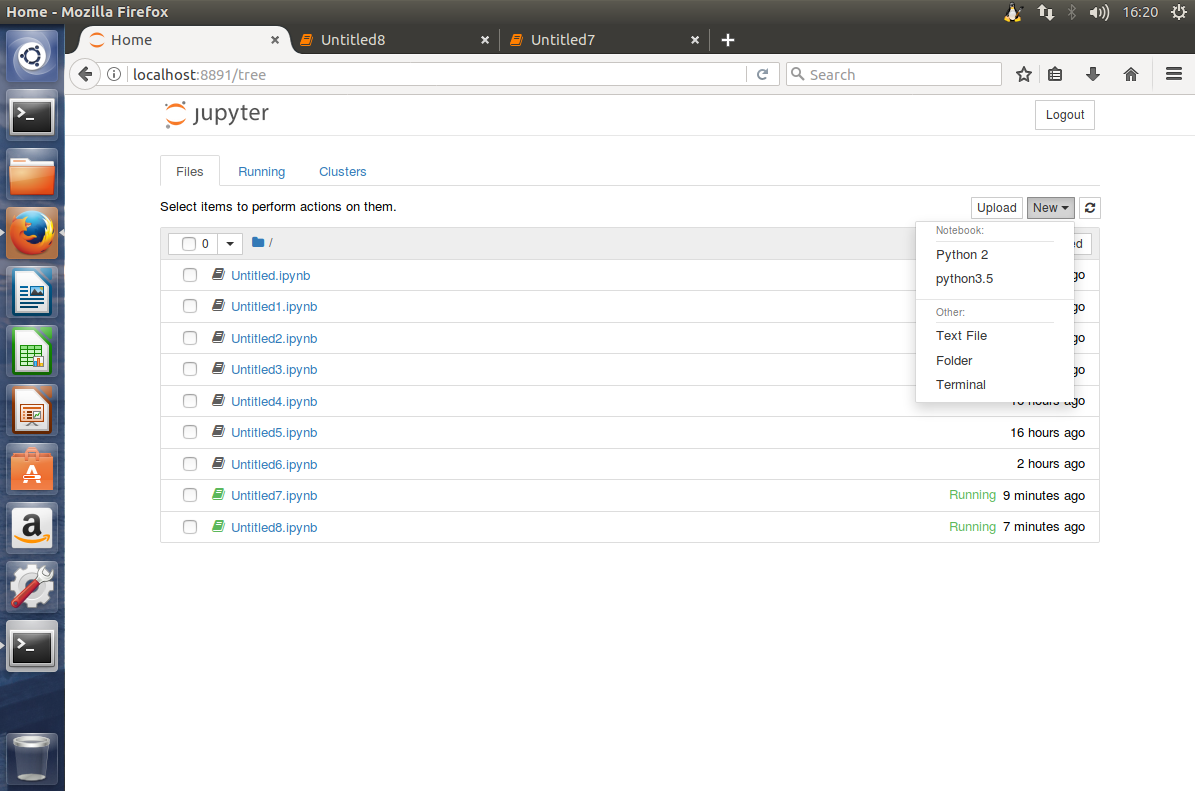
这样就可以看到两个不同版本的python内核版本
注意事项:
1.由于安装jupyter 需要用到~/.cache/pip/http/ 和~/.cache/pip/ 这两个文件目录的root用户私有访问权限,故需要设置权限,否则安装提示失败,
操作命令如下:
sudo chown root ~/.cache/pip/http/
sudo chown root ~/.cache/pip/
2.不要重复使用命令sudo apt-get install ipython 安装ipython,和sudo apt-get install jupyter-core,
否则运行jupyter notebook时会出现“dead kernel”提示系统崩溃,原因待查
已安装ipython的建议先卸载命令如下:
sudo apt-get remove ipython
sudo apt-get remove jupyter-core
sudo apt autoremove
3.建议使用pip方式来安装jupyter,命令如下:
sudo pip install jupyter
配置成功界面:
其它参考资料如下:
pip install 参数
安装指定源pip install -i https://pypi.douban.com/simple package name
升级pip install --upgrade package
jupyter notebook 添加 kernel
参考资料:
Jupyter增加内核
add python3 kernel to jupyter
这里以在python2环境下的notebook添加python3 kernel为例,
首先,确保python3环境下安装了ipykernel
pip3 install ipykernel
然后在python3的python可执行文件所在目录下执行 python -m ipykernel install
可以添加命令 --name kernelname 为kernel指定名字
查看jupyter notebook kernel
使用命令jupyter kernelspec list可以查看当前的kernel
删除notebook kernel
使用命令jupyter kernelspec remove kernelname