1. 简介
GitLab 是一个用于仓库管理系统的开源项目,使用Git作为代码管理工具,并在此基础上搭建起来的
web服务。
GitLab和GitHub一样属于第三方基于Git开发的作品,免费且开源(基于MIT协议),与Github类似,
可以注册用户,任意提交你的代码,添加SSHKey等等。不同的是,GitLab是可以部署到自己的服务器
上,数据库等一切信息都掌握在自己手上,适合团队内部协作开发,你总不可能把团队内部的智慧总放
在别人的服务器上吧?简单来说可把GitLab看作个人版的GitHub。
2. Gitlab-ee安装
1 . 安装相关依赖
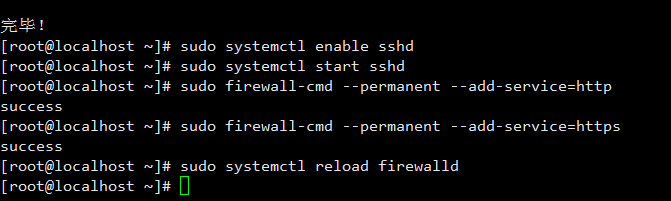
sudo yum install -y curl policycoreutils-python openssh-server

# 启动sshd
sudo systemctl enable sshd
sudo systemctl start sshd
# 系统防火墙中打开HTTP,HTTPS
sudo firewall-cmd --permanent --add-service=http
sudo firewall-cmd --permanent --add-service=https
sudo systemctl reload firewalld
2 . 设置postfix开机自启,并启动,postfix支持gitlab发邮件功能
sudo yum install postfix
sudo systemctl enable postfix
sudo systemctl start postfix

3 . 配置yum源
在线下载安装yum源:
curl https://packages.gitlab.com/install/repositories/gitlab/gitlab-ee/script.rpm.sh | sudo bash
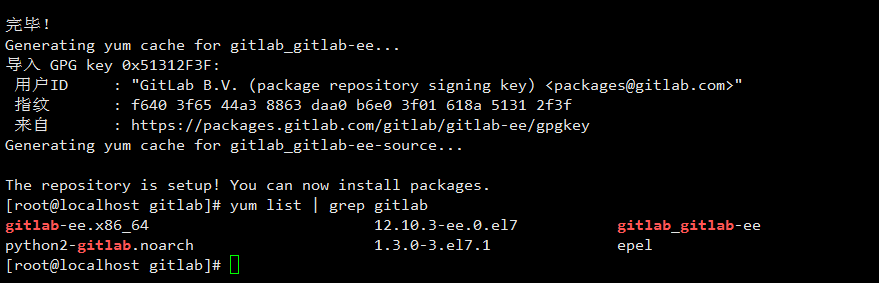
4 . 安装gitlab并配置域名
yum install -y gitlab-ee
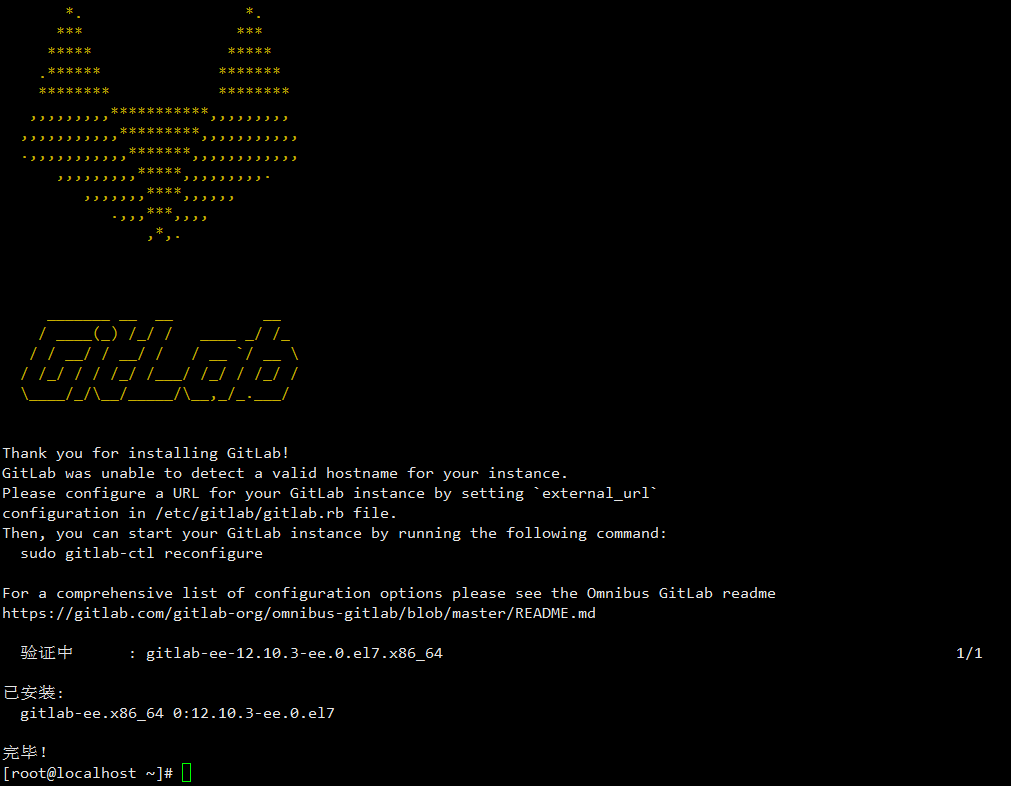
5. 修改gitlab配置
vi /etc/gitlab/gitlab.rb
修改gitlab访问地址和端口,默认为80,我们改为82
# 改为需要配置的域名
external_url 'http://gitlab.example.com'
# 修改监听端口,默认80
nginx['listen_port'] = 82
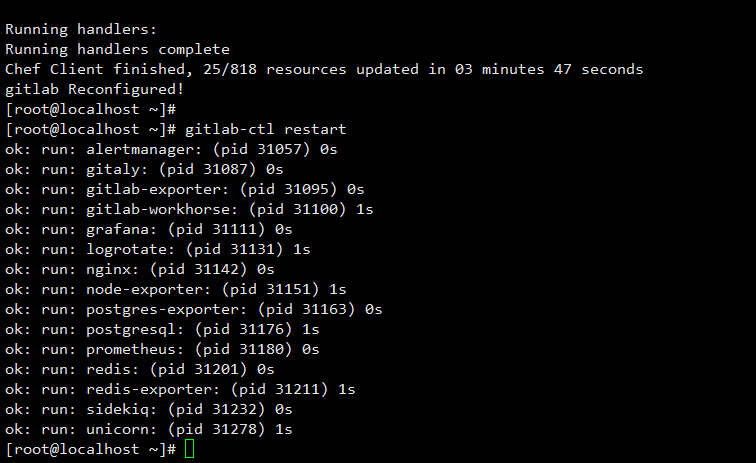
6 . 重载配置及启动gitlab
gitlab-ctl reconfigure
gitlab-ctl restart
7. 把端口添加到防火墙
firewall-cmd --zone=public --add-port=82/tcp --permanent
firewall-cmd --reload
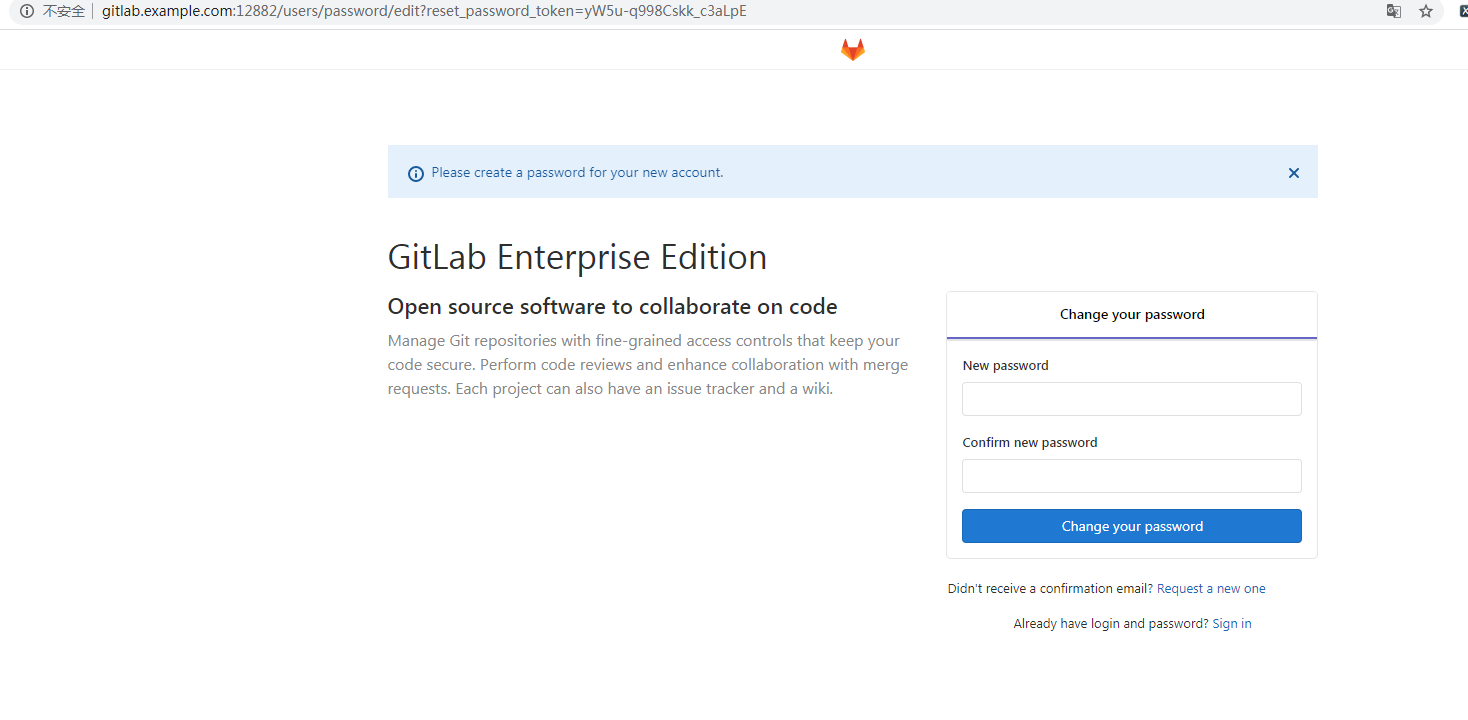
启动成功后,看到以下修改管理员root密码的页面,修改密码后,然后登录即可