创建简易的SpringBoot项目
这两天在学习springboot,菜鸟刚刚知道这个东西,看着springboot项目下那一大堆目录都不知道从何下手,还是静下心来从最简单的创建一个项目入手,这路和大家做一下分享。
工具
- eclipse
- springboot
步骤
1、生成springboot项目
这里应该是最疑惑的步骤,spring网站上有提供生成简单springboot项目的工具,这个还是很方便的,这里我提供网址:https://start.spring.io/
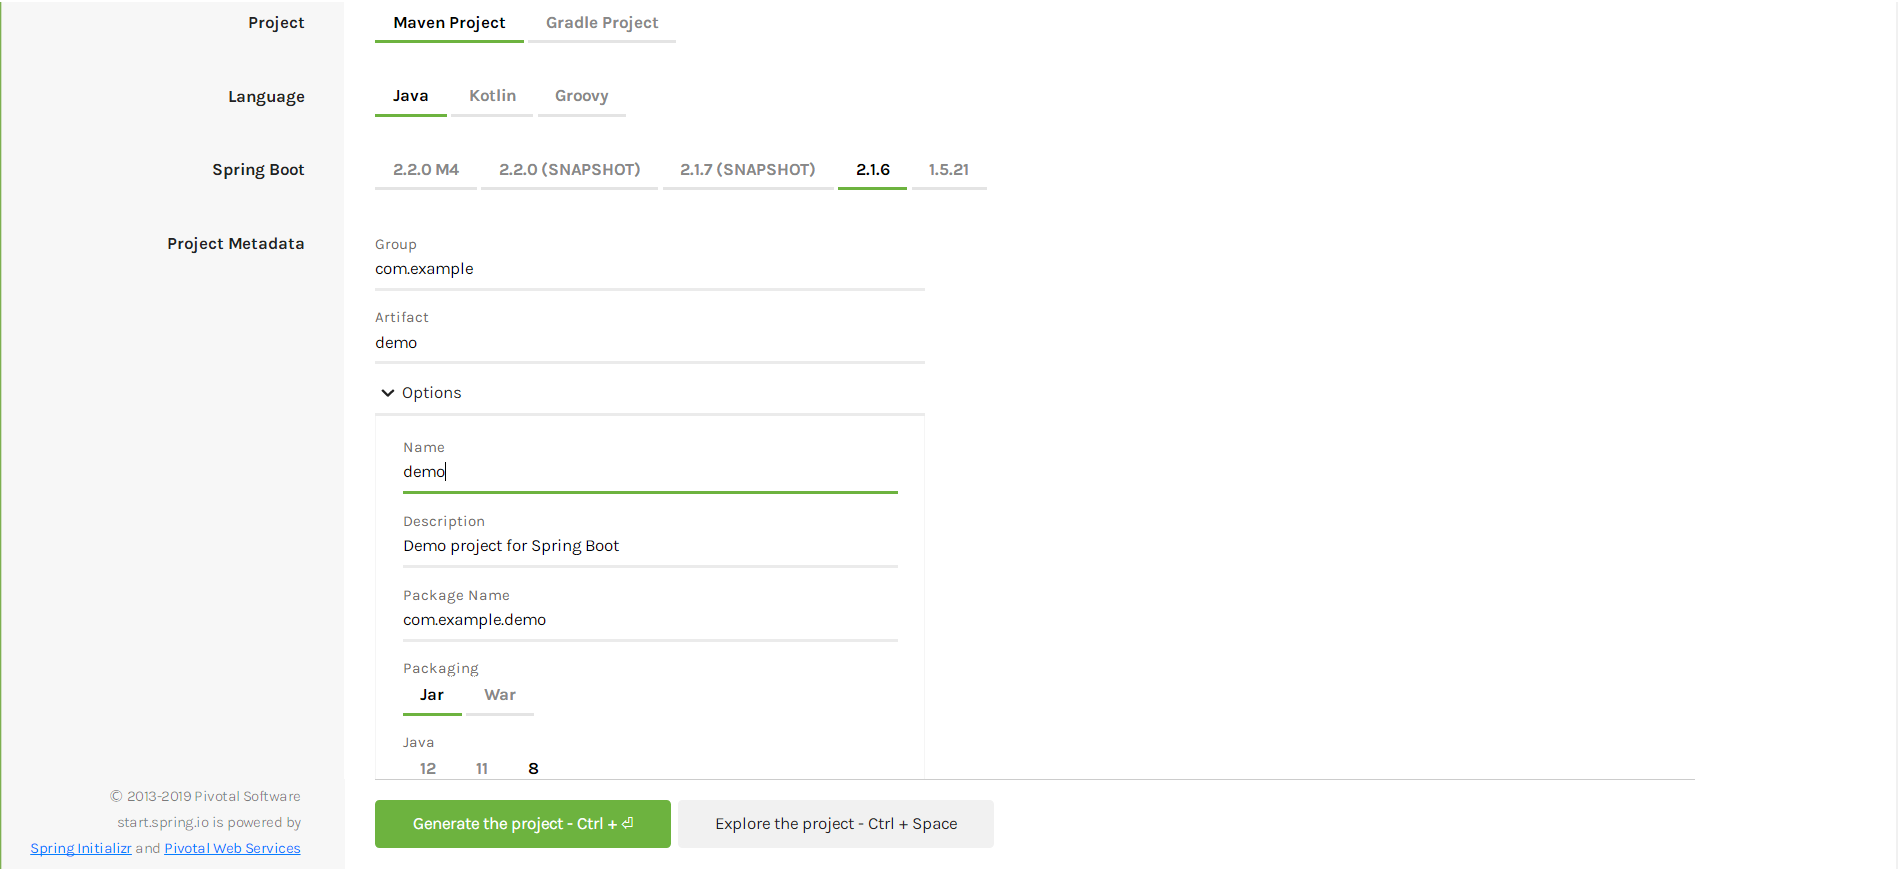
这里大家根据自己的情况填写即可,然后直接点击 Generate the project -Ctrl+ 这个按钮下载springboot项目即可。
2、在Eclipse里面导入这个项目
先找到刚才下载的那个文件,解压并放到合适的位置,接下来打开 Eclipse。
在导航栏上面 File->Import->Maven

点击后找到刚刚那个文件直接导入,这个过程会自动到 Maven 中央仓库下载依赖包,可能会比较耗时。
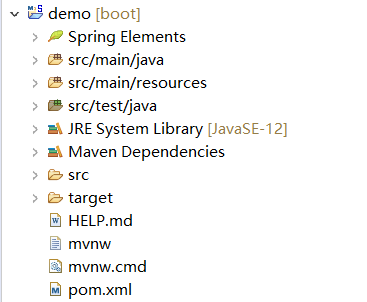
加载完成之后项目目录就应该是下面这样的。
3、创建简易项目
接下来我们向刚刚那个 springboot项目里添加一些东西
首先先来添加一些必要的依赖,向 pom.xml 的依赖里加入下面的代码:
        <!--引入Web模块,需添加spring-boot-starter-web模块:-->
        <dependency>
            <groupId>org.springframework.boot</groupId>
            <artifactId>spring-boot-starter-web</artifactId>
        </dependency>
构建一下项目,右键 pom.xml->maven build,第一次构建的话在弹出的框里 goal 输入 clean package。
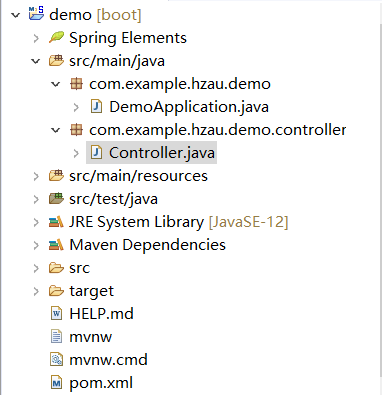
在src/main/java 下创建一个新的包,在这个包下创建一个 Controller.java,项目结构如下:
在这个类中加入以下代码:
import org.springframework.web.bind.annotation.RequestMapping;
import org.springframework.web.bind.annotation.RestController;

@RestController
@RequestMapping("/Test")
public class Controller {

    @RequestMapping("/hello")
    public String hello() {
        return "hello World";
    }

}
这里只是惯例的显示了 hello world。
好了,右键 DemoApplication.java启动项目

看到 Started...就证明启动成功了。
接下来打开浏览器,输入 localhost:8080/Test/hello就可以看到以下画面:
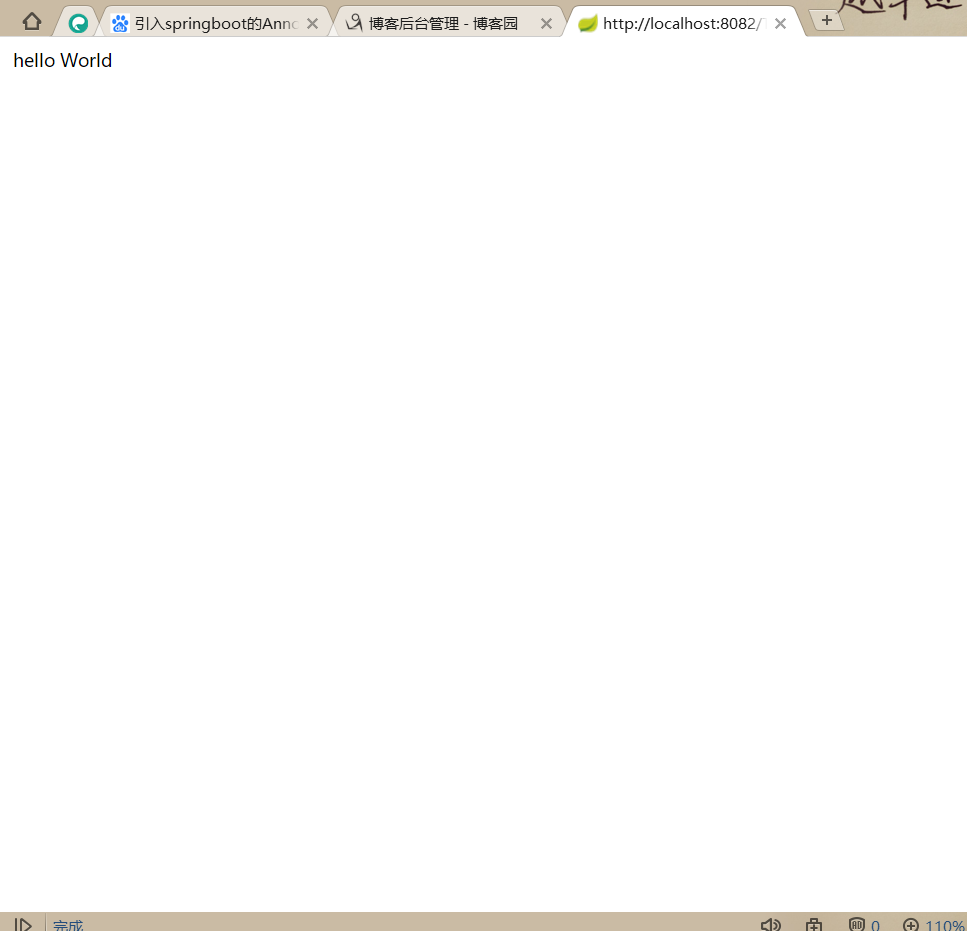
注:这里因为我的8080端口被我另外一个项目绑定了,所以我把这个项目绑定在了8082端口上,这个可以在 src/main/resource 下面来做修改,添加以下内容即可:
#u7AEFu53E3u53F7
server.port=8082
这上面的中文被自动转成Unicode码了。
希望能对大家有所帮助。
吾生也有涯,而知也无涯。