动批量检查agent开放的端口
注:此方法给监控磁盘IO(即十二)篇过程一样;
注释:如果服务器上的应用都是固定的,不会随机产生的都可以使用自动发现端口来监控;
如果服务器会随机出现端口且每次启动程序都会改变,可以采用第二种方法,来监控指定的端口;
约定:
zabbix所有执行的脚本统一放置在 /etc/zabbix/scripts 目录下
chown root:zabbix -R /etc/zabbix/scripts/
chmod 750 /etc/zabbix/scripts/
chmod 550 /etc/zabbix/scripts/iostat.sh
一、agent操作:
1、脚本内容
[root@agent scripts]# cat check_port1.sh
#!/usr/bin/env python
#coding:utf-8

import os, json

port_list=[]
port_dict={"data":None}
cmd='''''netstat -tnlp|egrep -i "$1"|awk {'print $4'}|awk -F':' '{if ($NF~/^[0-9]*$/) print $NF}'|sort |uniq   2>/dev/null'''
local_ports=os.popen(cmd).readlines()

for port in local_ports:
    pdict={}
    pdict["{#TCP_PORT}"]=port.replace("
", "")
    port_list.append(pdict)

port_dict["data"]=port_list
jsonStr = json.dumps(port_dict, sort_keys=True, indent=4)

print jsonStr
[root@agent scripts]#
[root@agent scripts]#chmod +s /usr/bin/netstat
2、添加key值
cat /etc/zabbix/zabbix_agentd.conf
添加如下内容:
UnsafeUserParameters=1
UserParameter=tcpportlisten,/etc/zabbix/scripts/check_port1.sh
3、重启agent服务
systemctl restart zabbix-agent.service
二、zabbix-server端操作
1、创建模板:Template Ports Discovery

2、创建自动发现规则

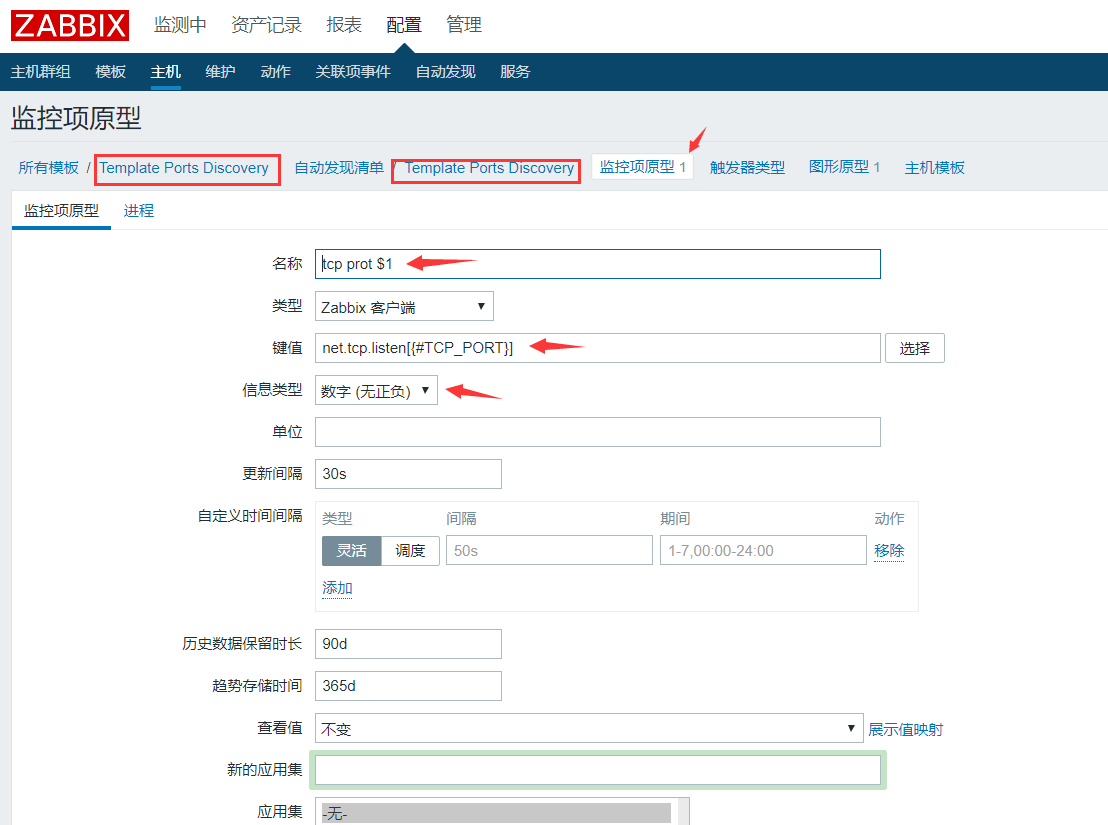
3、创建监控项原型
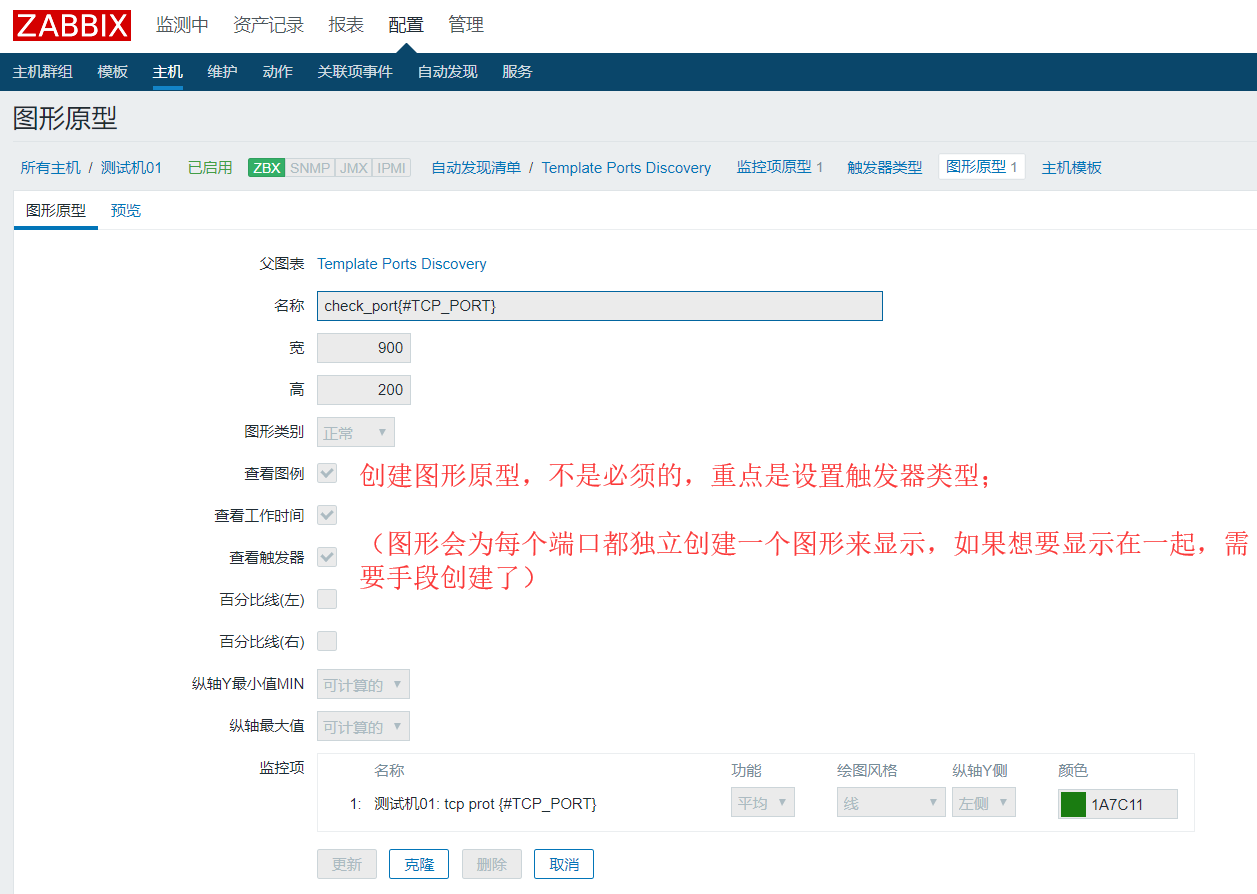
4、创建图形原型
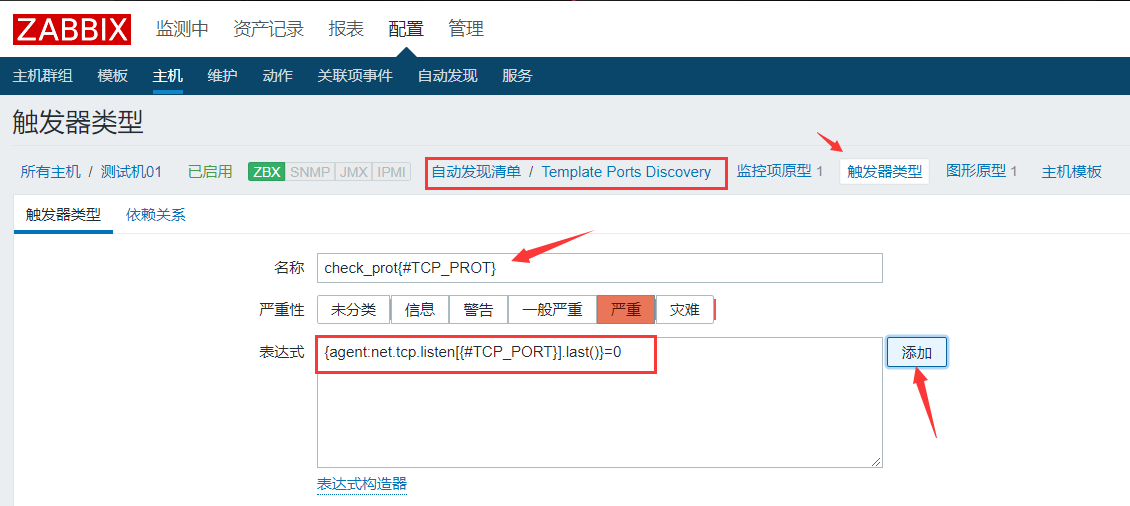
5、创建触发器
此方法可以批量为多个监控端口添加相同的阈值!!!
三、结果

监控指定端口范围内的端口
原博文地址:http://blog.chinaunix.net/uid-29680017-id-5768335.html
1、脚本内容
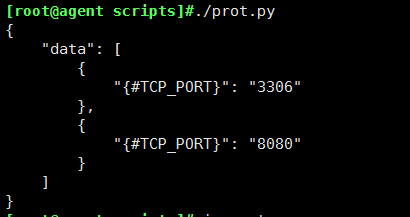
[root@agent scripts]#vim prot.py

#!/usr/bin/python
__author__ = 'Yan'
import os
import json

data = {}
tcp_list = []
port_list = []
t = ['3306','8080','2002','2003','10066']
tt = []
command = "sudo netstat -tnlp|egrep -i tcp|awk {'print $4'}|awk -F':' '{if ($NF~/^[0-9]*$/) print $NF}'|sort|uniq"
lines = os.popen(command).readlines()
for line in lines:
    port = line.split()
    port_list.append(port[0])
for i in port_list:
    if i in t:
      tt.append(i)
for port in list(set(tt)):
    port_dict = {}
    port_dict['{#TCP_PORT}'] = port
    tcp_list.append(port_dict)

data['data'] = tcp_list
jsonStr = json.dumps(data, sort_keys=True, indent=4)
print jsonStr
2、执行结果