安装:
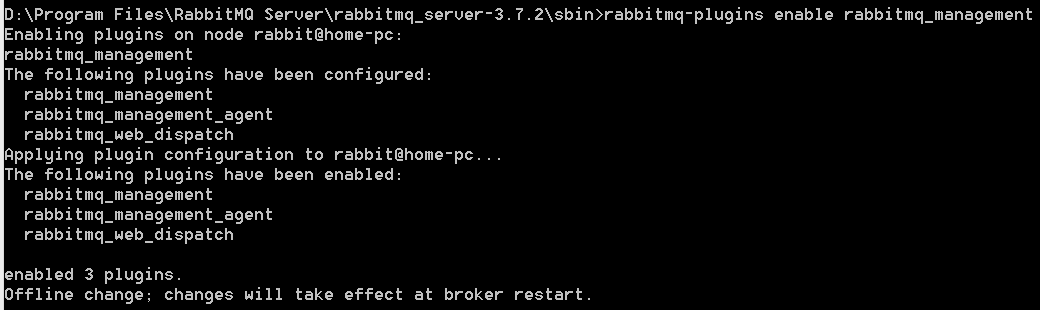
启动监控管理器:rabbitmq-plugins enable rabbitmq_management
关闭监控管理器:rabbitmq-plugins disable rabbitmq_management
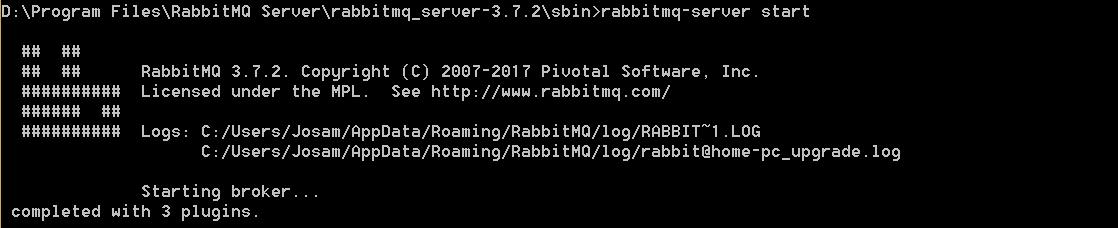
启动rabbitmq:rabbitmq-service start
关闭rabbitmq:rabbitmq-service stop
查看所有的队列:rabbitmqctl list_queues
清除所有的队列:rabbitmqctl reset
关闭应用:rabbitmqctl stop_app
启动应用:rabbitmqctl start_app
用户和权限设置(后面用处)
添加用户:rabbitmqctl add_user username password
分配角色:rabbitmqctl set_user_tags username administrator
新增虚拟主机:rabbitmqctl add_vhost vhost_name
将新虚拟主机授权给新用户:rabbitmqctl set_permissions -p vhost_name username '.*' '.*' '.*'
角色说明
none 最小权限角色
management 管理员角色
policymaker 决策者
monitoring 监控
administrator 超级管理员
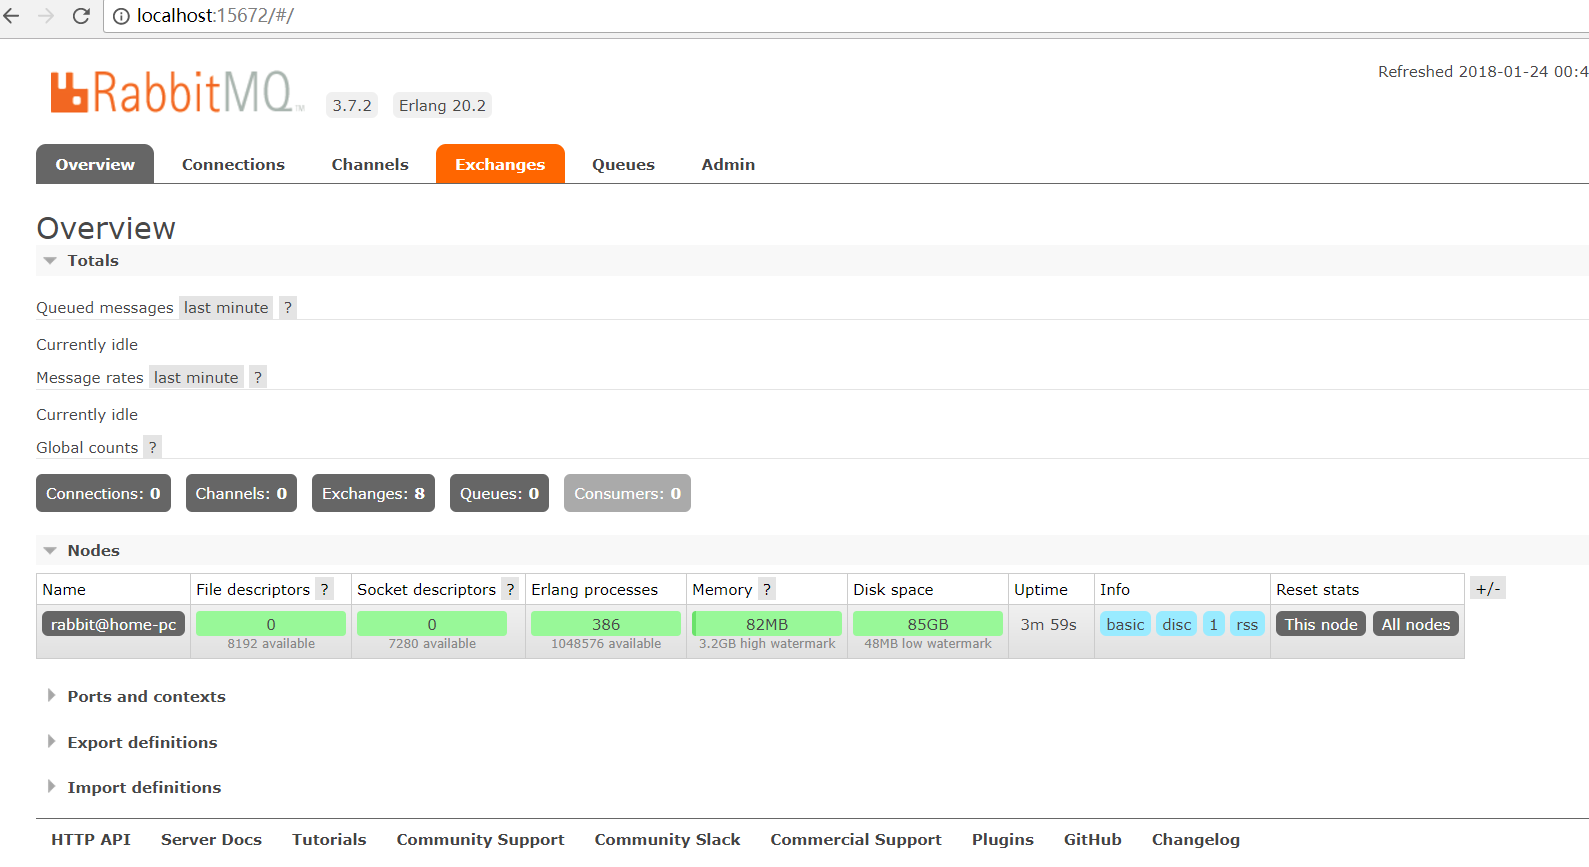
如图,启动插件后重启服务,在浏览器打开http://localhost:15672
登录,用户名密码都是guest
实例
 1 package com.hjp.rabbitmq.rabbitmq.samples;
 2
 3 import java.io.IOException;
 4 import java.util.concurrent.TimeoutException;
 5
 6 import com.rabbitmq.client.Channel;
 7 import com.rabbitmq.client.Connection;
 8 import com.rabbitmq.client.ConnectionFactory;
 9
10 /**
11  * 消息生成者
12  */
13 public class Producer {
14     public final static String QUEUE_NAME = "rabbitMQ.test";
15
16     public static void main(String[] args) throws IOException, TimeoutException {
17         // 创建连接工厂
18         ConnectionFactory factory = new ConnectionFactory();
19         // 设置RabbitMQ相关信息
20         factory.setHost("localhost");
21         /*factory.setUsername("guest");
22         factory.setPassword("guest");
23         factory.setPort(15672);*/
24         // 创建一个新的连接
25         Connection connection = factory.newConnection();
26         // 创建一个通道
27         Channel channel = connection.createChannel();
28         // 声明一个队列 channel.queueDeclare(QUEUE_NAME, false, false, false, null);
29         String message = "Hello RabbitMQ";
30         // 发送消息到队列中
31         channel.basicPublish("", QUEUE_NAME, null, message.getBytes("UTF-8"));
32         System.out.println("Producer Send +'" + message + "'");
33         // 关闭通道和连接
34         channel.close();
35         connection.close();
36     }
37 }
 1 package com.hjp.rabbitmq.rabbitmq.samples;
 2
 3 import java.io.IOException;
 4 import java.util.concurrent.TimeoutException;
 5
 6 import com.rabbitmq.client.AMQP;
 7 import com.rabbitmq.client.Channel;
 8 import com.rabbitmq.client.Connection;
 9 import com.rabbitmq.client.ConnectionFactory;
10 import com.rabbitmq.client.Consumer;
11 import com.rabbitmq.client.DefaultConsumer;
12 import com.rabbitmq.client.Envelope;
13
14 public class Customer {
15     private final static String QUEUE_NAME = "rabbitMQ.test";
16
17     public static void main(String[] args) throws IOException, TimeoutException {
18         // 创建连接工厂
19         ConnectionFactory factory = new ConnectionFactory();
20         //设置RabbitMQ地址
21         factory.setHost("localhost");
22         //创建一个新的连接
23         Connection connection = factory.newConnection();
24         //创建一个通道
25         Channel channel = connection.createChannel();
26         //声明要关注的队列
27         channel.queueDeclare(QUEUE_NAME, false, false, true, null);
28         System.out.println("Customer Waiting Received messages");
29         //DefaultConsumer类实现了Consumer接口,通过传入一个频道,
30         // 告诉服务器我们需要那个频道的消息,如果频道中有消息,就会执行回调函数handleDelivery
31         Consumer consumer = new DefaultConsumer(channel) {
32             @Override
33             public void handleDelivery(String consumerTag, Envelope envelope,
34                                        AMQP.BasicProperties properties, byte[] body)
35                     throws IOException {
36                 String message = new String(body, "UTF-8");
37                 System.out.println("Customer Received '" + message + "'");
38             }
39         };
40         //自动回复队列应答 -- RabbitMQ中的消息确认机制
41         channel.basicConsume(QUEUE_NAME, true, consumer);
42     }
43 }
参考
http://blog.csdn.net/u010416588/article/details/54599341
https://www.cnblogs.com/ericli-ericli/p/5902270.html