1.首先按照how2j教程搭建Maven项目:http://how2j.cn/k/maven/maven-eclipse-maven-project/1332.html
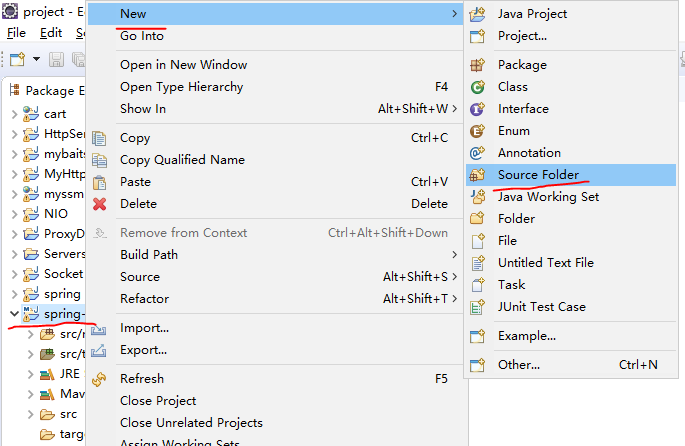
2. 刚建好时没有资源文件夹的,需要自己添加
-- 之前

-- 添加
项目右键 -> new -> Source Folder
-- 之后

3. 导入Spring依赖
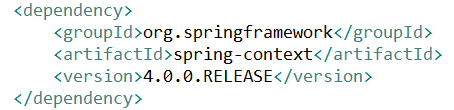
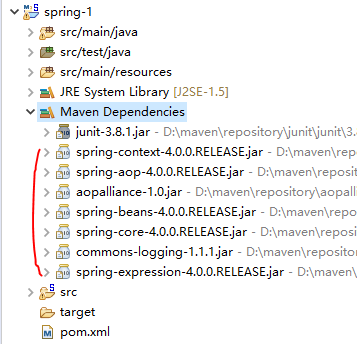
导入spring-context后,会自动导入其他Jar包(pom文件的dependency hierarchy视图)

或者看工程目录中,maven dependencies
4. 编写Bean
-- 工程目录
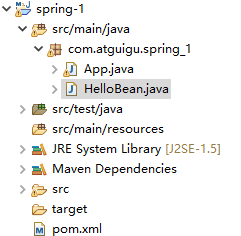
-- 代码
package com.atguigu.spring_1;

public class HelloBean {

    public void test() {
        System.out.println("hello, bean");
    }
}
5.利用springsource-tool-suite 这个插件构建 spring配置文件,很方便
src/main/resources目录右键,新建
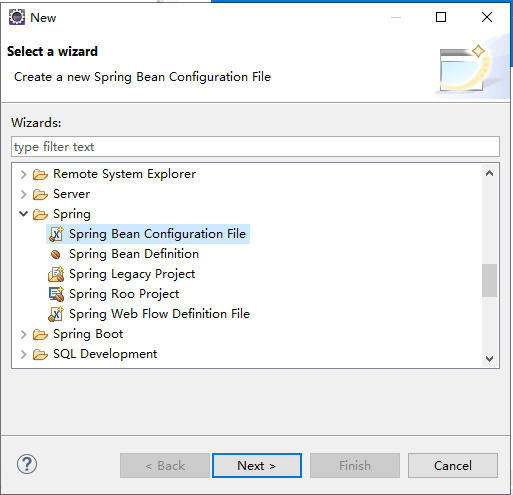
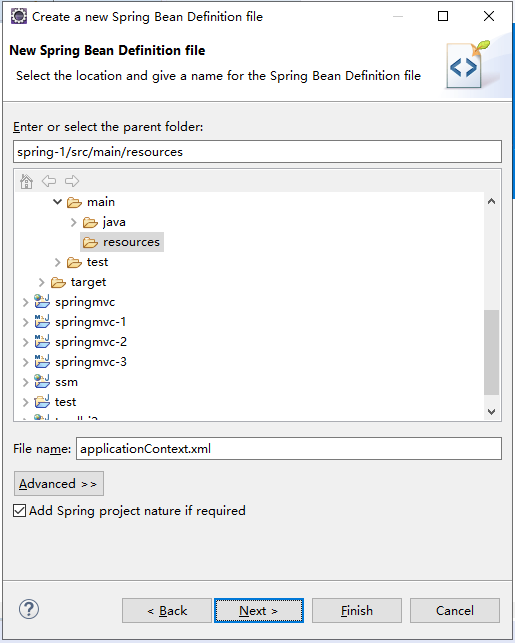

一路Next,默认加载spring相关命名空间
-- 编写xml文件(能体会到插件的好处,class自动提示全限定名!)
<?xml version="1.0" encoding="UTF-8"?>
<beans xmlns="http://www.springframework.org/schema/beans"
    xmlns:xsi="http://www.w3.org/2001/XMLSchema-instance"
    xsi:schemaLocation="http://www.springframework.org/schema/beans http://www.springframework.org/schema/beans/spring-beans.xsd">

    <!-- 配置HelloBean -->
    <bean id="helloBean" class="com.atguigu.spring_1.HelloBean"></bean>

</beans>
5. 应用咯
-- 工程目录图

-- 代码
package com.atguigu.spring_1;

import org.springframework.context.ApplicationContext;
import org.springframework.context.support.ClassPathXmlApplicationContext;

public class App
{
    public static void main( String[] args )
    {
        ApplicationContext ctx = new ClassPathXmlApplicationContext("classpath:applicationContext.xml");

        HelloBean bean = (HelloBean)ctx.getBean("helloBean");

        bean.test();
    }
}
6. 结果
