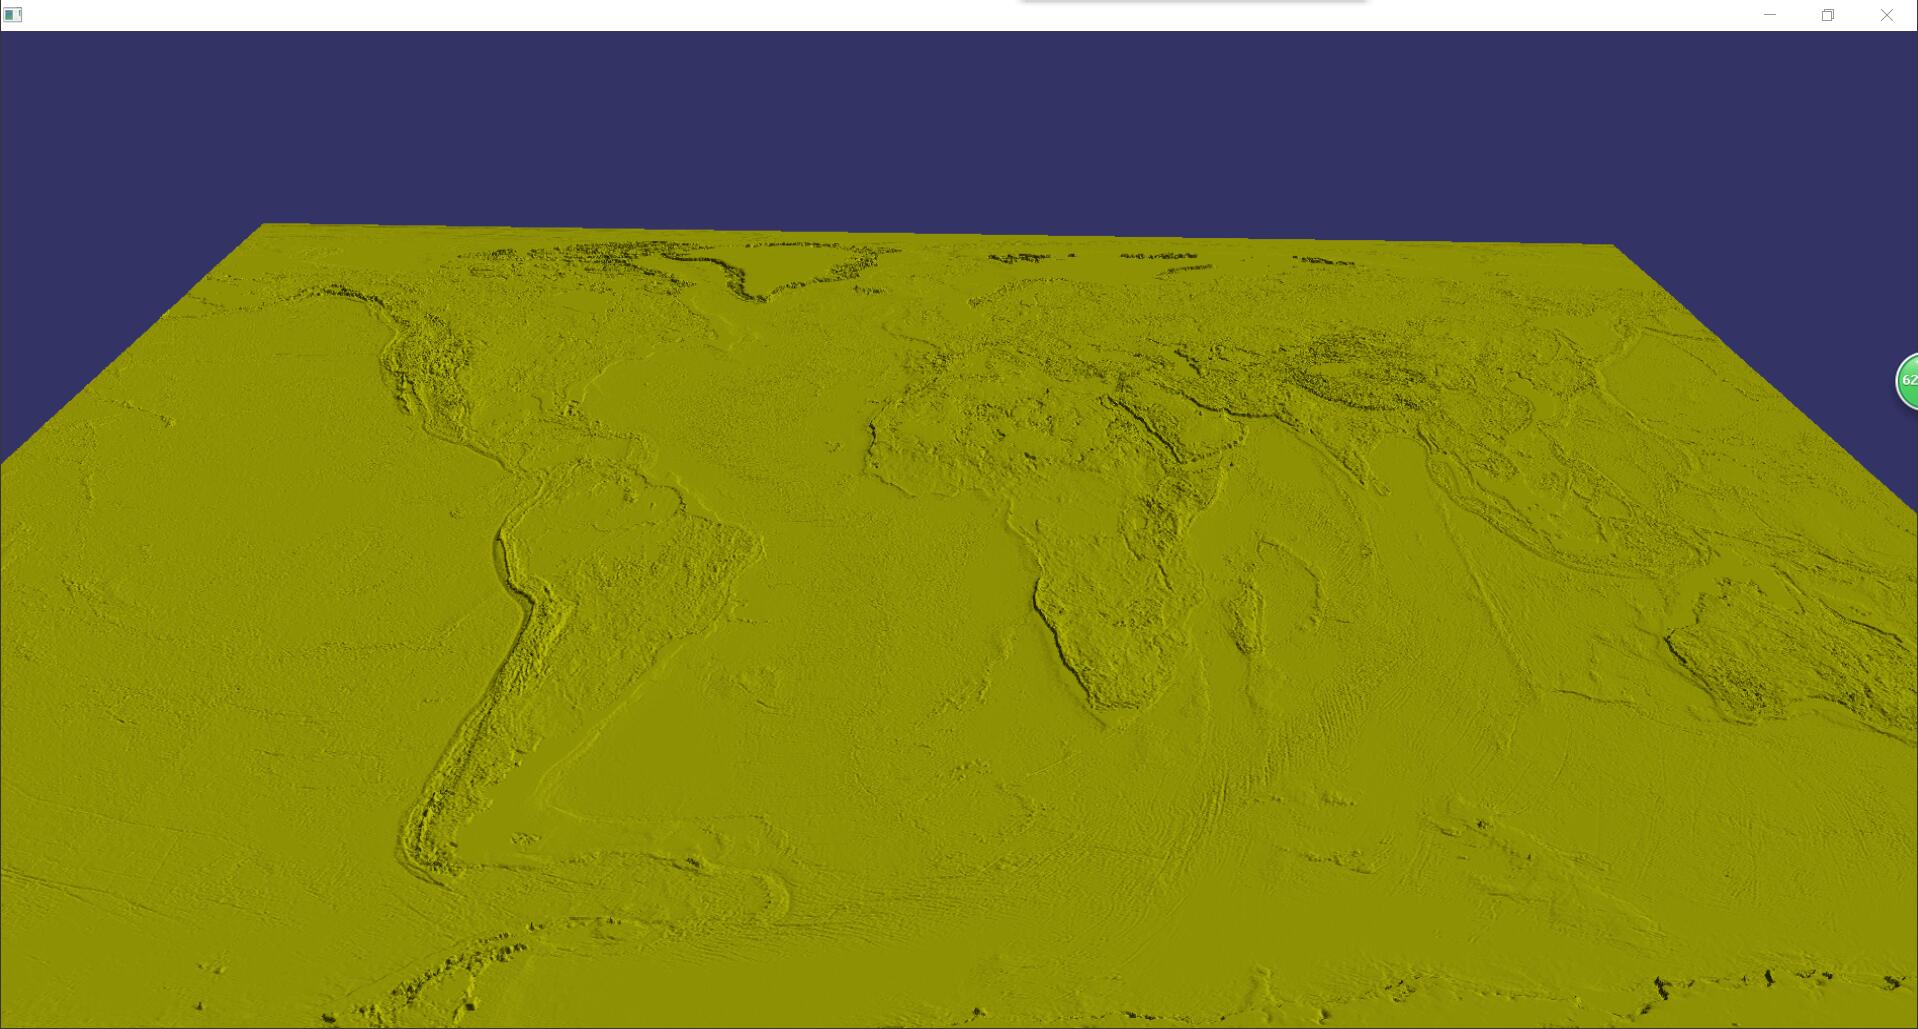
osg加载.tif地形数据文件
#ifdef _WIN32
#include <Windows.h>
#endif // _WIN32
#include <iostream>
//#include <math.h>

#include <osg/Node>
#include <osg/Group>
#include <osgDB/ReadFile>
#include <osgViewer/Viewer>
#include <osg/Geode>
#include <osg/ShapeDrawable>
#include <osg/Material>
#include <osg/Image>
#include <osg/Texture2D>
#include <osg/BoundingSphere>
#include <osg/LineWidth>
#include <osg/Point>
#include <osg/TexGen>
#include <osg/TexEnv>

//#include <osg/TessellationHints>
//#include <osg/NodePath>
#include <osgGA/GUIEventHandler>
#include <osgGA/GUIEventAdapter>

#include <osg/PositionAttitudeTransform>
#include <osgViewer/ViewerEventHandlers>
#include <osg/MatrixTransform>
#include <OpenThreads/Thread>
#include <osg/LightSource>
#include <osg/Light>

#include <gdal.h>

osg::ref_ptr<osg::Node> CreateNode()
{
    osg::ref_ptr<osg::Group> _root = new osg::Group;

    //定义并读取高程文件
    //真实高程文件名称为:ASTGTM2_N34E110_dem.tif
    //属于特殊的tiff格式,GEOTiff
    //读取的时候使用osg的gdal插件进行读取,所以在路径后面加上了.gdal
    //.gdal后缀名只要在这里加就可以了,真实的高程文件后缀名不需要修改
    //osg::ref_ptr<osg::HeightField> heightMap = osgDB::readHeightFieldFile("E:\OpenSourceGraph\osgearth_install20190830\data\world.tif.gdal");
    osg::ref_ptr<osg::HeightField> heightMap = osgDB::readHeightFieldFile("E:\OpenSourceGraph\osgearth_install20190830\data\1\1_0_0_5.tif.gdal");


    //创建一个叶结点对象
    osg::ref_ptr<osg::Geode> geode = new osg::Geode;

    if (heightMap != nullptr)
    {
        //由于原始数据过大,创建三维对象会失败,所以重新构造一个对象
        //相当于数据抽稀了一次。当然,可以直接把原图使用特殊工具裁了
        //创建一个新的HeightField对象,用来拷贝heightMap
        osg::ref_ptr<osg::HeightField> heightMap1 = new osg::HeightField;
        //从原对象中拷贝一些熟悉过来
        heightMap1->setOrigin(heightMap->getOrigin());
        heightMap1->setRotation(heightMap->getRotation());
        heightMap1->setSkirtHeight(heightMap->getSkirtHeight());
        //XY方向的间隔设置为原来的两倍,
        heightMap1->setXInterval(heightMap->getXInterval() * 2);
        heightMap1->setYInterval(heightMap->getYInterval() * 2);
        //设置新的高程数据量的行列数目为原来的一半
        heightMap1->allocate(heightMap->getNumColumns() / 2, heightMap->getNumRows() / 2);

        //把真实的数据值放进来
        for (size_t r = 0; r < heightMap1->getNumRows(); ++r)
        {
            for (size_t c = 0; c < heightMap1->getNumColumns(); ++c)
            {
                //加载的数据中XY方向的间隔是0.0002左右(经纬度偏移),3600个格子,数量级太小,高程值动辄在千级别,如果没有进行坐标转换(GPS转换成米),显示出来之后结果会严重失常。所以此处简单的给高度值除以50000(这个是按照这个tif文件来试出来的,不同高程文件可能不同)
                heightMap1->setHeight(c, r, heightMap->getHeight(c * 2, r * 2) / 500);
            }
        }

        //添加到叶子节点中
        geode->addDrawable(new osg::ShapeDrawable(heightMap1));


        osg::ref_ptr<osg::Material> material = new osg::Material;
        material->setAmbient(osg::Material::FRONT_AND_BACK, osg::Vec4(1.0f, 1.0f, 1.0f, 1.0f));
        material->setDiffuse(osg::Material::FRONT_AND_BACK, osg::Vec4(1.0f, 1.0f, 1.0f, 1.0f));
        material->setSpecular(osg::Material::FRONT_AND_BACK, osg::Vec4(1.0f, 1.0f, 1.0f, 1.0f));
        material->setShininess(osg::Material::FRONT_AND_BACK, 60);


        osg::ref_ptr<osg::Texture2D> texture2D = new osg::Texture2D;
        //设置纹理
        osg::ref_ptr<osg::Image> image1 = osgDB::readImageFile("D:\image_1\arm1.jpg");
        if (image1.valid())
        {
            texture2D->setImage(image1.get());
        }
        geode->getOrCreateStateSet()->setAttributeAndModes(material.get(), osg::StateAttribute::ON);
        geode->getOrCreateStateSet()->setTextureAttributeAndModes(0, texture2D, osg::StateAttribute::ON);

    }

    _root->addChild(geode.get());
    return _root.get();
}

osg::ref_ptr<osg::Light> createLight()
{
    osg::ref_ptr<osg::Light> l = new osg::Light;
    l->setLightNum(0);//启用第几个光源  OpenGL有8个光源
    l->setDirection(osg::Vec3(0, 0, -1));//方向
    l->setPosition(osg::Vec4(10.0, 10.0, 0.0, 0.0f));//位置
    //osg::LightSource* ls = new osg::LightSource();//此处用超级指针 返回会发生错误
    //ls->setLight(l);
    return l;
}


int main()
{
    osg::ref_ptr<osgViewer::Viewer> viewer1 = new osgViewer::Viewer;
    osg::ref_ptr<osg::Group> group1 = new osg::Group;

    group1->addChild(CreateNode());
    viewer1->setSceneData(group1.get());
    viewer1->setUpViewInWindow(200, 200, 800, 600, 0);
    viewer1->setLight(createLight());


    return viewer1->run();
}