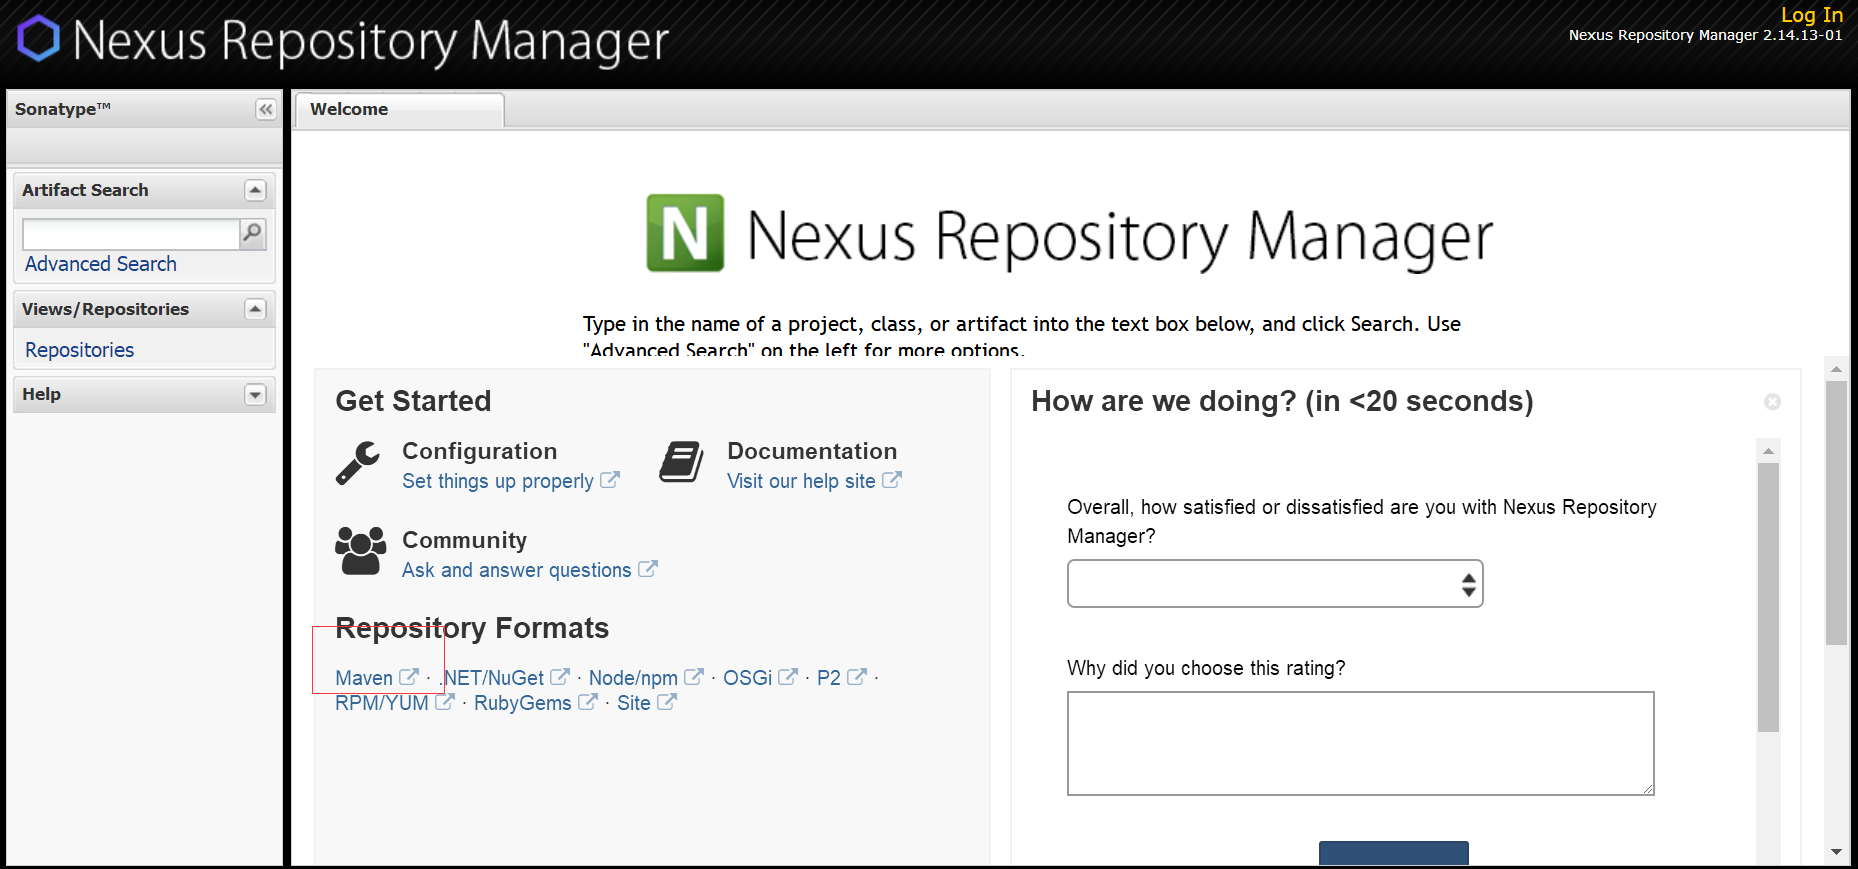
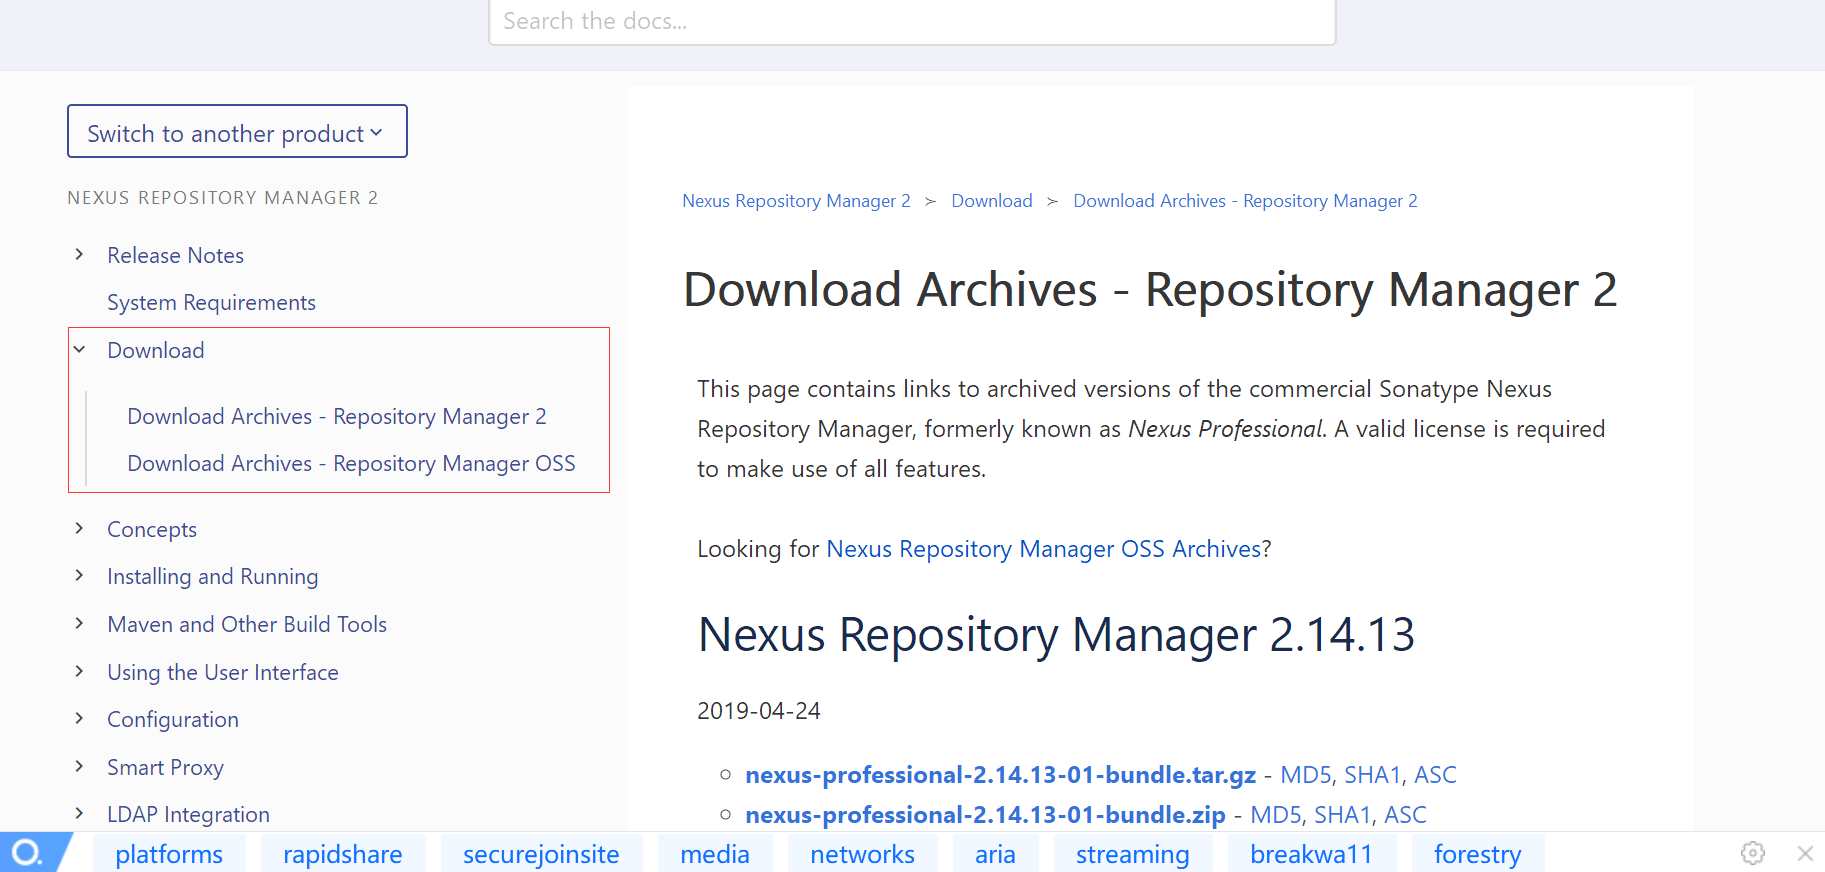
1.下载nexus
下载地址https://oss.sonatype.org/#welcome
按照下图指示选择需要下载的maven版本
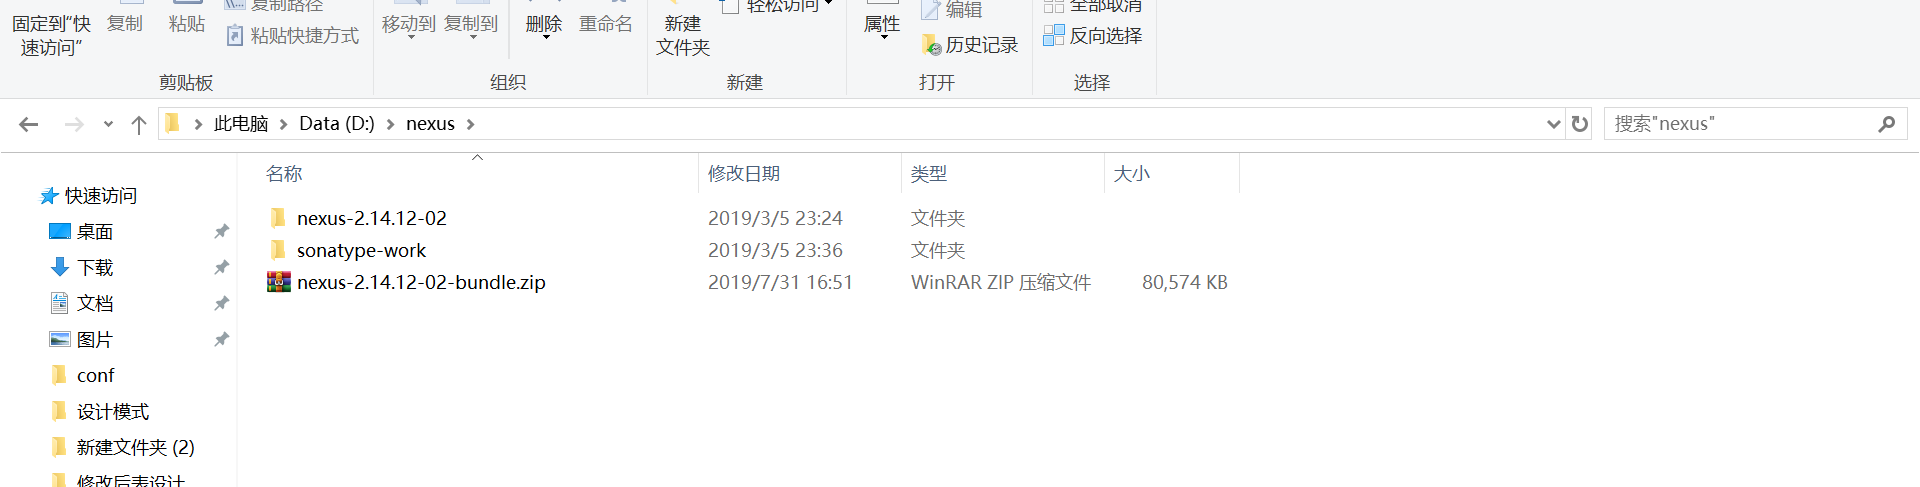
2.解压安装,可以点击install-nexus.bat,若能打开http://localhost:8081/nexus/,
则成功,但是建议用下面方式安装成服务 。
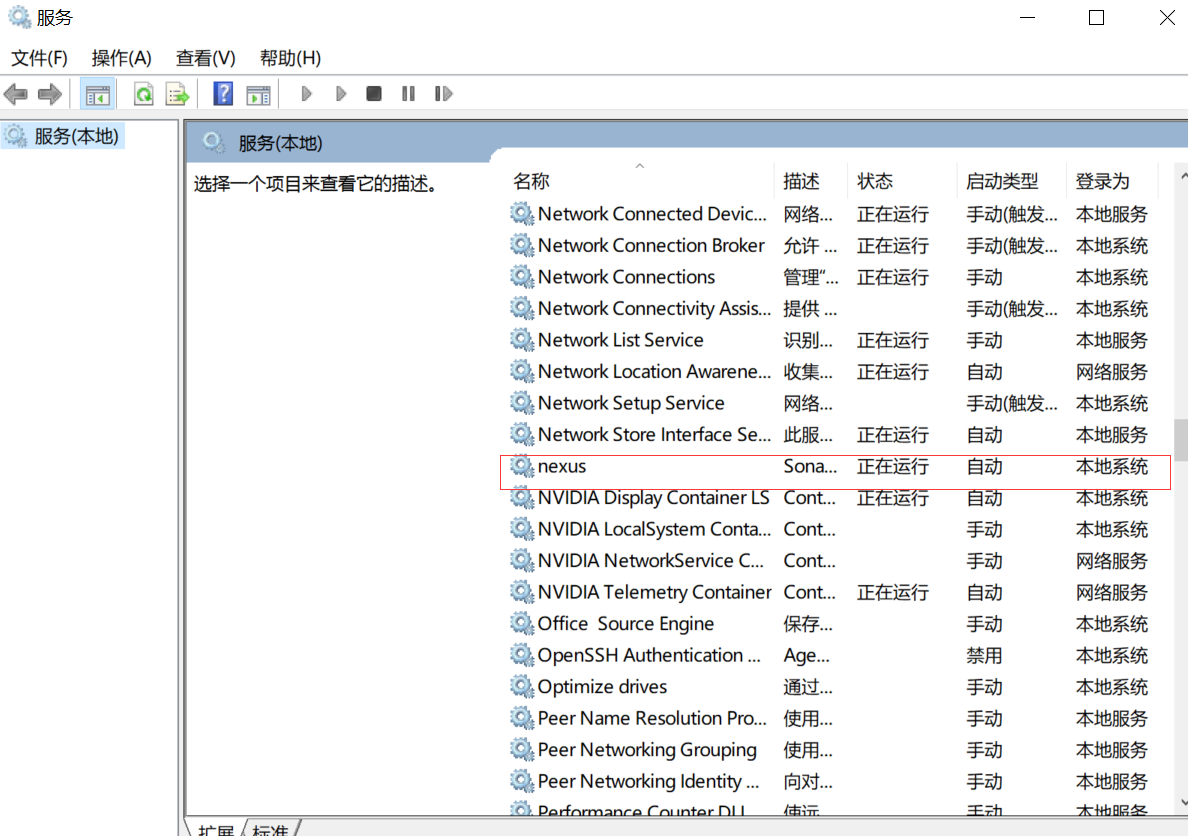
3.用cmd命令行执行安装过程,需要用管理员身份运行,否则可能会报权限问题。

4.进入bin 目录,输入nexus install,然后nexus start 或者去服务中直接设置成
开启,这个时候nexus安装成功。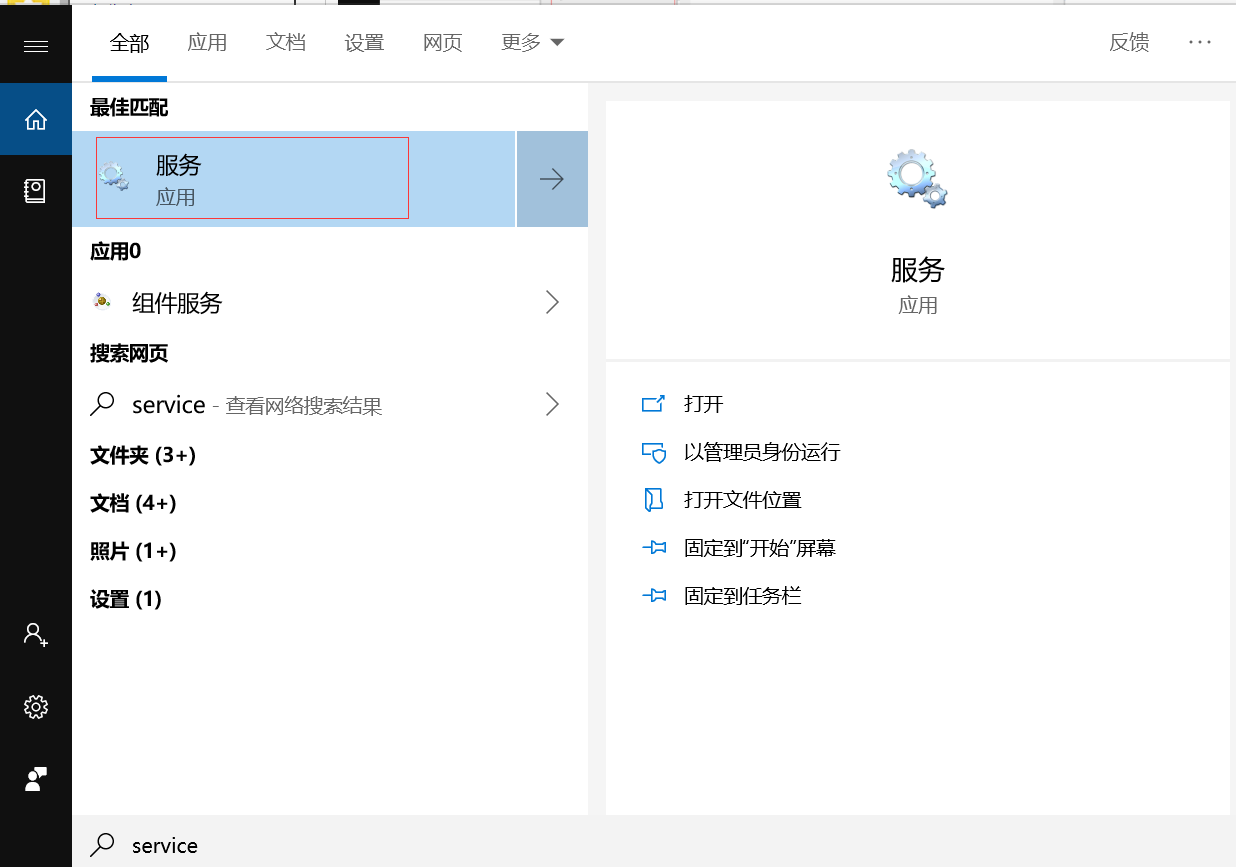
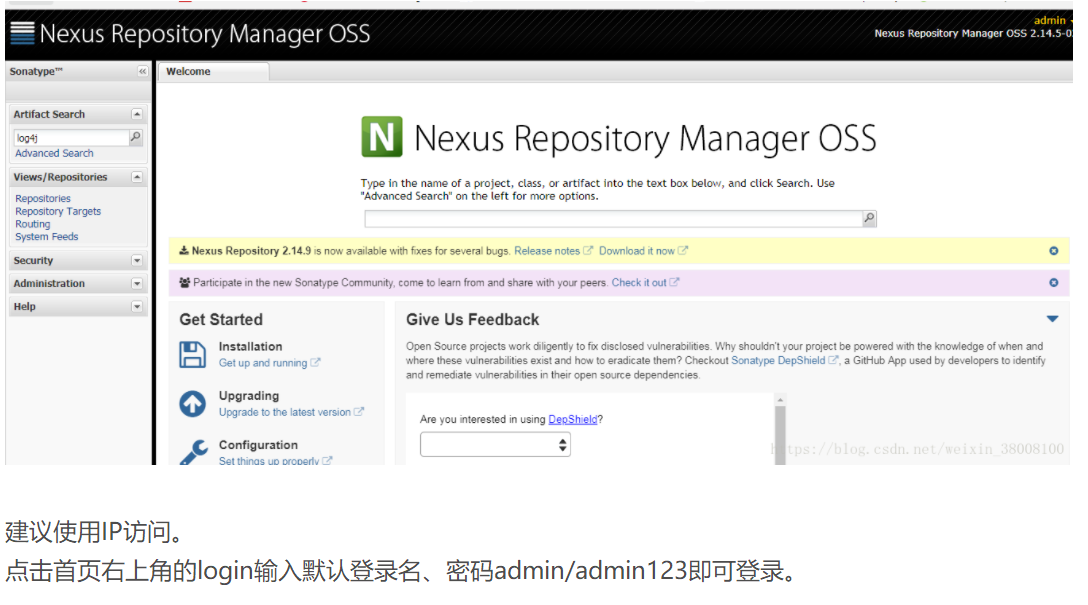
5.在浏览器访问:访问http://localhost:8081/nexus/ ,用户名admin,密码admin123
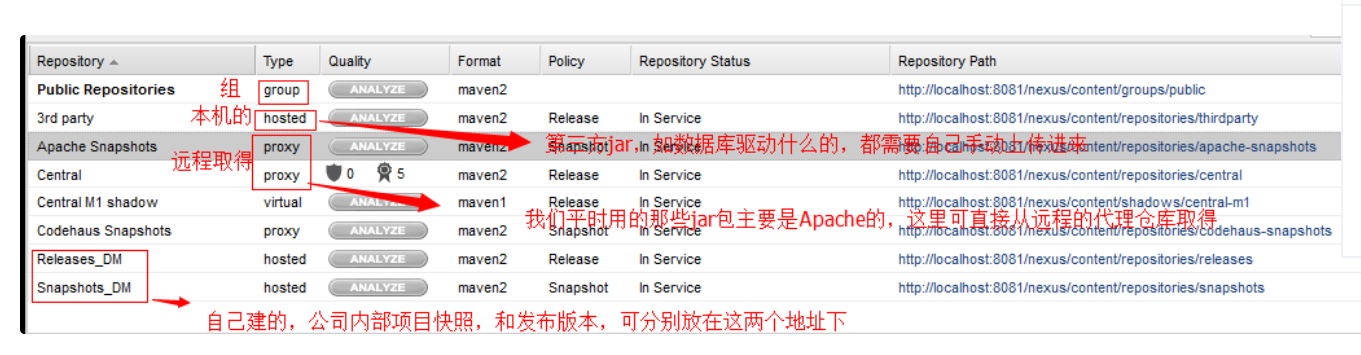
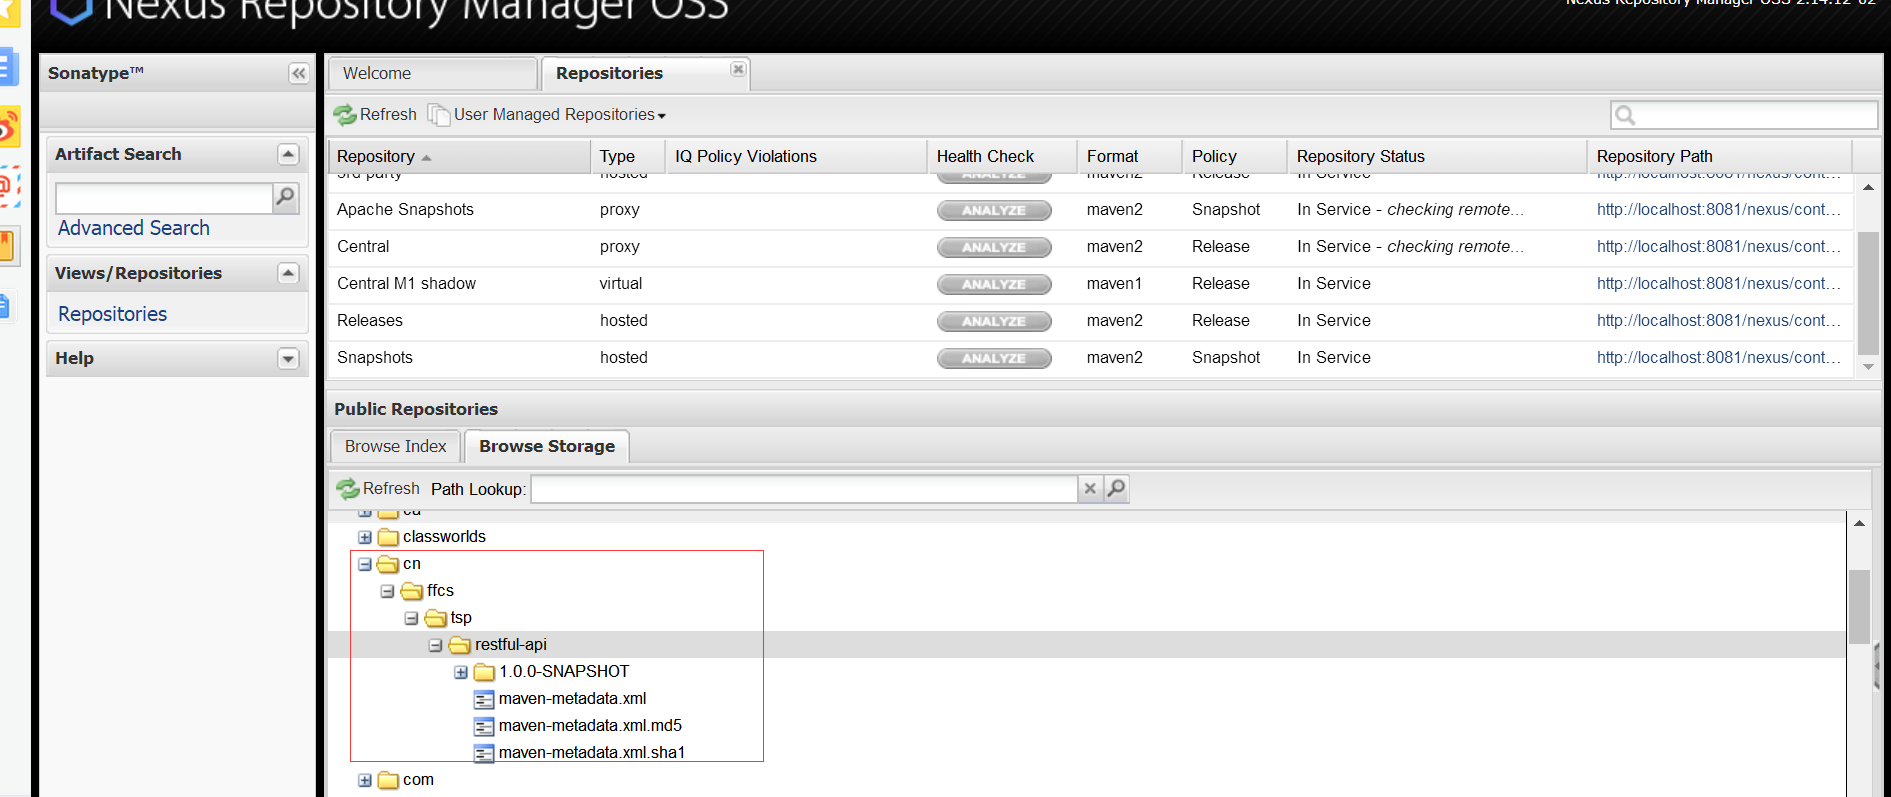
6.下图解释Repositories菜单的几个仓库
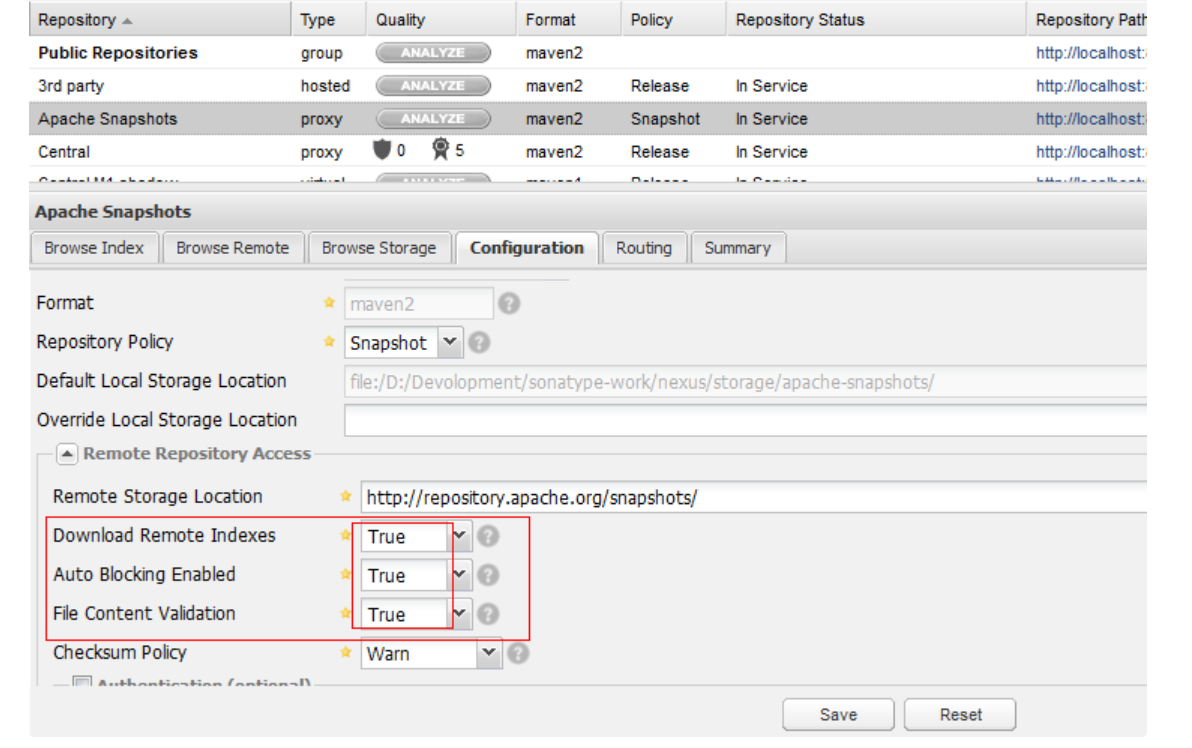
7.点击Apache Snapshots仓库,进行如下配置,开启远程索引下载,点击save按钮
8.将现有的仓库,Apache snapshots ,3dpart,central 等仓库 加入 public 组中,
直接在在界面中 将右侧的仓库移左边,若已经添加,跳过此步骤效果如下:

9.在maven中使用nexus
找到maven的配置文件,即:apache-maven-3.1.1/conf 下的settings.xml
在mirrors节点下加入如下配置
 <mirrors>
    <!-- mirror
     | Specifies a repository mirror site to use instead of a given repository. The repository that
     | this mirror serves has an ID that matches the mirrorOf element of this mirror. IDs are used
     | for inheritance and direct lookup purposes, and must be unique across the set of mirrors.
     |
    <mirror>
      <id>mirrorId</id>
      <mirrorOf>repositoryId</mirrorOf>
      <name>Human Readable Name for this Mirror.</name>
      <url>http://my.repository.com/repo/path</url>
    </mirror>
     -->

    <mirror>
      <id>nexus</id>
      <mirrorOf>central</mirrorOf>
      <name>internal nexus repository</name>
      <url>http://localhost:8081/nexus/content/groups/public/</url>这一段配置,描述的便是
    上一步中提到的那个Public Reposiories的信息,这个地址便是他的地址,这些写都可以再界面上看到
    </mirror>这里的是localhost是在本机搭建测试用的,如果是公司内部的仓库的话,可自行修改成公司内网ip地址。
  </mirrors>
如此,配置之后,在我们使用maven的时候,就会通过私服了。而不是直接从远程取了。(没有配置之前
,maven默认在远程的中央仓库下载)
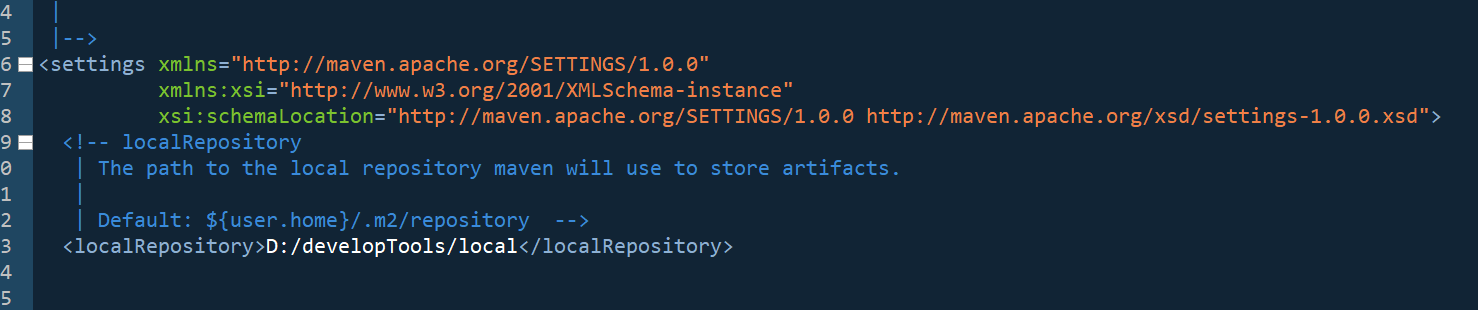
10.在这个配置文件中,有个节点 叫localRepository 是用来配置 maven下载的jar包存放的地址的,
如果不配置的话,jar包将会下载到c盘用户文件夹下.m2 文件夹下。此处可指定目录,如下
11.在maven中servers中添加如下server,此处是为了上传jar包到服务器,注意,
此处server中的两个id是需要与项目中的pom.xml文件相对应
   <server>
    <id>releases</id>
    <username>admin</username>
    <password>admin123</password>
   </server>
   <server>
    <id>snapshots</id>
    <username>admin</username>
    <password>admin123</password>
   </server>
12.项目中的pom.xml添加配置
    <distributionManagement>
        <snapshotRepository>
            <id>snapshots</id> 这个 ID 很重要,需要与上一步的对应
            <name>snapshot repository</name>
            <url>http://192.168.xx.xx:8081/nexus/content/repositories/snapshots/</url>
        </snapshotRepository>
        <repository>
            <id>releases</id>
            <name>releases repository</name>
            <url>http://192.168.xx.xx:8081/nexus/content/repositories/releases/</url>
        </repository>
    </distributionManagement>
13.进入项目,更新maven,此时下载jar包会先下载到本地仓库,后面再取jar包会在私服中下载,进入到pom.xml的目录,
依次执行mvn clean ;mvn compiler:compile ; mvn deploy,进行jar包上传操作,这样你改写代码后上传的包,其他人也可以用。

14.上传成功登录私服查看自己上传的jar包
可能遇到的错误
Return code is: 401, ReasonPhrase: Unauthorized
原因一: setting中的server的id与pom.xml中<distributionManagement>中的两个id保持一致
setting.xml文件:
<server>
<id>releases</id>
<username>admin</username>
<password>admin123</password>
</server>
<server>
<id>snapshots</id>
<username>admin</username>
<password>admin123</password>
</server>
</servers>
pom.xml文件:
<distributionManagement>
<repository>
<id>releases</id>
<name>Nexus Release Repository</name>
<url>http://localhost:8081/nexus/content/repositories/releases/</url>
</repository>
<snapshotRepository>
<id>snapshots</id>
<name>Nexus Snapshot Repository</name>
<url>http://localhost:8081/nexus/content/repositories/snapshots/</url>
</snapshotRepository>
</distributionManagement>
情况二:
maven conf中有多个setting.xml文件副本,需要指定执行哪个setting文件
mvn deploy --settings=D:developToolsapache-maven-3.1.0confsettings.xml