文件服务器
0.提前建好需要的文件夹(/home/fastdfs)
/home/fastdfs/tracker
/home/fastdfs/storage
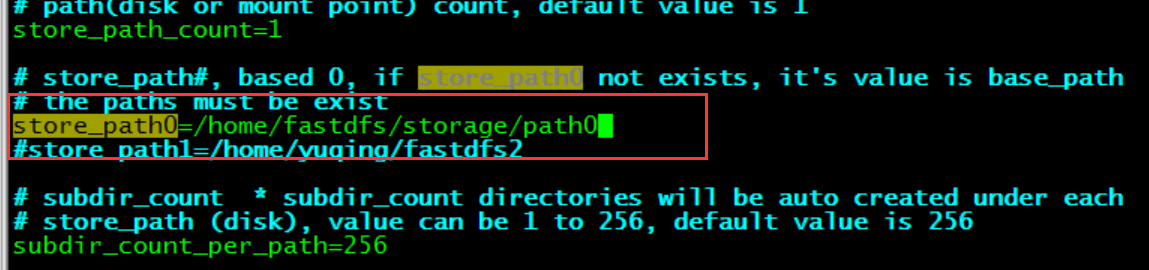
/home/fastdfs/storage/path0
/home/fastdfs/
/home/fastdfs/mod

1.图片服务器搭建,上传所需要的jar包并解压到指定目录(/usr/local/)

2.安装gcc
yum -y install gcc-c++
3.安装libevent工具包(解压,进入解压文件/usr/local/)

cd /usr/local/libfastcommon-1.0.7
./make.sh
./make.sh install
cp /usr/lib64/libfastcommon.so /usr/lib
4.tracker server 安装(/usr/local/FastDFS)
cd FastDFS
./make.sh
./make.sh install
cd /usr/local/FastDFS/conf
cp * /etc/fdfs
cd /etc/fdfs
vim tracker.conf
/usr/bin/fdfs_trackerd /etc/fdfs/tracker.conf restart 启动tracker


5.storage server安装
cd /etc/fdfs
vim storage.conf
/usr/bin/fdfs_storaged /etc/fdfs/storage.conf restart 启动storage


6. 测试上传文件
cd /etc/fdfs
vim client.conf
/usr/bin/fdfs_test /etc/fdfs/client.conf /etc/fdfs/anti-steal.jpg


7.配置fastdfs-nginx-module
解压fastdfs-nginx-module_v1.16.tar.gz到/usr/local

cd /usr/local/fastdfs-nginx-module/src
vim config (去掉所有local)

vim mod_fastdfs.conf


8.fastdfs+nginx
cd /usr/local/nginx-1.11.6
复制下边这段,自动执行
./configure
--prefix=/usr/local/nginx
--add-module=/usr/local/fastdfs-nginx-module/src
make
make install

vim /usr/local/nginx/conf/nginx.conf
 server {
    listen       80;
        server_name  localhost;

    location /group1/M00/{
             ngx_fastdfs_module;
        }
}

9.启动nginx,上传图片并访问
将nginx和tracker、storage配置为开机自启动
vim /etc/rc.local

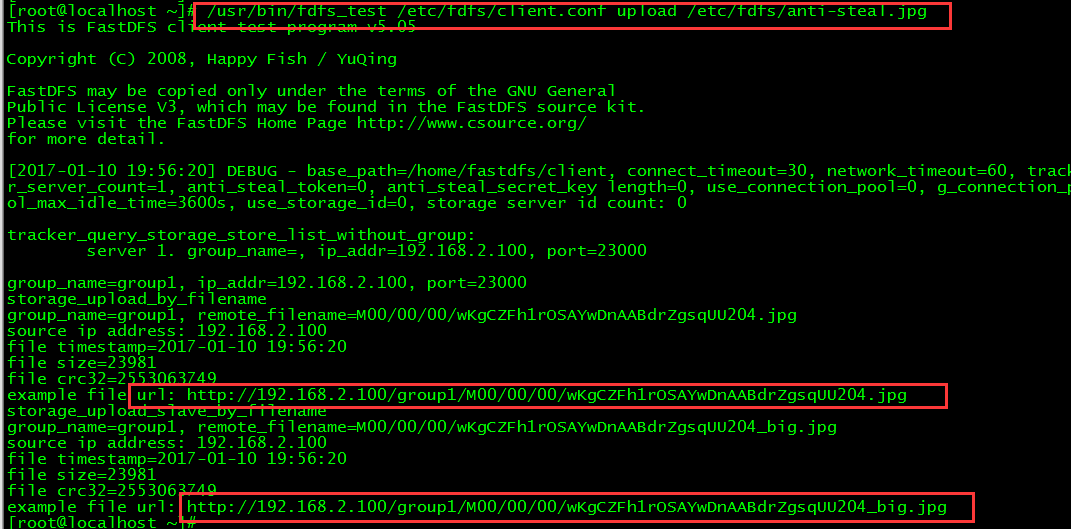
/usr/bin/fdfs_test /etc/fdfs/client.conf upload /etc/fdfs/anti-steal.jpg