一、开发环境:
1、JDK1.6
2、Eclipse:Version: Kepler Service Release 1,下载地址:http://www.eclipse.org/downloads/
3、Selenium:selenium-java-2.39.0.zip,下载地址:http://code.google.com/p/selenium/downloads/list ,解压selenium-java包,这个包里面包含四部分,如下图:

二、新建一个Java Project:
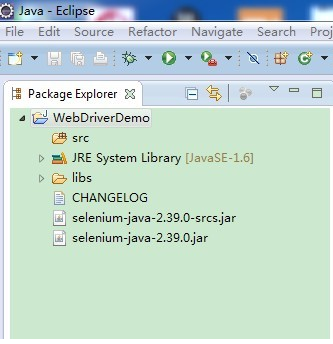
1、然后把上面解压出来的文件拷到新建的project目录下,目录结构如下图:
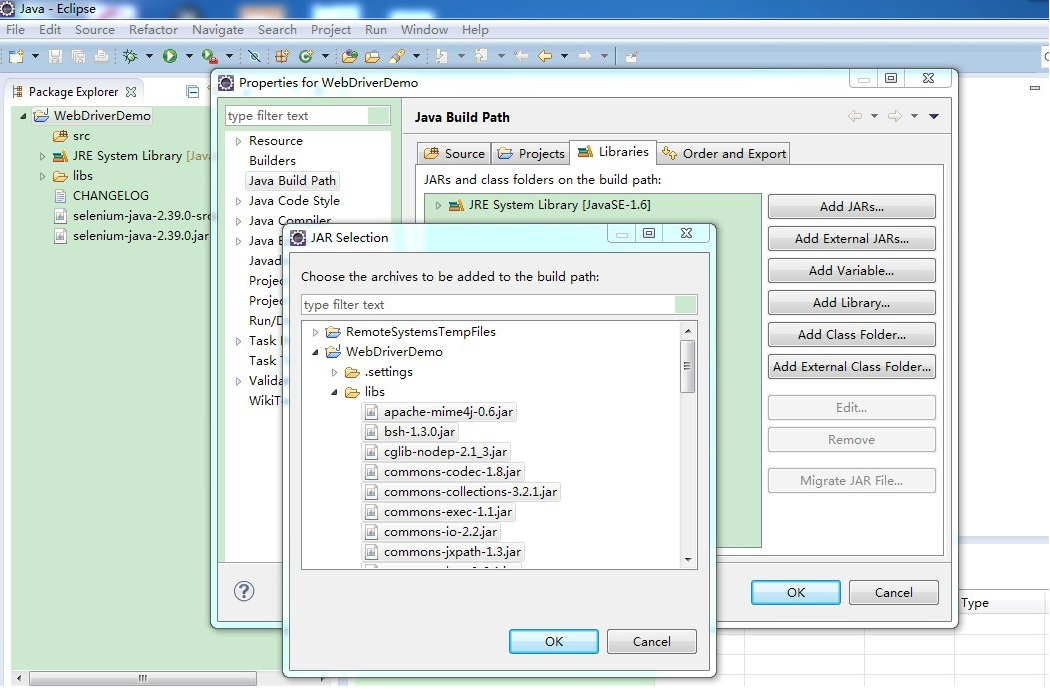
2、添加build path,项目目录右键-->Build Path--> config build path-->Java Build Path-->Libraries-->Add JARs,把libs文件夹下的jar包全部添加上,再添加selenium-java-2.39.0和selenium-java-2.39.0-srcs
3、添加完之后目录结构如下图,多了Referenced Libraries,这里就是上面那一步添加进去的jar包:

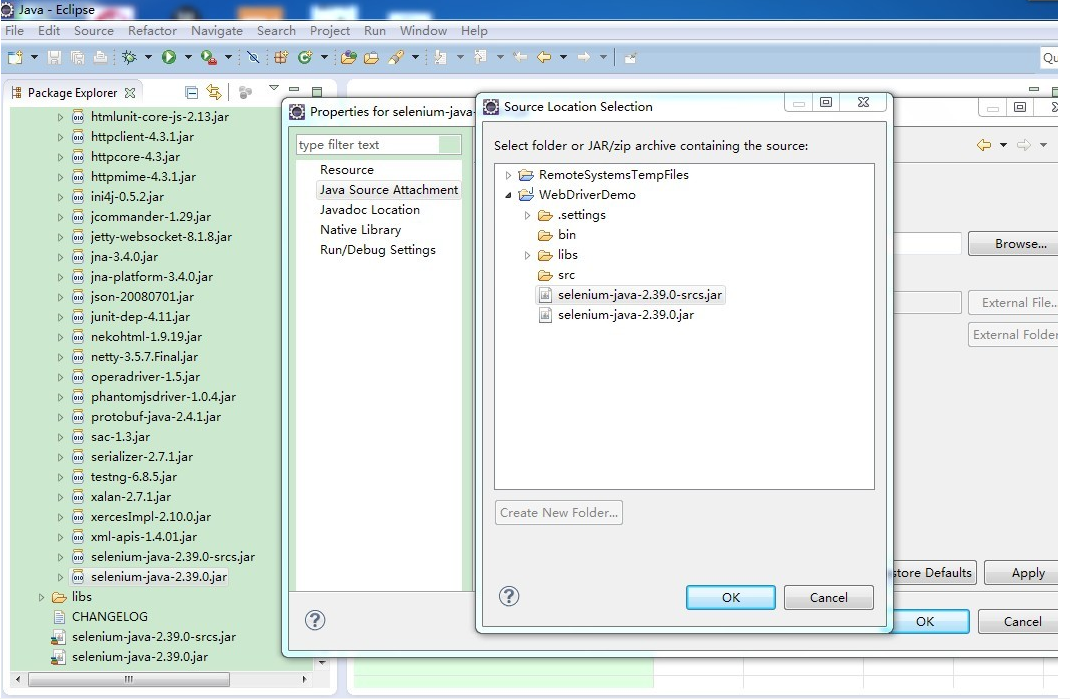
4、关联webdriver的源码:
至此,环境工作准备就绪,下面来写一个简单的小例子。
三、在src下面新建测试类,如下图:

代码如下,主要是打开百度,然后在搜索框输入glen,点击搜索按钮,关闭浏览器。
 package com.selenium.Glen;
 import org.openqa.selenium.By;
 import org.openqa.selenium.WebDriver;
 import org.openqa.selenium.WebElement;
 import org.openqa.selenium.firefox.*;
 publicclass TestHelloWorld {
  publicstaticvoid main(String[] args) {
   //如果火狐浏览器没有默认安装在C盘,需要制定其路径
    //System.setProperty("webdriver.firefox.bin", "D:/Program Files/Mozilla firefox/firefox.exe"); 14
          WebDriver driver = new FirefoxDriver();
         driver.get("http://www.baidu.com/");
         driver.manage().window().maximize();
         WebElement txtbox = driver.findElement(By.name("wd"));
         txtbox.sendKeys("Glen");
         WebElement btn = driver.findElement(By.id("su"));
         btn.click();
         driver.close();
    }
 }
然后直接右键TestHelloWorld.java-->Run As-->Java Application就可以看到效果了。