1.什么是SpringBoot
Spring Boot是由Pivotal团队提供的全新框架,其设计目的是用来简化新Spring应用的初始搭建以及开发过程。该框架使用了特定的方式来进行配置,从而使开发人员不再需要定义样板化的配置。用我的话来理解,就是spring boot其实不是什么新的框架,它默认配置了很多框架的使用方式,就像maven整合了所有的jar包,spring boot整合了所有的框架(不知道这样比喻是否合适)。
Spring Boot核心功能:
独立运行的Spring项目:Spring Boot可以以jar包的形式独立运行,运行一个Spring Boot项目只需通过java -jar xx.jar来运行
内嵌的Servlet容器:Spring Boot可选择内嵌Tomcat、Jetty,无需以war包形式部署项目
提供starter简化Maven的配置,如使用spring-boot-starter-web时,会自动加入tomcat,webMvc,jackson,hibernate-validate的jar
自动配置Spring:Spring Boot 会根据在类路径中的jar包,类为jar包里的类自动配置Bean
准生产级别的应用监控:Spring Boot提供了基于http,ssh,telnet对运行时的项目进行监控
无代码生产和xml配置(spring 4.x中通过条件注解实现)
SpringBoot创建
步骤一:
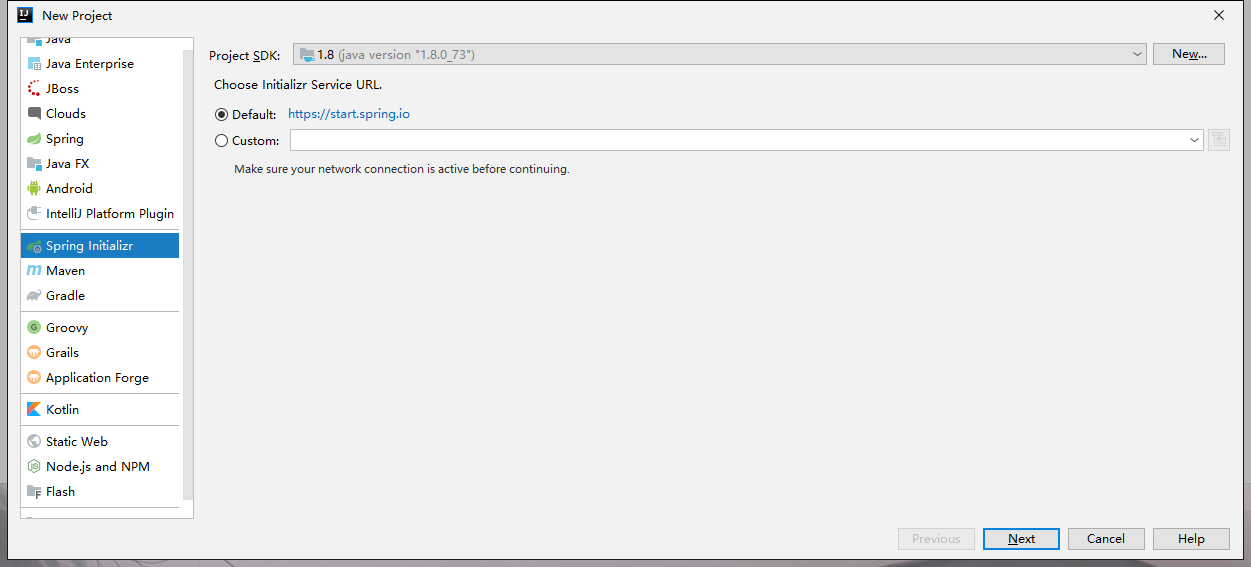
步骤二:

步骤三:
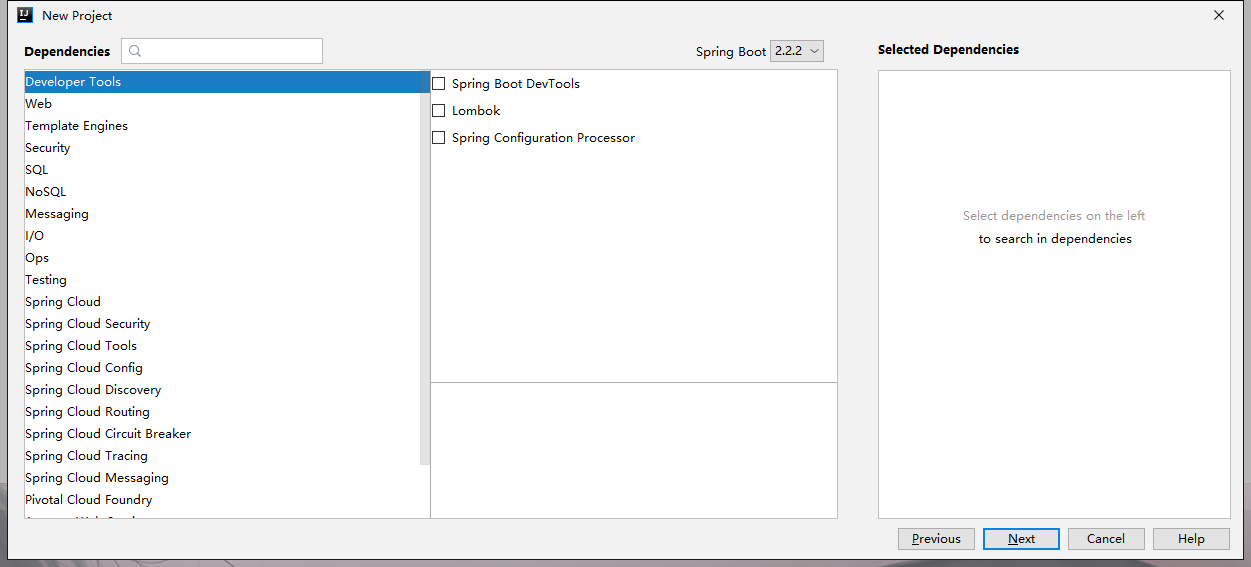
步骤四:
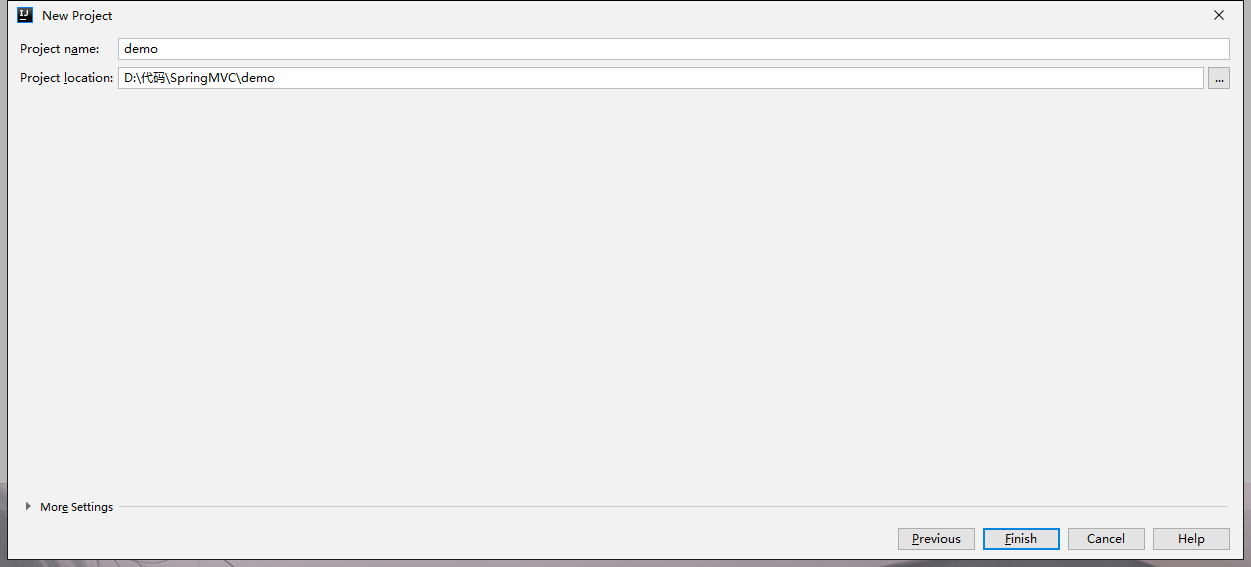
步骤五:(依赖)


  <dependencies>
        <dependency>
            <groupId>org.springframework.boot</groupId>
            <artifactId>spring-boot-starter-web</artifactId>
        </dependency>
        <dependency>
            <groupId>org.springframework.boot</groupId>
            <artifactId>spring-boot-starter-tomcat</artifactId>
        </dependency>
        <!-- 引入springboot-mybatis的依赖 -->
        <dependency>
            <groupId>org.mybatis.spring.boot</groupId>
            <artifactId>mybatis-spring-boot-starter</artifactId>
            <version>1.1.1</version>
        </dependency>

        <dependency>
            <groupId>org.springframework.boot</groupId>
            <artifactId>spring-boot-starter-test</artifactId>
            <scope>test</scope>
        </dependency>

        <dependency>
            <groupId>mysql</groupId>
            <artifactId>mysql-connector-java</artifactId>
            <version>5.1.32</version>
        </dependency>
        <dependency>
            <groupId>org.springframework.boot</groupId>
            <artifactId>spring-boot-starter-web</artifactId>
        </dependency>

        <dependency>
            <groupId>org.springframework.boot</groupId>
            <artifactId>spring-boot-starter-test</artifactId>
            <scope>test</scope>
            <exclusions>
                <exclusion>
                    <groupId>org.junit.vintage</groupId>
                    <artifactId>junit-vintage-engine</artifactId>
                </exclusion>
            </exclusions>
        </dependency>
    </dependencies>
Springboot(一个主程序)
@SpringBootApplication(exclude= {DataSourceAutoConfiguration.class})
public class Springboot {
    public static void main(String[] args) {
        SpringApplication.run(Springboot.class, args);
    }
}
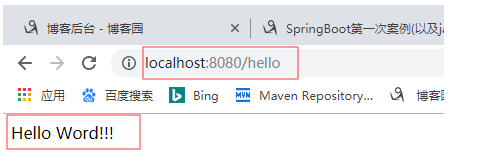
Controller
@Controller
public class myconterller {
    @RequestMapping("/hello")
    @ResponseBody
    public String deom(){
        return "Hello Word!!!";
    }
}
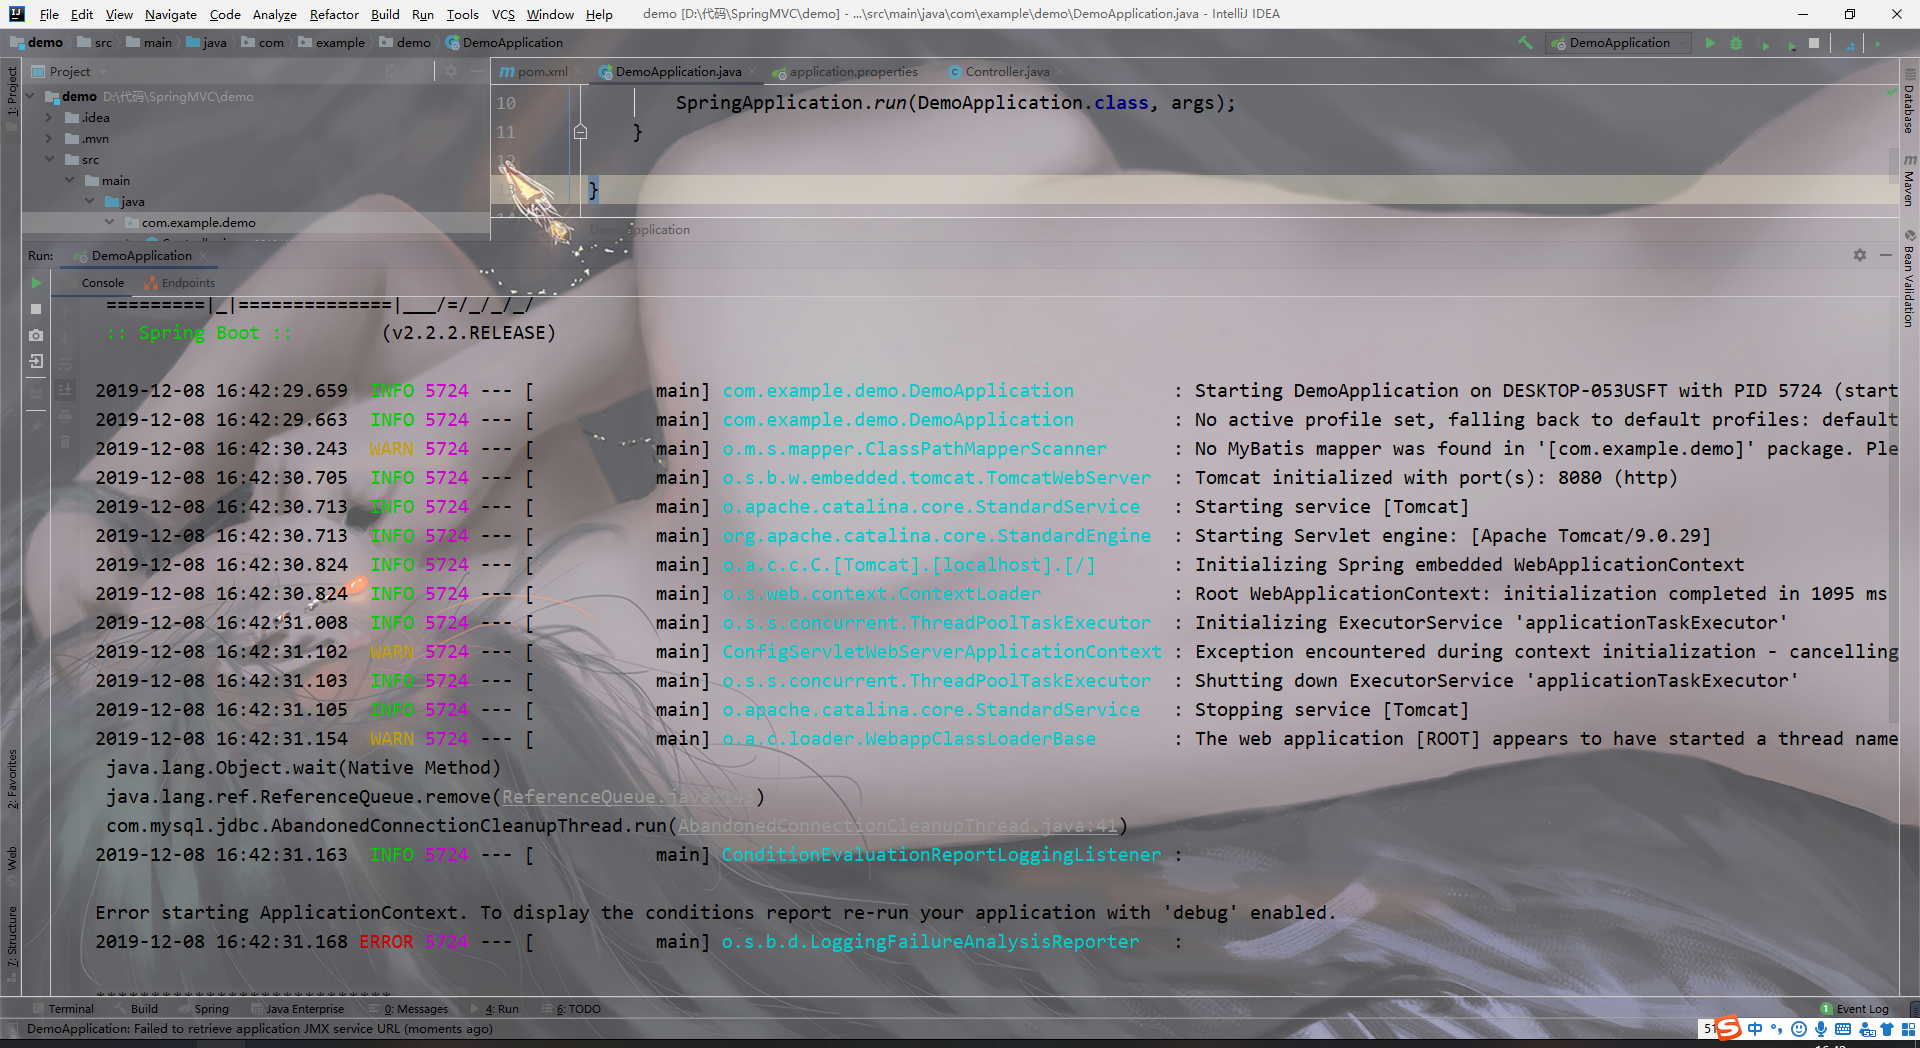
启动后观察(我们没有tomcat,却已有tomcat启动)
简单化部署
SpringBoot很强大,基本都不需要配置什么,就可以直接开发一个web程序。
当然了,它强大的还不止这个,还有项目部署这一块。
有了SpringBoot,我们可以直接把应用打包成一个可执行的jar包,
放在服务器上直接启动就可以用了。
打包是需要借助一个插件的,我们在初始化maven工程的时候已经把这个插件写到了pom文件中。
步骤一:确保pom文件中输入
<build>
        <plugins>
            <plugin>
                <groupId>org.springframework.boot</groupId>
                <artifactId>spring-boot-maven-plugin</artifactId>
            </plugin>
        </plugins>
    </build>
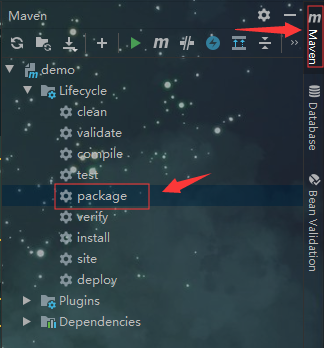
步骤二:右侧打开Maven,单击packge
步骤三:找到打包后的jar
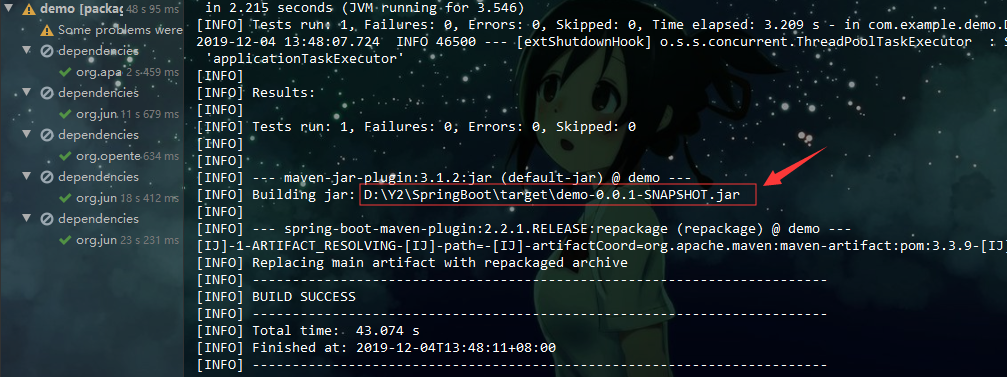
步骤四:打开
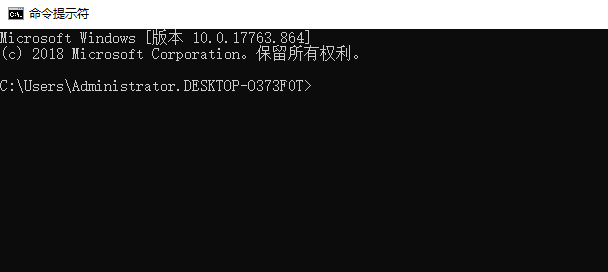
步骤五:找到刚刚打包的文件(使用java -jar 名字)

步骤六:(效果一样)