这里是官网教程:https://nativesupport.dcloud.net.cn/AppDocs/usesdk/android
总体来说是按照上面做,但是上面有一些问题。
下面我梳理一下整个步骤。
一,准备工具
- Android Studio 下载地址:Android Studio官网 OR Android Studio中文社区
- HBuilderX
- App离线SDK下载:最新android平台SDK下载
二,AS新建工程
打开Android studio新建一个空白项目

选择 Empty Activity 点击 Next。

Minimum API Level 建议选19及以上
Package name作为应用标志,涉及申请第三方平台账号,一般情况下不建议修改,包名一般设置反向域名,如:io.dcloud.HBuilder
点击 Finish 完成创建。
注意:App离线SDK不支持Kotlin
三,导入工程
① 步骤一中App离线SDK中文件
将lib.5plus.base-release.aar、android-gif-drawable-release@1.2.17.aar和miit_mdid_1.0.10.aar(HBuilderX2.8.1之后更新到msa_mdid_1.0.13.aar)拷贝到libs目录下

② 在build.gradle文件如下
PS:修改自己的applicationId

apply plugin: 'com.android.application'

android {
compileSdkVersion 28
defaultConfig {
applicationId "com.example.tyler.myapplication"
minSdkVersion 19
targetSdkVersion 28
versionCode 1
versionName "1.0"
multiDexEnabled true
}
buildTypes {
release {
minifyEnabled false
proguardFiles getDefaultProguardFile('proguard-android-optimize.txt'), 'proguard-rules.pro'
}
}
}


dependencies {
implementation fileTree(dir: 'libs', include: ['*.aar', '*.jar'], exclude: [])
implementation 'com.github.bumptech.glide:glide:4.9.0' // 基座依赖
implementation 'androidx.appcompat:appcompat:1.1.0'
implementation 'com.alibaba:fastjson:1.1.46.android'
implementation 'androidx.appcompat:appcompat:1.0.0-alpha1'
implementation 'androidx.constraintlayout:constraintlayout:1.1.2'
}
③ 配置应用名称
打开app->res -> main -> values -> strings.xml文件,修改“app_name”字段值,该值为安装到手机上桌面显示的应用名称,建议与manifest.json中name(基础配置中的应用名称)对应。
我是默认
<resources>
<string name="app_name">My Application</string>
</resources>
④ 配置应用启动项
Androidmanifest.xml 文件如下
PS:android:appComponentFactory如果为"",会报错:Empty class name in package 。。。。。。
tools:replace="android:appComponentFactory"也是必要的
<?xml version="1.0" encoding="utf-8"?>
<manifest xmlns:android="http://schemas.android.com/apk/res/android"
xmlns:tools="http://schemas.android.com/tools"
package="com.example.tyler.myapplication">

<application
android:allowBackup="true"
android:icon="@mipmap/ic_launcher"
android:label="@string/app_name"
android:roundIcon="@mipmap/ic_launcher_round"
android:supportsRtl="true"
android:theme="@style/AppTheme"
android:appComponentFactory="ty"
tools:replace="android:appComponentFactory"
>
<activity
android:name="io.dcloud.PandoraEntry"
android:configChanges="orientation|keyboardHidden|keyboard|navigation"
android:label="@string/app_name"
android:launchMode="singleTask"
android:hardwareAccelerated="true"
android:theme="@style/TranslucentTheme"
android:screenOrientation="user"
android:windowSoftInputMode="adjustResize" >
<intent-filter>
<action android:name="android.intent.action.MAIN" />
<category android:name="android.intent.category.LAUNCHER" />
</intent-filter>
</activity>
<activity
android:name="io.dcloud.PandoraEntryActivity"
android:launchMode="singleTask"
android:configChanges="orientation|keyboardHidden|screenSize|mcc|mnc|fontScale|keyboard"
android:hardwareAccelerated="true"
android:permission="com.miui.securitycenter.permission.AppPermissionsEditor"
android:screenOrientation="user"
android:theme="@style/DCloudTheme"
android:windowSoftInputMode="adjustResize">
<intent-filter>
<category android:name="android.intent.category.DEFAULT" />
<category android:name="android.intent.category.BROWSABLE" />
<action android:name="android.intent.action.VIEW" />
<data android:scheme="h56131bcf" />
</intent-filter>
</activity>
</application>

</manifest>
⑤ 配置应用图标和启动界面
PS:这一步,我跳过了。使用了创建项目后的自带图片
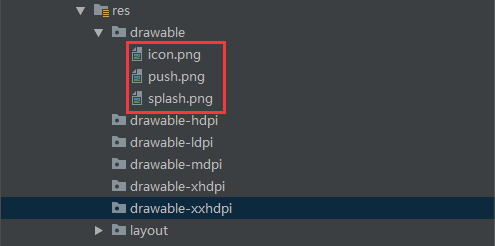
图标名称
icon.png为应用的图标。
push.png为推送消息的图标。
splash.png为应用启动页的图标。
将icon.png、push.png、splash.png放置到drawable,drawalbe-ldpi,drawable-mdpi,drawable-hdpi,drawable-xhdpi,drawable-xxhdpi文件夹下,不同文件夹下对应不同图片尺寸,可参考文档
⑥ 修改Androidmanifest.xml中application节点的icon属性为@drawable/icon。如下图:
PS:这步,我同样跳过了

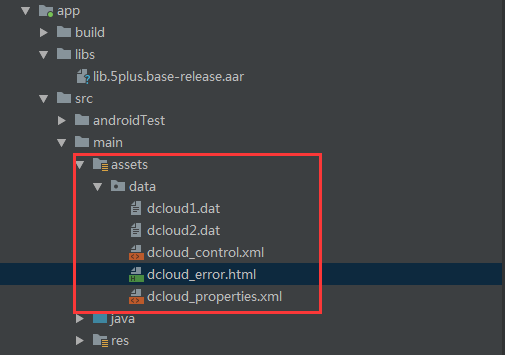
⑦ 资源配置
将步骤一SDK中的assets 整个拷贝到main下
⑧ 创建apps文件夹并拷贝资源
将HBuilderX中的项目导出,将导出的资源复制到assets->apps下,如下图所示:
PS:这里分2步,
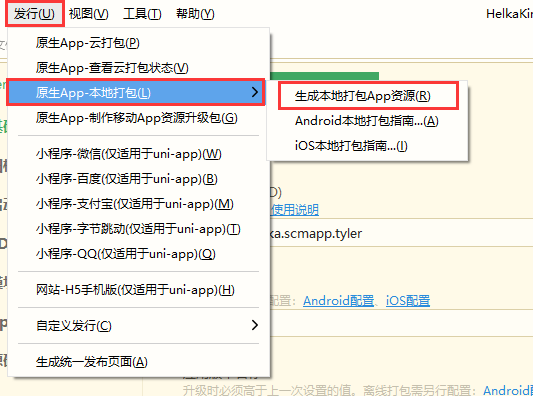
第一步,HBuilderX发行
第二步,将发行目录复制到assets下
I HBuilderX发行
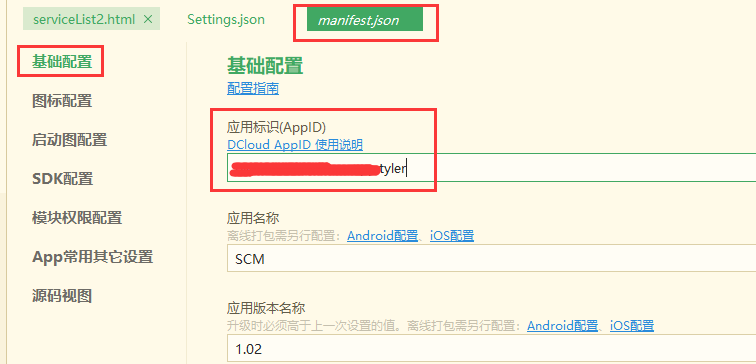
PS:如果报错:该项目的AppID所有者不是当前登录的账号,请重新用正确的账号登录或者在该项目的manifest.json中重新获取
那么:需要修改一下AppID(我是在原有的AppID后面,继续添加了自己的英文名)
发行:
完成后,显示如下并点击转到文件夹

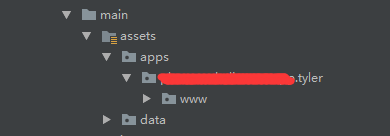
然后从resources,复制自己的文件夹(我的是xxxx.tyler,里面有一个www文件夹的)
II 将发行目录复制到assets下
放到AS中的apps下(apps,自己新建即可)
修改dcloud_control.xml中的appid。与manifest.json的一样。
并且hbuilder中添加属性:debug="true" syncDebug="true"
PS:如果App启动出现:当前应用运行在自定义调试基座。。。。。
则改为:debug="false" syncDebug="false"

三,修改配置
① gradle-wrapper.properties
PS:也可以自己下载,浏览器输入https://services.gradle.org/distributions/gradle-4.6-all.zip
解压后,修改AS的gradle路径
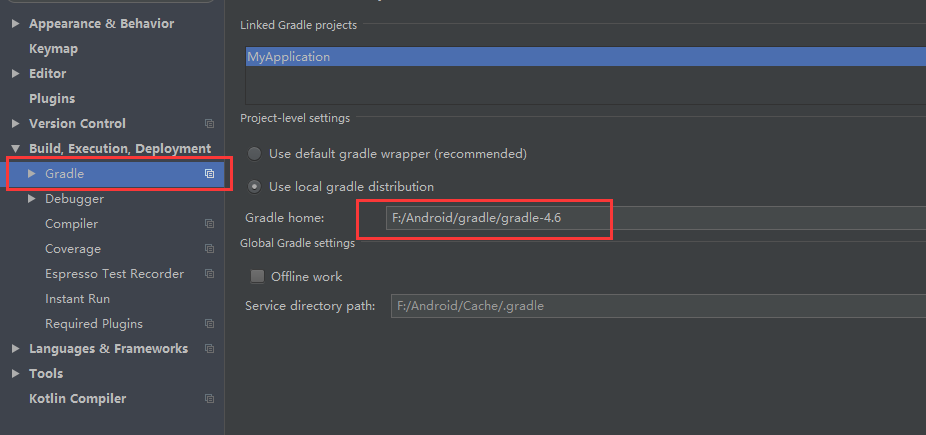
修改 distributionUrl=https://services.gradle.org/distributions/gradle-4.6-all.zip

② 修改外层的build.gradle

dependencies {
classpath 'com.android.tools.build:gradle:3.2.0'


// NOTE: Do not place your application dependencies here; they belong
// in the individual module build.gradle files
}
四,运行
PS:如果报错:INSTALL_FAILED_ABORTED: User rejected permissions
那么开启USB调试模式,并且关闭监控ADB安装应用

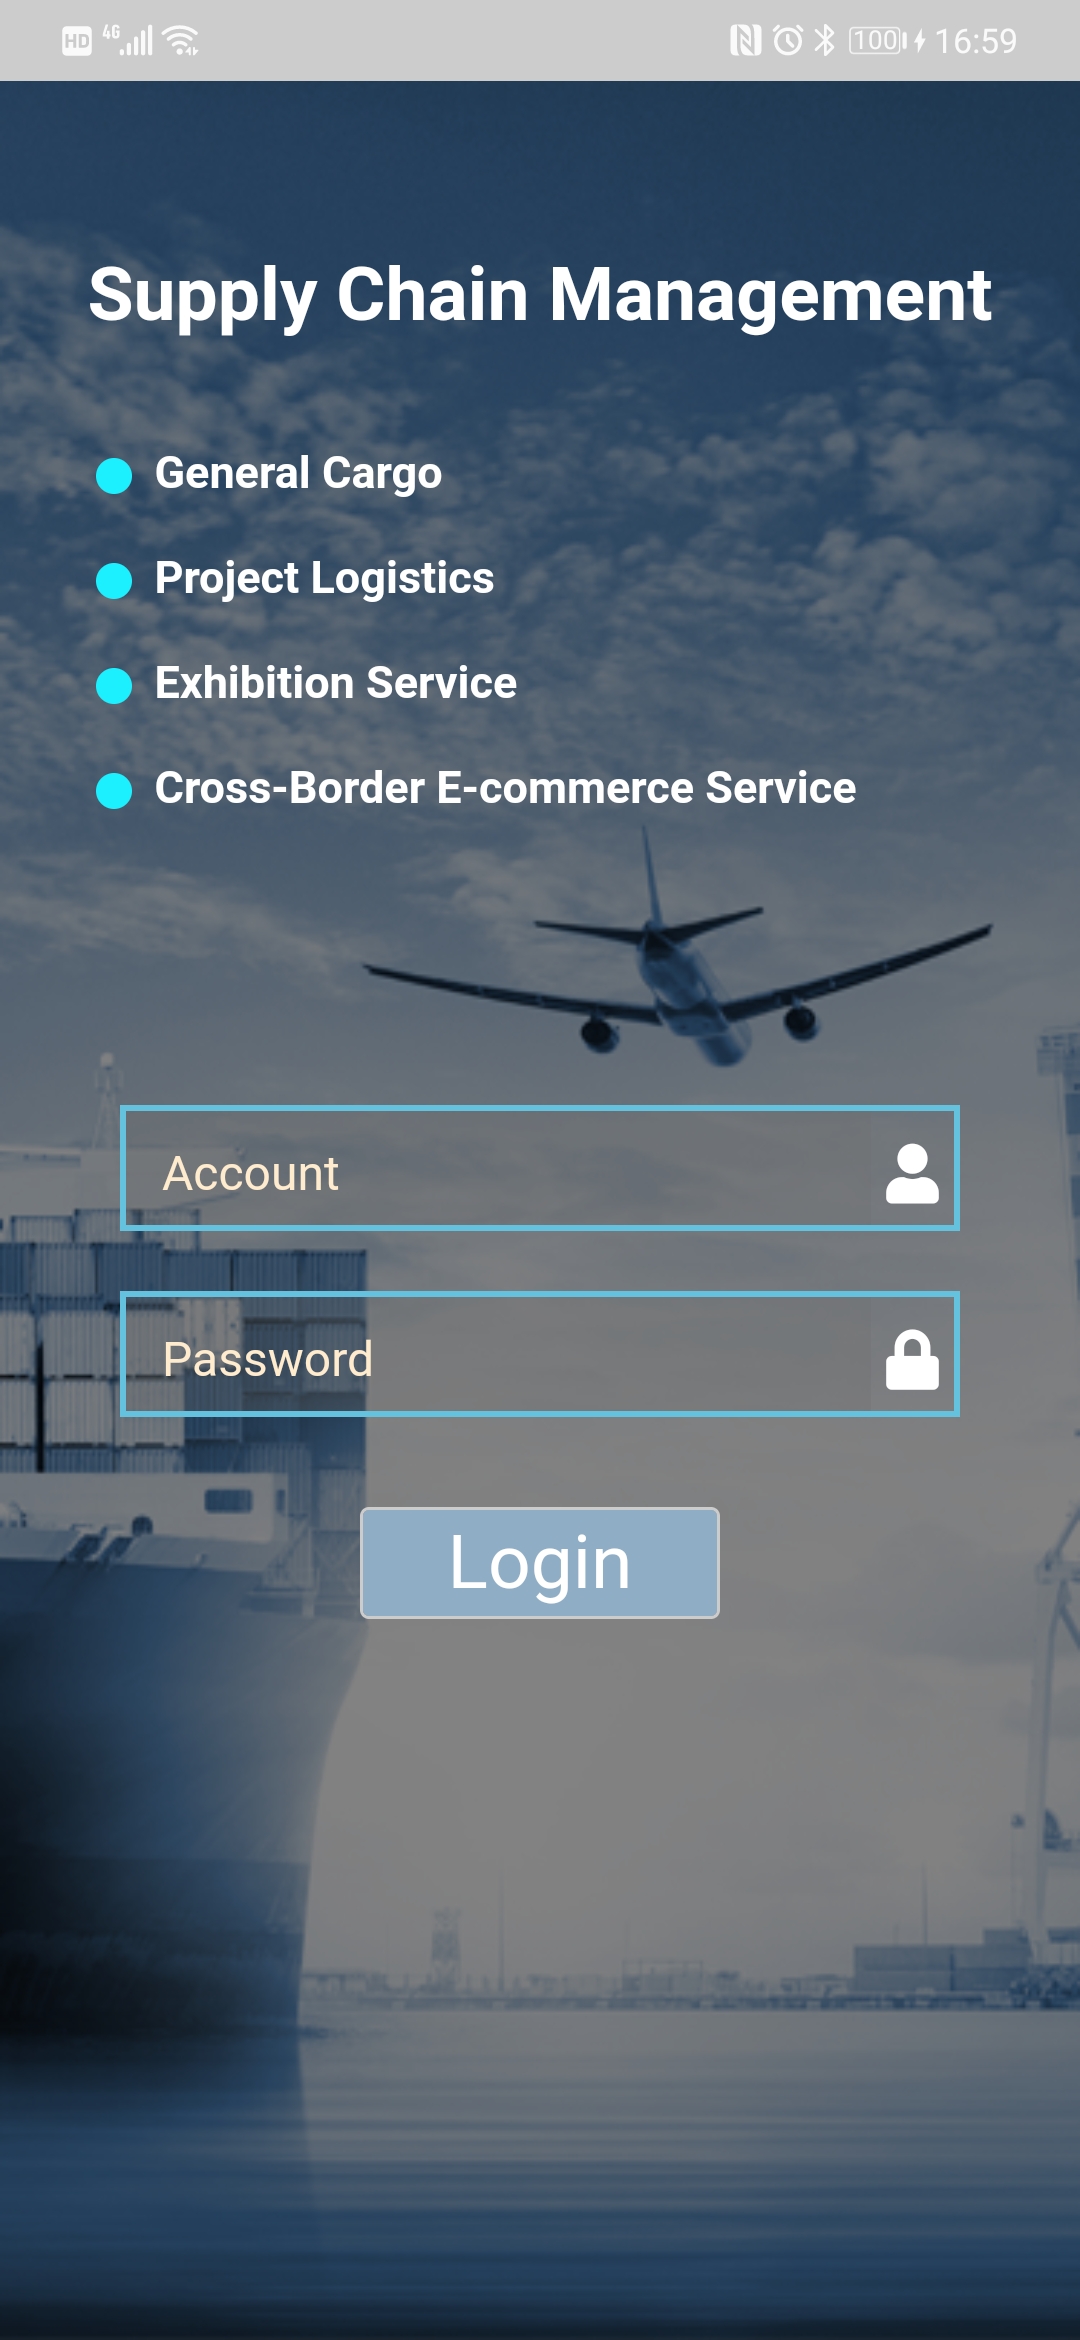
效果: