本章介绍elasticsearch-head插件安装,elasticsearch安装参考:【ElasticSearch】 安装
elasticsearch-head安装和学习可参照官方文档: https://github.com/mobz/elasticsearch-head
elasticsearch-head安装谷歌浏览器插件:https://chrome.google.com/webstore/detail/elasticsearch-head/ffmkiejjmecolpfloofpjologoblkegm
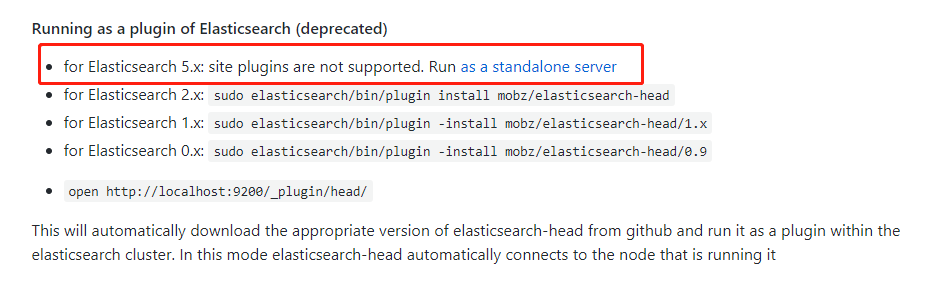
elasticsearch自5.x版本后便不支持直接安装head插件。
安装
环境
a、Linux(CentOS 7.4)
b、GIt环境
c、NodeJS环境(参考:【Node.js】安装及使用)
d、elasticsearch(6.5.2)
1、使用git,在github上克隆elasticsearch-head插件
命令:git clone git://github.com/mobz/elasticsearch-head.git
2、进入下载目录,命令:cd elasticsearch-head
3、安装,命令:npm install
4、运行,命令:npm run start
后台运行命令:nohup npm run start &
5、浏览器中使用,http://ip:9100,进行访问

注意:head插件要连接到es,es配置文件(config/elasticsearch.yml)中需要增加一下内容,并重启es服务
1 # 配置head插件所需
2 # 是否支持跨域,默认为false
3 http.cors.enabled: true
4 # 当设置允许跨域,默认为*,表示支持所有域名
5 http.cors.allow-origin: "*"
备注:安装过程可能报错
a、报:lbzip2: Cannot exec: No such file or directory 错误
解决办法:安装bzip2包即可,命令:yum -y install bzip2
