一、开发背景
运用博客园许久,相信大家一定发觉这个与别的平台有一些不一样的地方,那就是缺少了用户打赏功能。作为一个程序员的博客,这些东西肯定是该要自己
来写的,以此来说明学习程序,便捷自身。以下我就来说一说如何设置自己的打赏功能。
二、起步
1、第一就是需要先申请好博客园设置里的js权限
打开博客园首页找设置
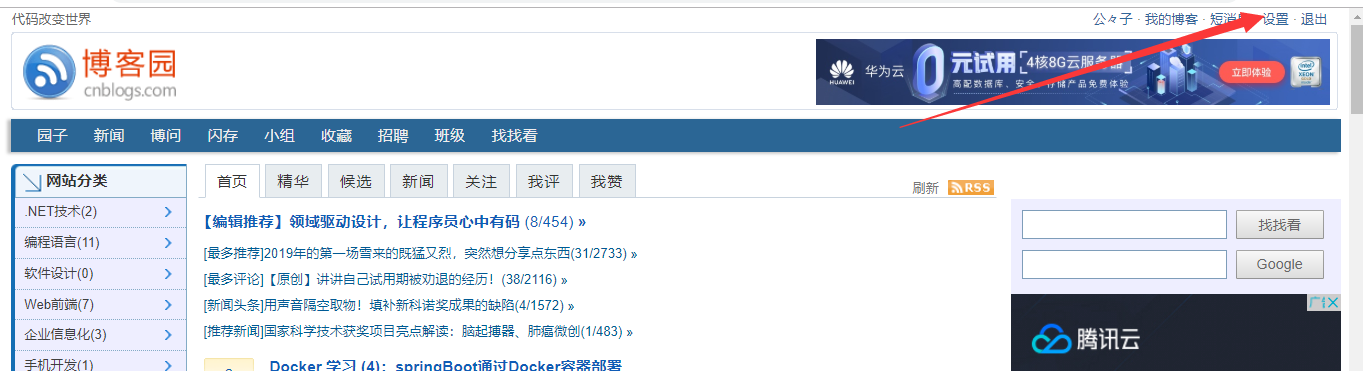
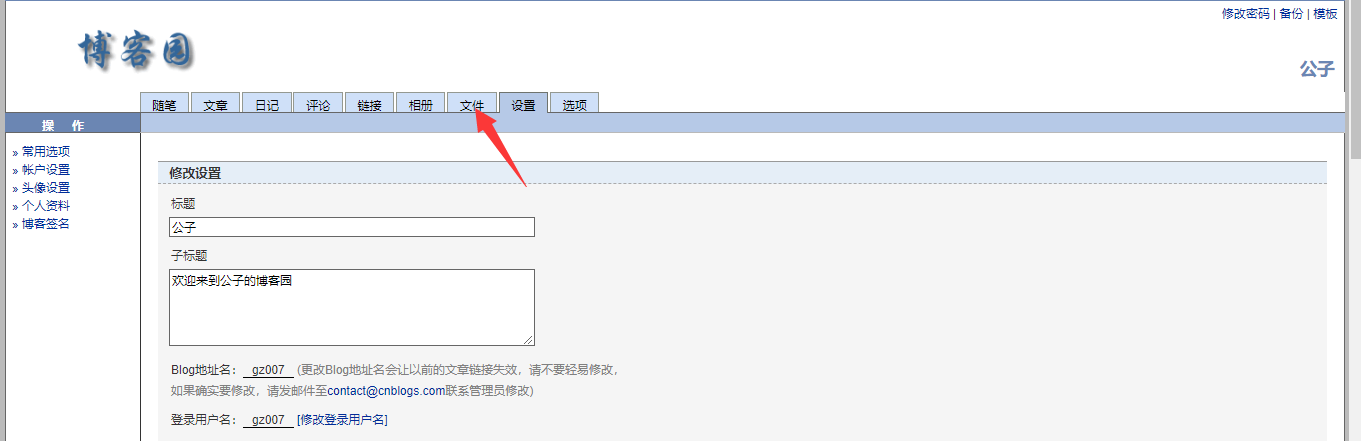
点击博客设置


打开下拉就可以看到以下画面

拥有了就是权限之后,懂得一些网页HTML,css,js编写 的就可以进行了
三、网页代码HTML,CSS,JS的编写
1、 html:
这是写好插入到博客侧边栏公告里的代码

<!DOCTYPE html>
<html lang="en">
<head>
    <meta charset="UTF-8">
    <meta name="viewport" content="width=device-width, initial-scale=1.0">
    <meta http-equiv="X-UA-Compatible" content="ie=edge">
    <title>Document</title>
    <script src="https://blog-static.cnblogs.com/files/gz007/jquery-3.1.1.min.js"></script>
    <script src="bokeyuan.js"></script>
    <link type="text/css" rel="styleSheet"  href="bokeyuan.css" />
</head>
<body>

    <h1>联系方式</h1>
    <h4>qq:1776980696</h4>
    <h4>微信:15717081825</h4>
    <h1>觉得不错--<span style="color:red" >赏</span></h1>
    <input name="dashang" type="button" class="dashang" value="大佬的赏金" ><br><br>
    <input name="dashang" type="button" class="dashang" value="大佬的赏金" ><br><br>
    <input name="dashang" type="button" class="dashang" value="大佬的赏金" ><br><br>
    <input name="dashang" type="button" class="dashang" value="大佬的赏金" ><br><br>


</body>
</html>
下面是隐藏整个博客园所显示的代码:

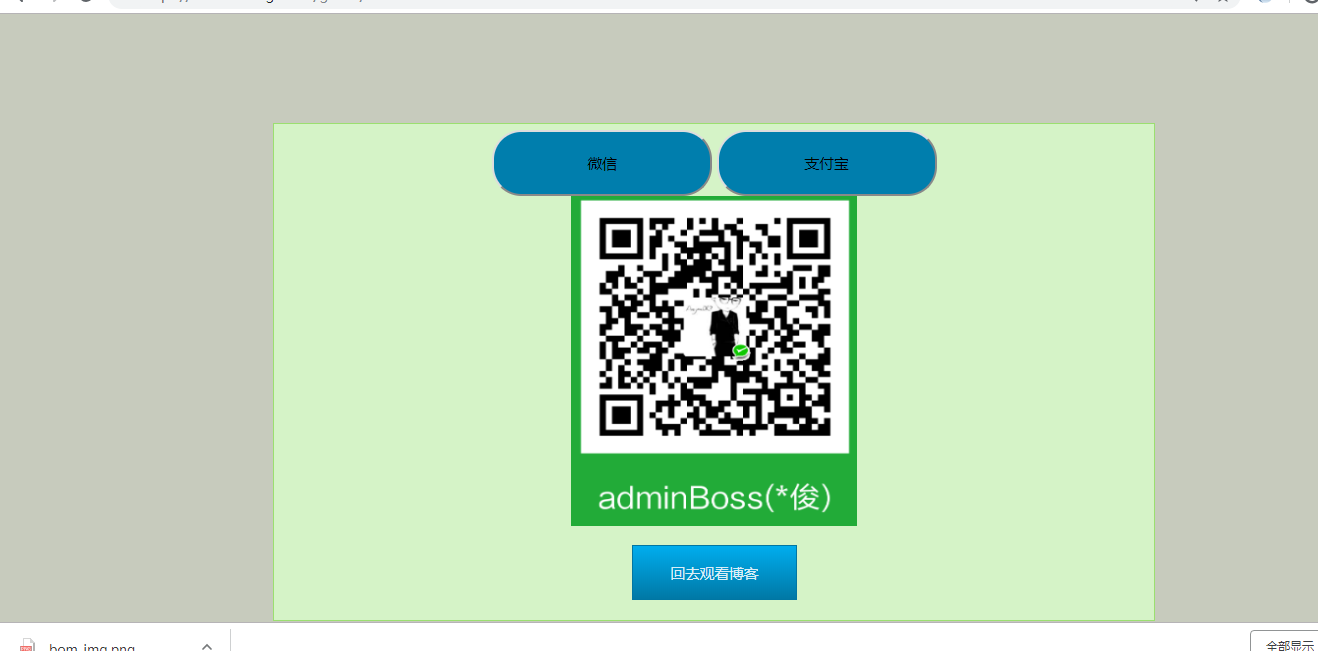
<!DOCTYPE html>
<html lang="en">
<head>
    <meta charset="UTF-8">
    <meta name="viewport" content="width=device-width, initial-scale=1.0">
    <meta http-equiv="X-UA-Compatible" content="ie=edge">
    <title>Document</title>
    <script src="https://blog-static.cnblogs.com/files/gz007/jquery-3.1.1.min.js"></script>
    <script src="bokeyuan.js"></script>
    <link type="text/css" rel="styleSheet"  href="bokeyuan.css" />
</head>
<body>
        <div id="boke_div" align="center" >
                <div id="boke_div_top" >
                        <input id="weixin" class="button bigrounded"  type="button" value="微信" >
                        <input id="zhifubao" class="button bigrounded" type="button" value="支付宝" >
                </div>
                <div id="boke_div_img_weixin" style="display: none;" ><img width="260px" height="300px" src="https://files-cdn.cnblogs.com/files/gz007/zhifubao1.bmp" ></div>
                <div id="boke_div_img_zhifubao"><img width="260px" height="300px" src="https://files-cdn.cnblogs.com/files/gz007/weixin1.bmp" ></div><br>
                <input id="fanhui"  type="button" value="回去观看博客" ><br><br>
        </div>

</body>
</html>
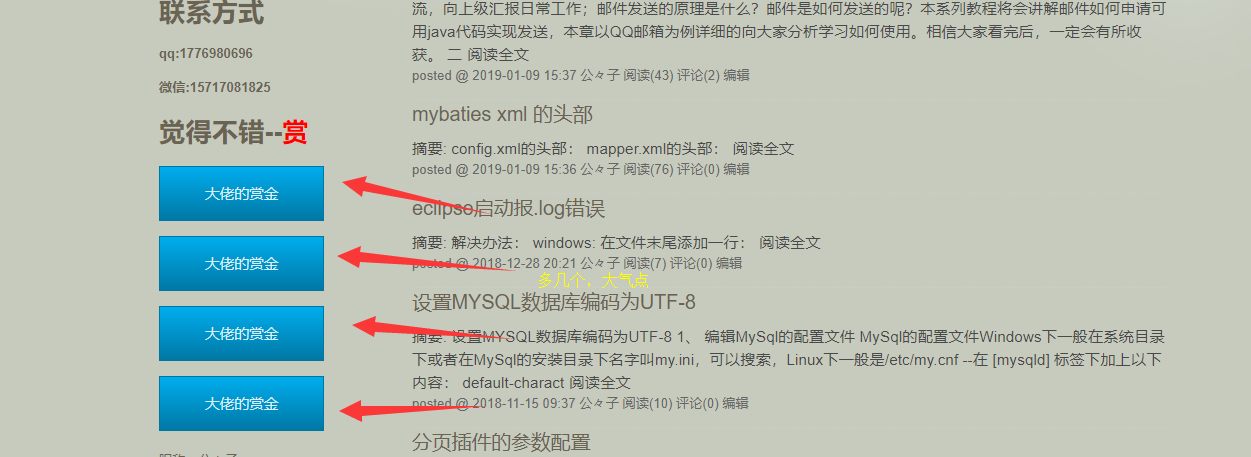
这样就有了
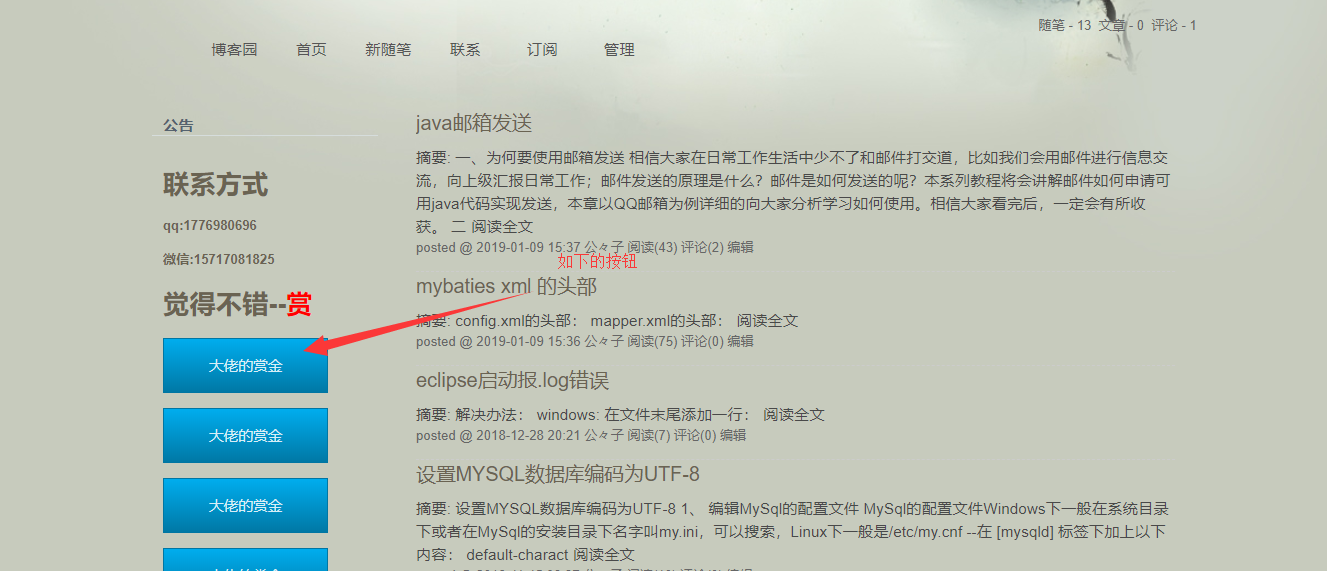
若是你跟着我操作了,定会发现,咦,我的按钮咋不一样,那么丑嘞,没有效果啊,那是因为还缺少了css,和js,接下来就是要写css和js咯
css:
.dashang {
    color: #d9eef7;
    border: solid 1px #0076a3;
    width:150px;
    height: 50px;
    background: #0095cd;
    background: -webkit-gradient(linear, left top, left bottom, from(#00adee), to(#0078a5));
    background: -moz-linear-gradient(top,  #00adee,  #0078a5);
    filter:  progid:DXImageTransform.Microsoft.gradient(startColorstr='#00adee', endColorstr='#0078a5');
}
.dashang:hover {
    background: #007ead;
    background: -webkit-gradient(linear, left top, left bottom, from(#0095cc), to(#00678e));
    background: -moz-linear-gradient(top,  #0095cc,  #00678e);
    filter:  progid:DXImageTransform.Microsoft.gradient(startColorstr='#0095cc', endColorstr='#00678e');
}
.dashang:active {
    color: #80bed6;
    background: -webkit-gradient(linear, left top, left bottom, from(#0078a5), to(#00adee));
    background: -moz-linear-gradient(top,  #0078a5,  #00adee);
    filter:  progid:DXImageTransform.Microsoft.gradient(startColorstr='#0078a5', endColorstr='#00adee');
}
#fanhui {
    color: #d9eef7;
    border: solid 1px #0076a3;
    width:150px;
    height: 50px;
    background: #0095cd;
    background: -webkit-gradient(linear, left top, left bottom, from(#00adee), to(#0078a5));
    background: -moz-linear-gradient(top,  #00adee,  #0078a5);
    filter:  progid:DXImageTransform.Microsoft.gradient(startColorstr='#00adee', endColorstr='#0078a5');
}
#fanhui:hover {
    background: #007ead;
    background: -webkit-gradient(linear, left top, left bottom, from(#0095cc), to(#00678e));
    background: -moz-linear-gradient(top,  #0095cc,  #00678e);
    filter:  progid:DXImageTransform.Microsoft.gradient(startColorstr='#0095cc', endColorstr='#00678e');
}
#fanhui:active {
    color: #80bed6;
    background: -webkit-gradient(linear, left top, left bottom, from(#0078a5), to(#00adee));
    background: -moz-linear-gradient(top,  #0078a5,  #00adee);
    filter:  progid:DXImageTransform.Microsoft.gradient(startColorstr='#0078a5', endColorstr='#00adee');
}


#boke_div{
    position: fixed;
    width: 800px;
    height: 450px;
    left: 20%;
    top: 18%;
    border:1px solid #ffcc00;background:#ffffc8;
}
#boke_div:hover{
    border:1px solid #9bdf70;background:#d5f3c7;

}


.button {
    width: 200px;
    height: 60px;
    background: #007ead;
    margin-top:5px;
}
.button:hover {
    background: #002d59;
}


.bigrounded {
    -webkit-border-radius: 2em;
    -moz-border-radius: 2em;
    border-radius: 2em;
}
css 的话你们可以自己根据自己喜欢的样子写,因为是我一个java后端开发的工程师,所以界面也不是很好看,但是下面的js的话,不一样的话就会没有效果咯,css不影响功能,就是丑了点,js不生效的话,就没有效果
JS:
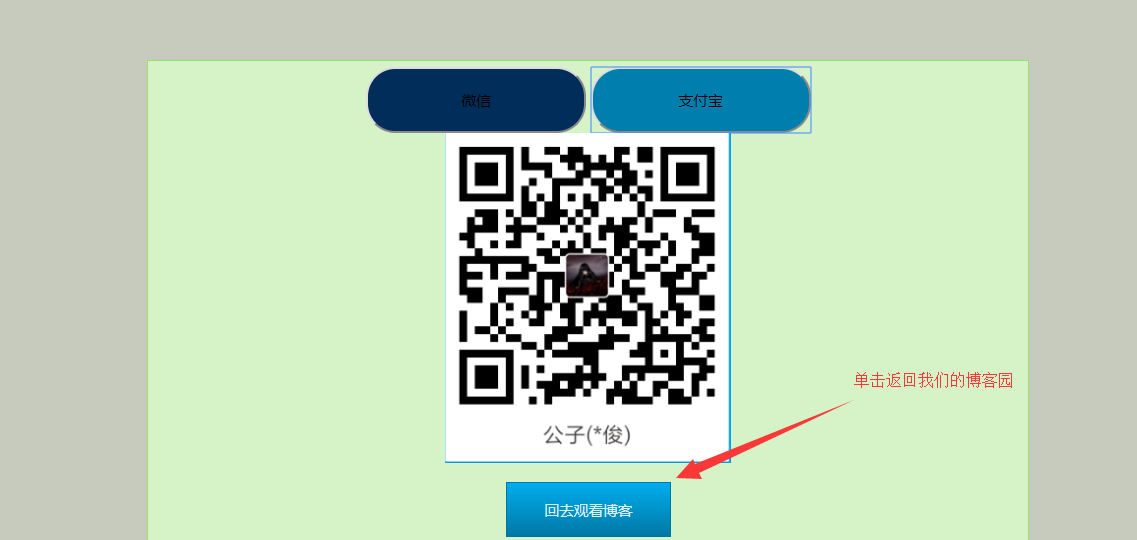
$(function(){
    $("input[name*='dashang']").click(function(){
        $("#home").hide();
        $("#boke_div").show();

    })

    $("#fanhui").click(function(){
        $("#home").show();
        $("#boke_div").hide();

    })

    $("#zhifubao").click(function(){
        $("#boke_div_img_weixin").show();
        $("#boke_div_img_zhifubao").hide();

    })
    $("#weixin").click(function(){
        $("#boke_div_img_zhifubao").show();
        $("#boke_div_img_weixin").hide();

    })

})
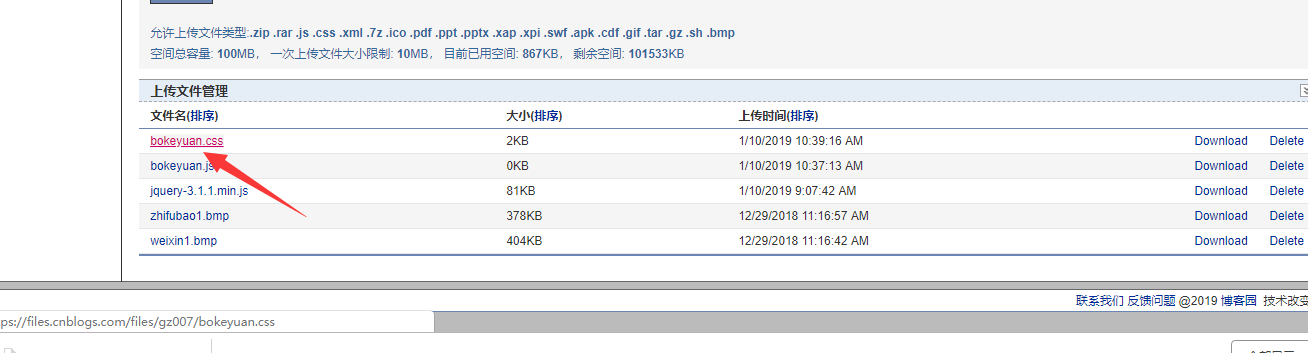
接下来就是把css,js等需要用到的一系列东西上传至博客园

这里点击你上传的文件就可以得到该文件在公网上的地址如我的:https://blog-static.cnblogs.com/files/gz007/bokeyuan.css
你们打开这个网址也是可以访问到的咯,你们也可以直接引入我的css和js都是一样的
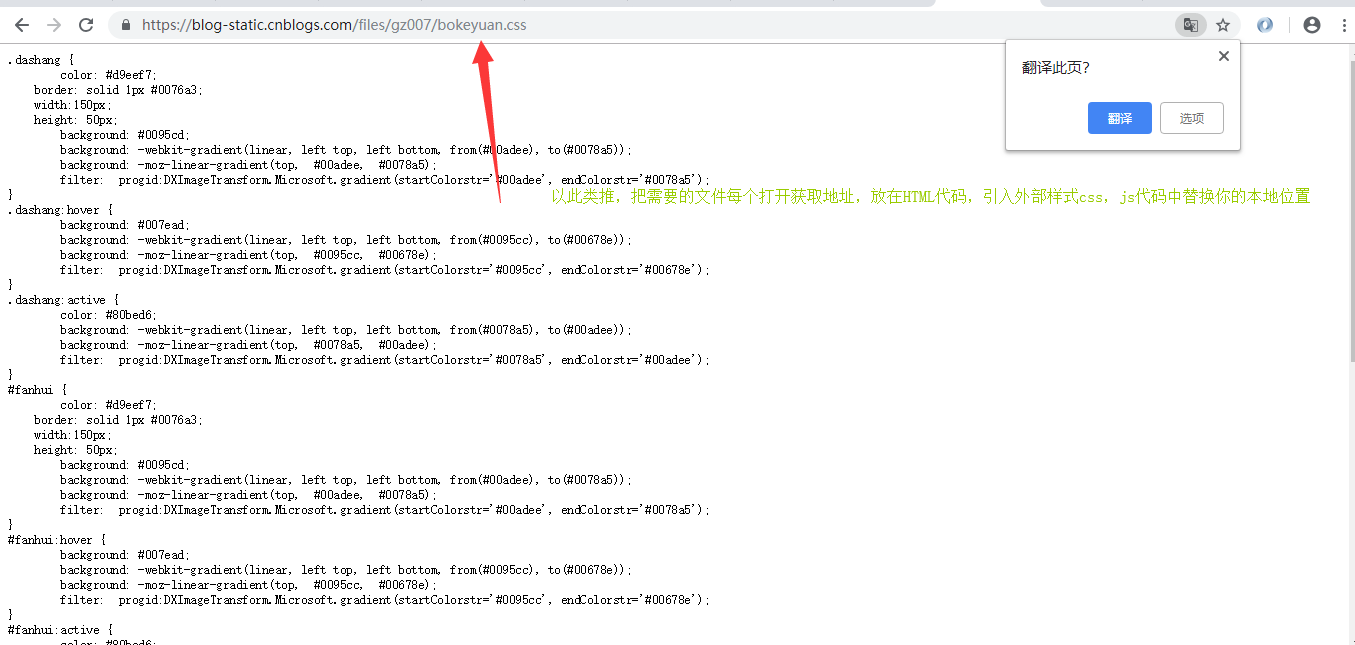
相信看了上面修改你的本地地址改成上传文件的地址应该都会了吧截图说话:

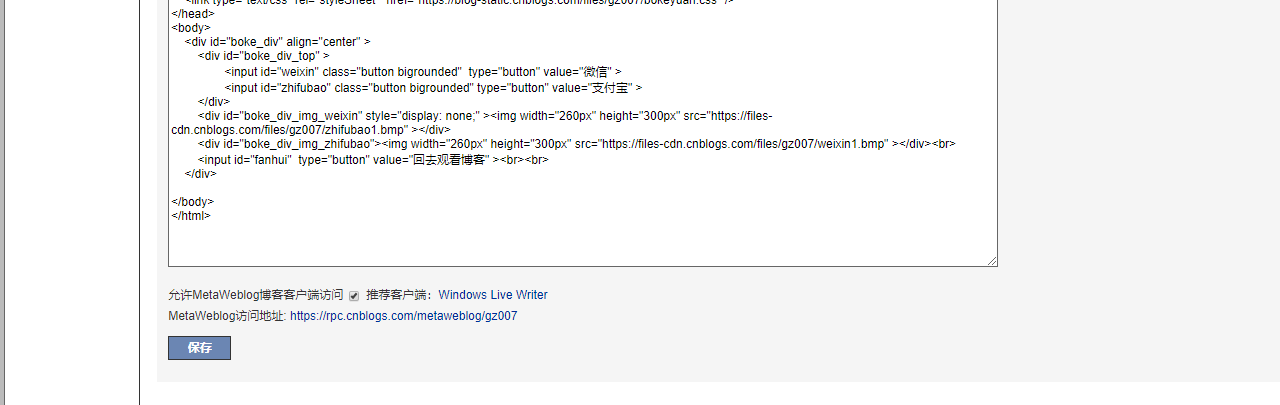
还有以下页脚代码也是如此:
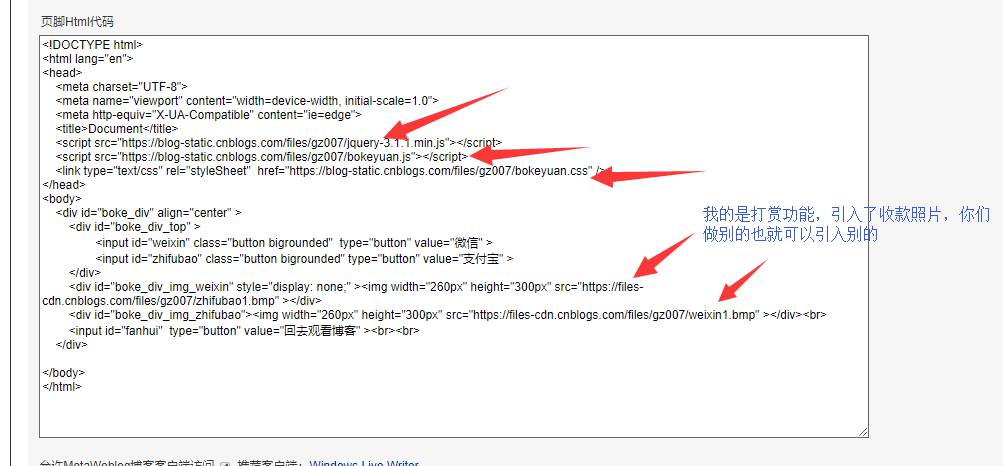
接下来下拉至最低点击保存就行咯,然后代开你的博客园你就会发现,一切都变成你想要的样子咯:
总结:怎么样看完这么详细的操作,是不是觉得一点都不难呢?其实吧,编程和还是挺容易的,入了门之后,一切都可以靠着自己的兴趣爱好学习自己喜欢的东西,这样很有趣不是?若有不懂的,可以加我进行询问,讨论,互相学习,互相成长。今天的分享就到这里了