1:获取MySQL镜像
运行 docker pull mysql
[root@MyCentos7-1 ~]# docker pull mysql
Using default tag: latest
latest: Pulling from library/mysql
85b1f47fba49: Pull complete
5671503d4f93: Pull complete
3b43b3b913cb: Pull complete
4fbb803665d0: Pull complete
05808866e6f9: Pull complete
1d8c65d48cfa: Pull complete
e189e187b2b5: Pull complete
02d3e6011ee8: Pull complete
d43b32d5ce04: Pull complete
2a809168ab45: Pull complete
Digest: sha256:1a2f9361228e9b10b4c77a651b460828514845dc7ac51735b919c2c4aec864b7
Status: Downloaded newer image for mysql:latest
2:启动MySQL镜像
[root@MyCentos7-1 ~]# docker run --name=mysql -itd -p 3306:3306 -e MYSQL_ROOT_PASSWORD=abcd123 mysql
eb3dbfb0958f5c856323e4d8da60d43194884ff05d7adac1ec059adb66ac7f7b
docker run是启动容器的命令;
--name:指定了容器的名称,方便之后进入容器的命令行
-itd:其中,i是交互式操作,t是一个终端,d指的是在后台运行
-p:指在本地生成一个随机端口,用来映射mysql的3306端口
-e:设置环境变量
MYSQL_ROOT_PASSWORD=emc123123:指定了mysql的root密码
mysql:指运行mysql镜像
3:进入MySQL容器
运行 docker exec -it mysql /bin/bash
[root@MyCentos7-1 ~]# docker exec -it mysql /bin/bash
root@my-mysql-v1-nths4:/usr/local/mysql#
4:进入MySQL
运行 mysql -uroot -p
root@my-mysql-v1-nths4:/usr/local/mysql# mysql -uroot -p
Enter password:
Welcome to the MySQL monitor.  Commands end with ; or g.
Your MySQL connection id is 2
Server version: 5.7.4-m14 MySQL Community Server (GPL)

Copyright (c) 2000, 2014, Oracle and/or its affiliates. All rights reserved.

Oracle is a registered trademark of Oracle Corporation and/or its
affiliates. Other names may be trademarks of their respective
owners.

Type 'help;' or 'h' for help. Type 'c' to clear the current input statement.

mysql> show databases;
+--------------------+
| Database |
+--------------------+
| information_schema |
| mysql |
| performance_schema |
+--------------------+
3 rows in set (0.02 sec)
5:进行配置,使外部工具可以连接
为了安全,首先需要设置root帐号的密码
mysql> update user set authentication_string = password('root') where user = 'root';
将root的密码改为root。
接着,由于mysql中root执行绑定在了localhost,因此需要对root进行授权,代码如下,
mysql> GRANT ALL PRIVILEGES ON *.* TO 'root'@'%' IDENTIFIED BY 'root' WITH GRANT OPTION;
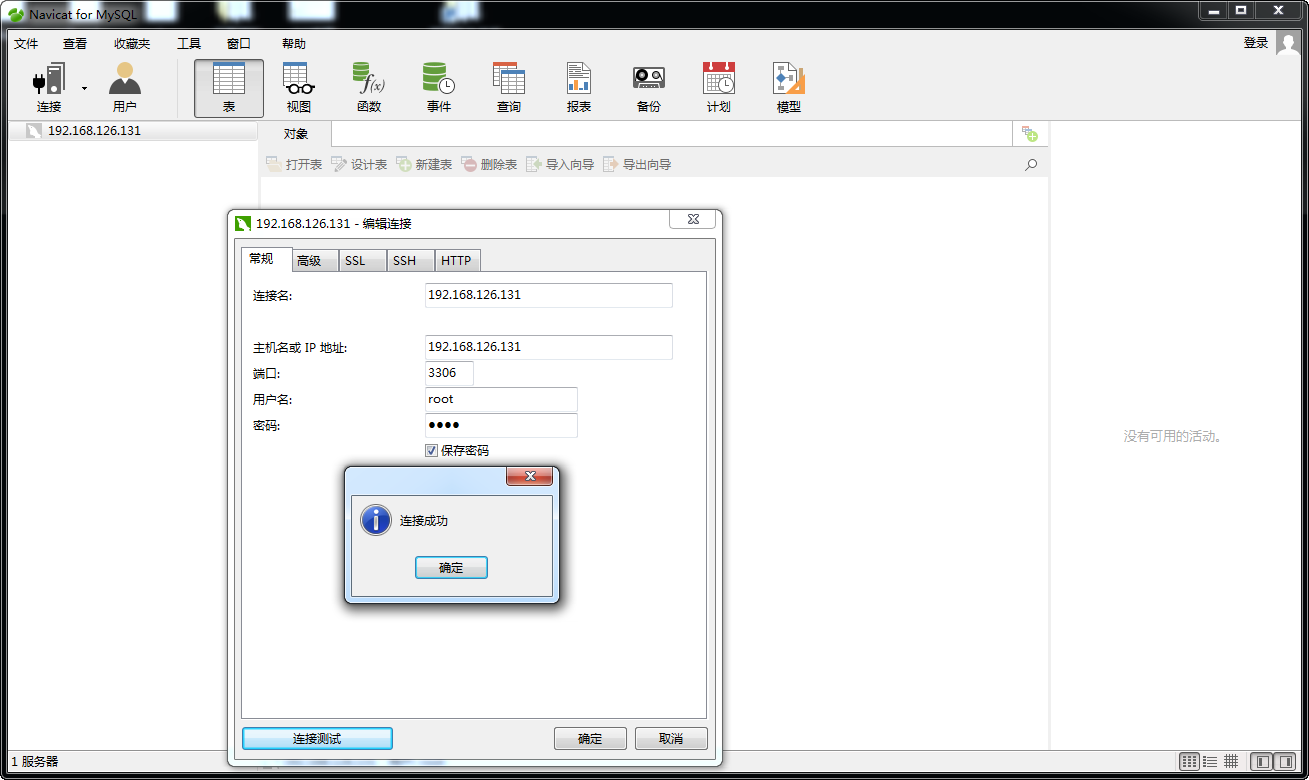
最后,使用navitecat测试mysql连接,如下,