1、下载spring 官网下载需要jar包放在lib中
本人分享百度云jar
链接:https://pan.baidu.com/s/1iEMwBbTTCxuCNOEdprlGhg
提取码:e7tg
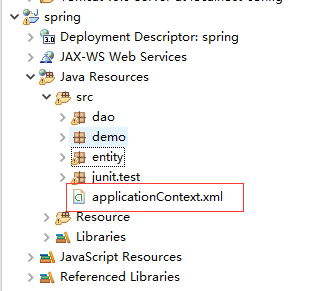
2、 配置applicationContext.xml
配置代码xml
<beans xmlns="http://www.springframework.org/schema/beans"
    xmlns:xsi="http://www.w3.org/2001/XMLSchema-instance"
    xsi:schemaLocation="http://www.springframework.org/schema/beans
        http://www.springframework.org/schema/beans/spring-beans.xsd">
    <bean id="Student" class="entity.Student">
        <property name="name">
            <value>tom</value>
        </property>
    </bean>
</beans>
3、新建两个文件

Student.java
package entity;

public class Student {

    private String name;

    public String getName() {
        return name;
    }

    public void setName(String name) {
        this.name = name;
    }


}
DemoTest.java
package entity;

import org.springframework.context.ApplicationContext;
import org.springframework.context.support.ClassPathXmlApplicationContext;

public class DemoTest {

    public static void main(String arg[]) {
        ApplicationContext ctx = new ClassPathXmlApplicationContext("applicationContext.xml"); // 实例化Spring容器
        Student stu = (Student) ctx.getBean("Student");
        System.out.println("name:" + stu.getName());
        System.out.println("test main");
    }
}