1.windows环境下
2.使用ffmpeg
第一步:下载ffmpeg 解压到服务器本地(自己百度下载地址)
第二步:配置执行文件到环境变量(配置java环境变量差不多)
第三步:在java环境调用执行文件对视频文件进行压缩保存。
代码:
压缩方法:
public static void ffmpegChange(File file, File fileSave){
        long startTime = System.currentTimeMillis();
        try {
            logger.info("=========文件 "+ file + " 正在压缩中");
            Runtime runtime = Runtime.getRuntime();
            String cutCmd = "ffmpeg -i " + file + " -r 15 -b:v 750k  -s 1280*720 " + fileSave;
            Process proce = runtime.exec(cutCmd);
            InputStream erro = proce.getErrorStream();
            byte[] a = new byte[1024];
            int j = 0;
            while((j=erro.read(a))>-1){
//                logger.info(new String(a));
            }
        } catch (Exception e) {
            e.printStackTrace();
            logger.info("=========文件 "+ file + " 正在转换出现异常");
        }
        logger.info("=========文件 "+ file + " 压缩完成");
        long endTime = System.currentTimeMillis();
        logger.info("压缩完成时间 " + (endTime - startTime) + "ms");
    }
使用该方法:
@Override
    public void downloadVideo() {
        List<LearnVideo> learnVideos = this.list((new QueryWrapper<LearnVideo>())
            .eq("fix_status","0")
//            .eq("autoid",787)
        );
        for (LearnVideo learnVideo : learnVideos) {
            // 文件存放目录
            String filePath = path + relativePath + learnVideo.getWebGuid() + "\";
            String fileRelativePath = relativePath + learnVideo.getWebGuid() + "\";
            String sourceThumbnail = learnVideo.getLearnVideoSourceThumbnail();
            String sourceUrl2 = learnVideo.getSourceUrl2();
            String sourceUrl3 = learnVideo.getSourceUrl3();
            String otherUrl = StringUtils.isNotEmpty(sourceUrl2) ? sourceUrl2 : sourceUrl3;
            if (StringUtils.isNotEmpty(otherUrl)) {
                learnVideo.setLearnVideoSoureUrl(otherUrl);
            }
            String learnVideoSoureUrl = learnVideo.getLearnVideoSoureUrl();
            //下载缩略图 并保存本地相对路径
            if (StringUtils.isNotEmpty(sourceThumbnail)) {
                handleNormalThumb(filePath, fileRelativePath, learnVideo, sourceThumbnail);
            }
            // 下载媒体文件 并保存相对路径
            if (StringUtils.isNotEmpty(learnVideoSoureUrl)) {
                String[] split = learnVideoSoureUrl.split("/");
                String name = split[split.length - 1];
                name = String.valueOf(RandomUtil.randomInt(1, 99)) + name;
                sleepHandle(learnVideo);
                if (learnVideoSoureUrl.contains("oss")) {
                    String referer = learnVideo.getLearnVideoWebSourceUrl();
                    DownloadPictureTest.downloadPictureWithOSS(learnVideoSoureUrl, filePath + "temp\", name, referer);
                } else {
                    DownloadPictureTest.downloadPictureSSL(learnVideoSoureUrl, filePath + "temp\", name);
                }
                learnVideo.setLearnVideoPlayUrl(fileRelativePath + name);
                //另外起线程压缩视频
                File file = new File(filePath + "temp\" + name);
                File file2 = new File(filePath + name);
                MyUtil.ffmpegChange(file, file2);
                //转换完成后删除temp文件
                file.delete();
            }
            learnVideo.setFixStatus("1");
            this.updateById(learnVideo);
        }
    }
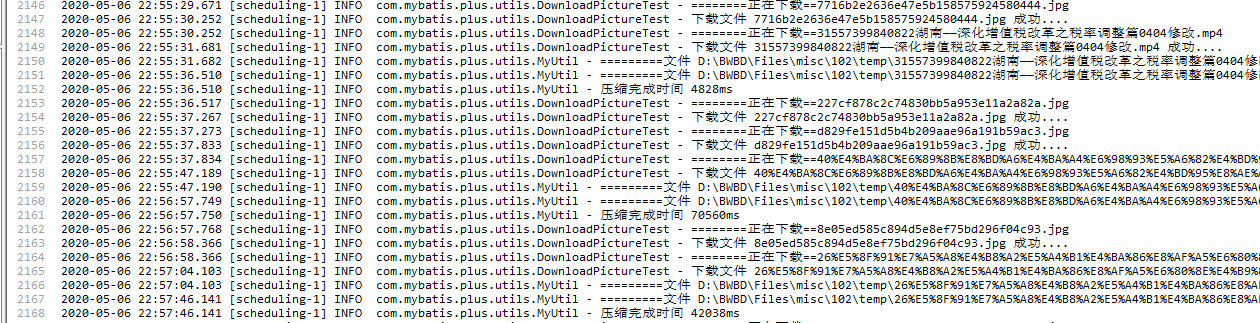
运行效果:
总结:注意以下代码 是打印cmd窗口信息 如果不做这个操作 会导致没有压缩完 就中断 导致压缩失败
while((j=erro.read(a))>-1){
//                logger.info(new String(a));
            }
还有就是搞个临时文件夹设置 被压缩文件 和压缩完成文件 同名会导致失败
补充:
使用上述办法实现了视频的压缩 而且为视频设置固定高宽,但是当视屏高宽比例与 1280*720相差甚远的时候 会造成视屏严重失真 现在就来解决这个问题
1.网上去下载jave包 并放在resource/lib下面
pom添加
<dependency>
            <groupId>java</groupId>
            <artifactId>jave</artifactId>
            <version>1.0.2.</version>
            <scope>system</scope>
            <systemPath>${project.basedir}/src/main/resources/lib/jave-1.0.2.jar</systemPath>
        </dependency>
还有 很重要的一点 打包配置修改如下 不然会造成打包到线上缺少jar包
<plugin>
                <groupId>org.springframework.boot</groupId>
                <artifactId>spring-boot-maven-plugin</artifactId>
                <configuration>
                    <includeSystemScope>true</includeSystemScope>
                </configuration>
            </plugin>
接下来上逻辑代码 获取视屏高宽 再进行压缩处理 我这里只是简单跳过了竖向的视屏
public static Long ffmpegChange(File file, File fileSave){
        long startTime = System.currentTimeMillis();
        //获取视频宽高
        File source = file;
        Encoder encoder = new Encoder();
        int width = 1280;
        int height = 720;
        try {
            MultimediaInfo m = encoder.getInfo(source);
            long ls = m.getDuration();
            logger.info("此视频时长为:" + ls / 60000 + "分" + (ls) / 1000 + "秒!");
            // 视频帧宽高
            int height1 = m.getVideo().getSize().getHeight();
            logger.info("此视频高度为:" + height1);
            int width1 = m.getVideo().getSize().getWidth();
            logger.info("此视频宽度为:" + width1);
            logger.info("此视频格式为:" + m.getFormat());
            if (height1 > width1) {
                width = width1;
                height = height1;
            }
        } catch (Exception e) {
            e.printStackTrace();
        }

        try {
            logger.info("=========文件 "+ file + " 正在压缩中");
            Runtime runtime = Runtime.getRuntime();
            String cutCmd = "ffmpeg -i " + file + " -r 15 -b:v 750k  -s "+width+"*"+height+" " + fileSave;
            Process proce = runtime.exec(cutCmd);
            InputStream erro = proce.getErrorStream();
            byte[] a = new byte[1024];
            int j = 0;
            while ((j = erro.read(a)) > -1) {
//                logger.info(new String(a));
            }
        } catch (Exception e) {
            e.printStackTrace();
            logger.info("=========文件 "+ file + " 正在转换出现异常");
        }
        logger.info("=========文件 "+ file + " 压缩完成");
        long endTime = System.currentTimeMillis();
        logger.info("压缩完成时间 " + (endTime - startTime) + "ms");
        return endTime - startTime;
    }