1.服务端
1.1 pom依赖
<!--WebService CXF依赖 start-->
<dependency>
    <groupId>org.apache.cxf</groupId>
    <artifactId>cxf-rt-frontend-jaxws</artifactId>
    <version>3.1.12</version>
</dependency>
<dependency>
    <groupId>org.apache.cxf</groupId>
    <artifactId>cxf-rt-transports-http</artifactId>
    <version>3.1.12</version>
</dependency>
<!--WebService CXF依赖 end-->
1.2 对外暴露的接口
package com.example.demo.service;

import org.springframework.stereotype.Service;

import javax.jws.WebService;

@WebService(name = "IService", // 暴露服务名称
        targetNamespace = "http://service.demo.example.com/"// 命名空间,一般是接口的包名倒序
)
@Service
public interface IService {

    String getHello(int a);


}
1.3 接口的实现
import com.example.demo.service.IService;
import org.springframework.stereotype.Component;
import org.springframework.stereotype.Service;

import javax.jws.WebService;

/**
 * @Description
 * @ClassName ServiceImpl
 **/
@WebService(serviceName = "IService", // 与接口中指定的name一致
        portName = "ServiceImpl",
        targetNamespace = "http://service.demo.example.com/", // 与接口中的命名空间一致,一般是接口的包名倒序
        endpointInterface = "com.example.demo.service.IService") // 接口地址
@Component
public class ServiceImpl implements IService {


    @Override
    public String getHello(int a) {
        return "hello=== " + a;
    }
}
1.4 相关配置
import com.example.demo.service.impl.ServiceImpl;
import org.apache.cxf.Bus;
import org.apache.cxf.bus.spring.SpringBus;
import org.apache.cxf.jaxws.EndpointImpl;
import org.apache.cxf.transport.servlet.CXFServlet;
import org.springframework.boot.web.servlet.ServletRegistrationBean;
import org.springframework.context.annotation.Bean;
import org.springframework.context.annotation.Configuration;
import org.springframework.core.Ordered;

import javax.xml.ws.Endpoint;

/**
 * @Description
 * @ClassName Config
 **/
@Configuration
public class Config {


    @Bean(name = Bus.DEFAULT_BUS_ID)
    public SpringBus springBus() {
        return new SpringBus();
    }

    @Bean
    public ServiceImpl serviceImpl() {
        return new ServiceImpl();
    }

    /**
     * 自定义servlet的访问 (下边加粗的一行/demo/) 将会是http://localhost:9998/demo/IService?wsdl (注意)
     */
    @Bean
    public ServletRegistrationBean servletRegistrationBean() {
        ServletRegistrationBean bean = new ServletRegistrationBean(new CXFServlet(), "/demo/*");
        bean.setLoadOnStartup(0);
        bean.setOrder(Ordered.HIGHEST_PRECEDENCE);
        return bean;
    }

    /** JAX-WS **/
    @Bean
    public Endpoint endpoint() {
        EndpointImpl endpoint = new EndpointImpl(springBus(), serviceImpl());
        endpoint.publish("/IService");
        return endpoint;
    }


}
1.5 启动成功

2.客户端
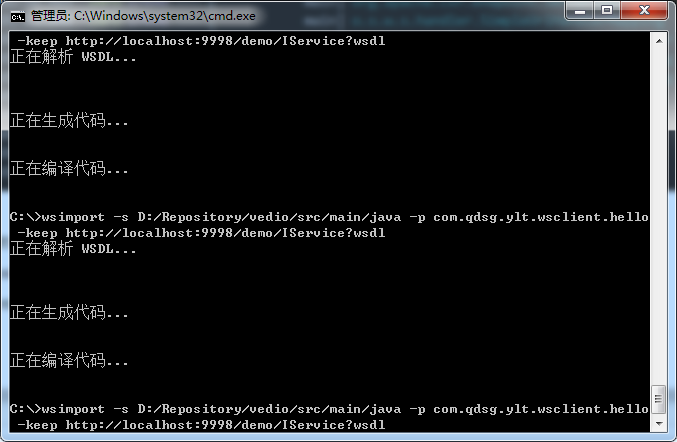
2.1 生成客户端代码的命令
wsimport -s D:/Repository/vedio/src/main/java -p com.qdsg.ylt.wsclient.hello -keep http://localhost:9998/demo/IService?wsdl
贴出一个博客===》https://blog.csdn.net/u010643307/article/details/73333992
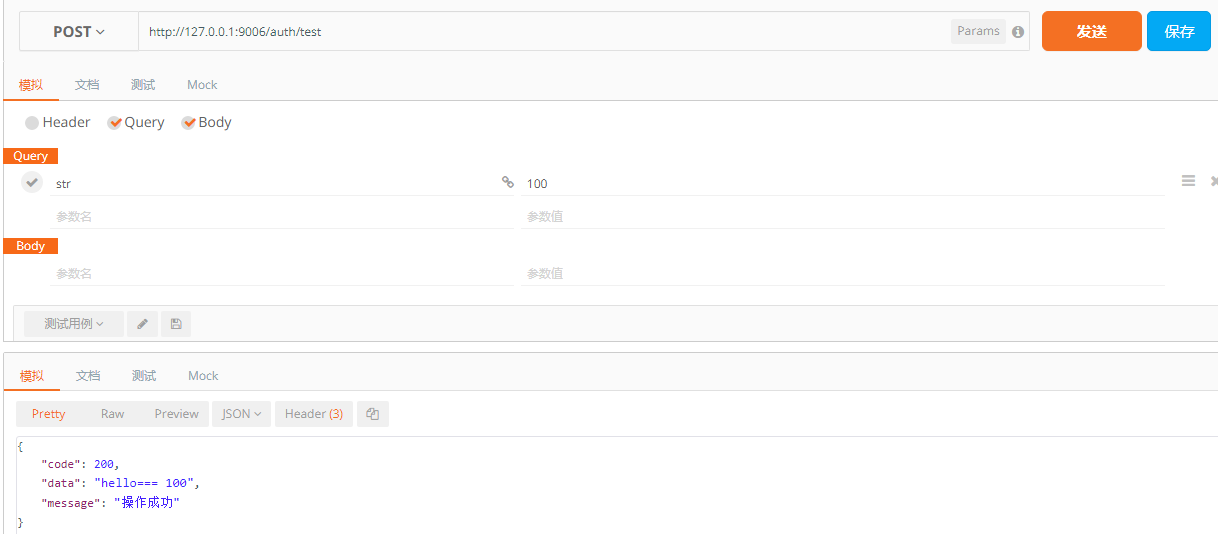
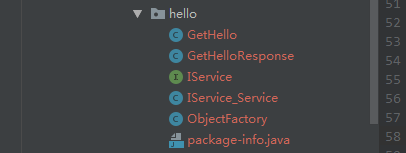
2.2 使用方法
生成的代码
在我们的实现类里边new 出生成的service对象

调用服务端 的方法,就可以了。(结果如下)