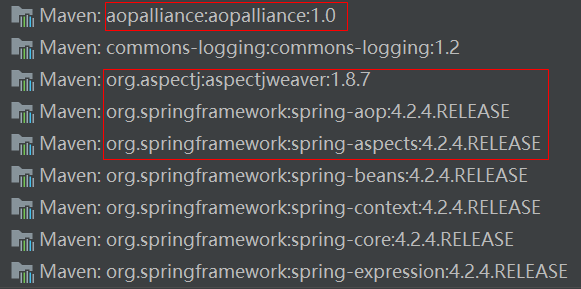
1、导入相应jar包
2、引入约束并配置XML文件
 1 <beans xmlns="http://www.springframework.org/schema/beans"
 2        xmlns:xsi="http://www.w3.org/2001/XMLSchema-instance"
 3        xmlns:aop="http://www.springframework.org/schema/aop"
 4        xsi:schemaLocation="http://www.springframework.org/schema/beans
 5         http://www.springframework.org/schema/beans/spring-beans.xsd
 6         http://www.springframework.org/schema/aop
 7         http://www.springframework.org/schema/aop/spring-aop.xsd ">
 8
 9     <!-- 1 配置对象-->
10     <bean id="book2" class="helloworld.aop.Book"></bean>
11     <bean id="mybook2" class="helloworld.aop.MyBookAuto"></bean>
12
13      <!-- 2 配置AOP操作-->
14     <aop:aspectj-autoproxy></aop:aspectj-autoproxy>
15
16 </beans>
3、加上注解
MyBookAuto.class
 1 package helloworld.aop;
 2
 3 import org.aspectj.lang.ProceedingJoinPoint;
 4 import org.aspectj.lang.annotation.After;
 5 import org.aspectj.lang.annotation.Around;
 6 import org.aspectj.lang.annotation.Aspect;
 7 import org.aspectj.lang.annotation.Before;
 8
 9 /**
10 * 使用注解方式方式配置AOP操作
11 * */
12 @Aspect
13 public class MyBookAuto {
14
15     @Before(value = "execution(* helloworld.aop.Book.*(..))")
16     public void beforeFn(){
17         System.out.println("前置操作");
18     }
19
20     @After(value = "execution(* helloworld.aop.Book.*(..))")
21     public void afterFn(){
22         System.out.println("后置操作");
23     }
24
25 //    环绕通知
26     @Around(value = "execution(* helloworld.aop.Book.*(..))")
27     public void aroundFn(ProceedingJoinPoint proceedingJoinPoint){
28         System.out.println("方法之前...");
29
30 //        被执行的增强的方法
31         try {
32             proceedingJoinPoint.proceed();
33         } catch (Throwable throwable) {
34             throwable.printStackTrace();
35         }
36
37         System.out.println("方法之后...");
38     }
39
40 }
book.class
1 package helloworld.aop;
2
3 public class Book {
4
5     public void add(){
6         System.out.println("add执行");
7     }
8 }
测试代码:
1 //        使用注解方式方式配置AOP操作
2         ApplicationContext context2 = new ClassPathXmlApplicationContext("beans_aop2.xml");
3         Book book2 = (Book) context2.getBean("book2");
4         book2.add();
运行结果:
1 方法之前...
2 前置操作
3 add执行
4 方法之后...
5 后置操作
6
7 Process finished with exit code 0