第1章 gitlab
1.1 系统环境
[root@jenkins ~]# cat /etc/redhat-release
CentOS Linux release 7.2.1511 (Core)
[root@jenkins ~]# uname -r
3.10.0-327.el7.x86_64
[root@jenkins ~]# uname -m
x86_64
#准备目录
mkdir -p /tar/tools
mkdir /app
1.2 使用系统自带git
[root@jenkins ~]# rpm -qa git
git-1.8.3.1-5.el7.x86_64
git 全局配置
[root@jenkins ~]# git config --global user.name "liu" #配置git使用用户
[root@jenkins ~]# git config --global user.email "limit678@163.com" #配置git使用邮箱
[root@jenkins ~]# git config --global color.ui true #语法高亮
[root@jenkins ~]# git config --list # 查看全局配置
user.name=liu
user.email=limit678@163.com
color.ui=true
#查看
[root@jenkins ~]# cat .gitconfig
[user]
name = liu
email = limit678@163.com
[color]
ui = true
1.3 初始化git目录
[root@jenkins ~]# mkdir git_data
[root@jenkins ~]# cd git_data/
[root@jenkins git_data]# git init
初始化空的 Git 版本库于 /root/git_data/.git/
[root@jenkins git_data]# git status
# 位于分支 master
#
# 初始提交
#
无文件要提交(创建/拷贝文件并使用 "git add" 建立跟踪)
1.4 安装部署gitlab
[root@jenkins ~]# cd /tar/tools/
[root@jenkins tools]# yum localinstall gitlab-ce-9.1.4-ce.0.el7.x86_64.rpm
[root@jenkins tools]# gitlab-ctl reconfigure #→初始化
[root@jenkins tools]# gitlab-ctl start #启动
1.5 创建密码8位数
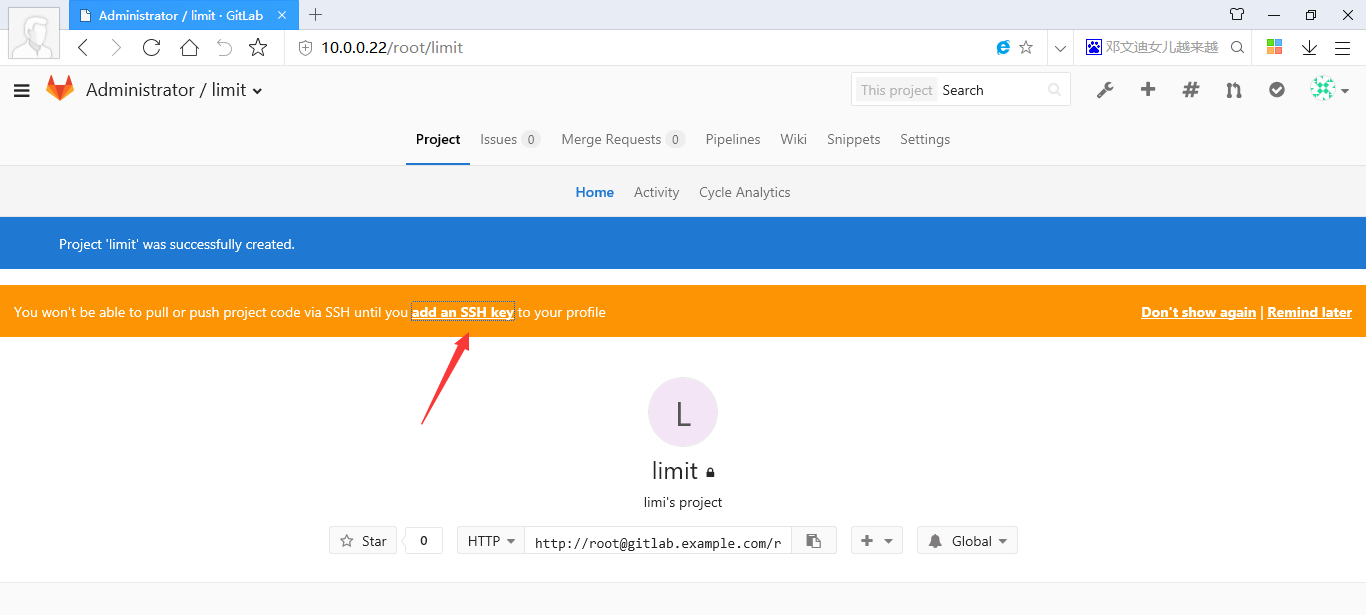
1.6 创建项目


1.7 创建ssh秘钥登
[root@jenkins tools]# ssh-keygen
Generating public/private rsa key pair.
Enter file in which to save the key (/root/.ssh/id_rsa):
Created directory '/root/.ssh'.
Enter passphrase (empty for no passphrase):
Enter same passphrase again:
Your identification has been saved in /root/.ssh/id_rsa.
Your public key has been saved in /root/.ssh/id_rsa.pub.
The key fingerprint is:
7b:f6:d2:ff:ea:24:36:d1:34:8e:c5:ca:70:74:0c:58 root@jenkins
The key's randomart image is:
+--[ RSA 2048]----+
| oEo. |
| .. o. |
| . . = |
| + B . |
| S = o |
| . . |
| . o.+ . |
| o.o.+ |
| ..o+o.|
+-----------------+
[root@jenkins tools]# cat .ssh/id_rsa.pub
cat: .ssh/id_rsa.pub: 没有那个文件或目录
[root@jenkins tools]# cat /root/.ssh/id_rsa.pub

1.8 clone库
[root@jenkins ~]# git clone git@10.0.0.22:root/limit.git
[root@jenkins ~]# git clone git@10.0.0.22:root/limit.git
正克隆到 'limit'...
The authenticity of host '10.0.0.22 (10.0.0.22)' can't be established.
ECDSA key fingerprint is 62:68:55:53:6a:d3:e8:ca:ce:6b:f6:d0:fd:ec:62:24.
Are you sure you want to continue connecting (yes/no)? yes
Warning: Permanently added '10.0.0.22' (ECDSA) to the list of known hosts.
warning: 您似乎克隆了一个空版本库。
[root@jenkins ~]# cd limit
[root@jenkins limit]# touch test.nd
[root@jenkins limit]# git add test.nd
[root@jenkins limit]# git commit -m 'add test.md'
[master(根提交) 8cfb55e] add test.md
1 file changed, 0 insertions(+), 0 deletions(-)
create mode 100644 test.nd
[root@jenkins limit]# ll
总用量 0
-rw-r--r-- 1 root root 0 8月 2 09:08 test.nd
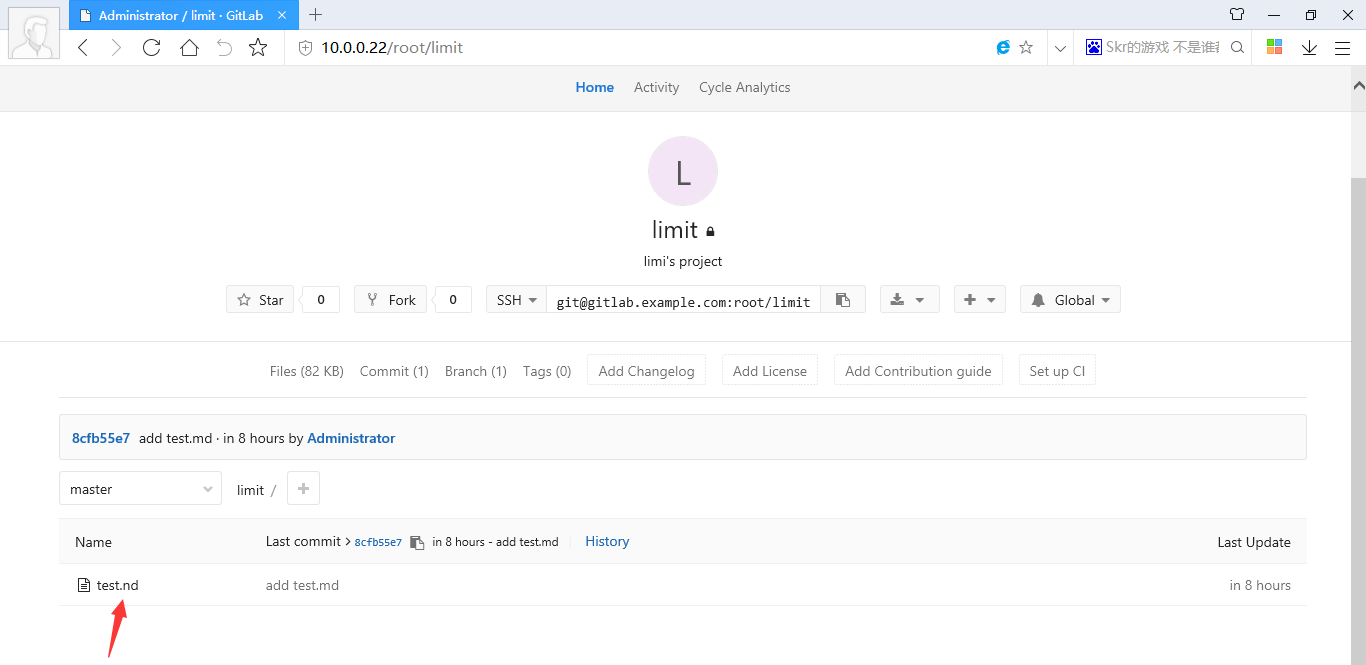
1.9 上传到gitlab
[root@jenkins limit]# git push -u origin master
Counting objects: 3, done.
Writing objects: 100% (3/3), 208 bytes | 0 bytes/s, done.
Total 3 (delta 0), reused 0 (delta 0)
To git@10.0.0.22:root/limit.git
* [new branch] master -> master
分支 master 设置为跟踪来自 origin 的远程分支 master。
第2章 Jenkins
2.1 系统环境
[root@jenkins ~]# cat /etc/redhat-release
CentOS Linux release 7.2.1511 (Core)
[root@jenkins ~]# uname -r
3.10.0-327.el7.x86_64
[root@jenkins ~]# uname -m
x86_64
#准备目录
mkdir -p /tar/tools
mkdir /app
[root@jenkins ~]# yum -y install java-1.8.0-openjdk java-1.8.0-openjdk-devel
[root@jenkins ~]# java -version
openjdk version "1.8.0_181"
OpenJDK Runtime Environment (build 1.8.0_181-b13)
OpenJDK 64-Bit Server VM (build 25.181-b13, mixed mode)
2.2 安装Jenkins
这里用的清华的源
[root@jenkins ~]# rpm -ivh https://mirrors.tuna.tsinghua.edu.cn/jenkins/redhat/jenkins-2.73.1-1.1.noarch.rpm
获取https://mirrors.tuna.tsinghua.edu.cn/jenkins/redhat/jenkins-2.73.1-1.1.noarch.rpm
2.3 相关目录
[root@jenkins limit]# rpm -ql jenkins
/etc/init.d/jenkins 启动脚本
/etc/logrotate.d/jenkins 日志切割
/etc/sysconfig/jenkins 配置文件 端口配置 用户配置
/usr/lib/jenkins
/usr/lib/jenkins/jenkins.war # 升级jenkins,将新版本的war替换即可
/usr/sbin/rcjenkins
/var/cache/jenkins # war包解压目录
/var/lib/jenkins # jenkins的家目录
/var/log/jenkins # 日志
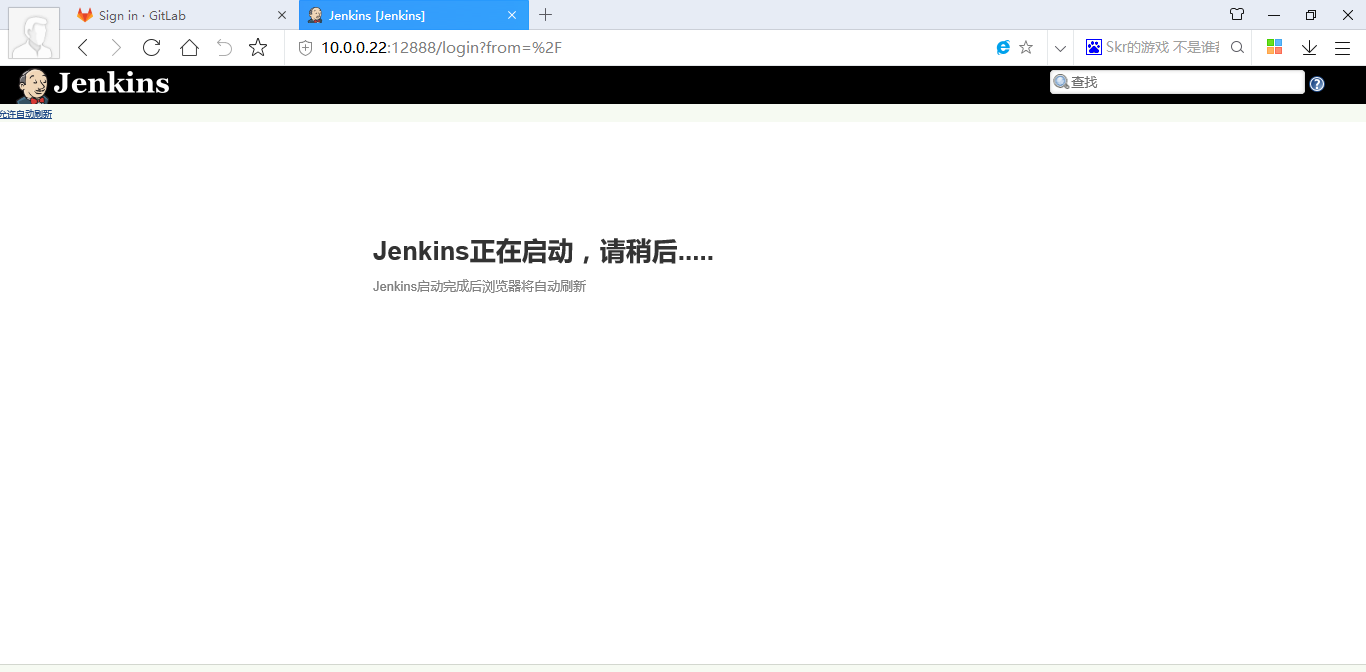
2.4 启动
[root@jenkins ~]# systemctl start jenkins.service
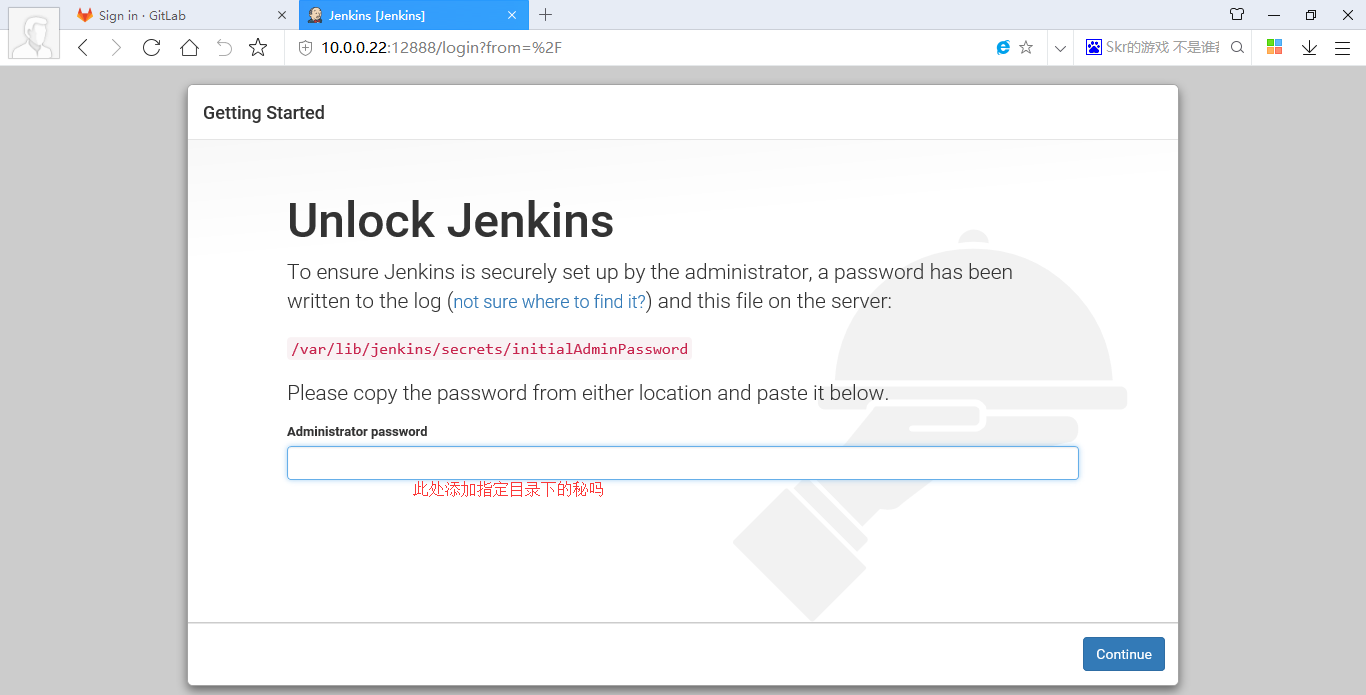
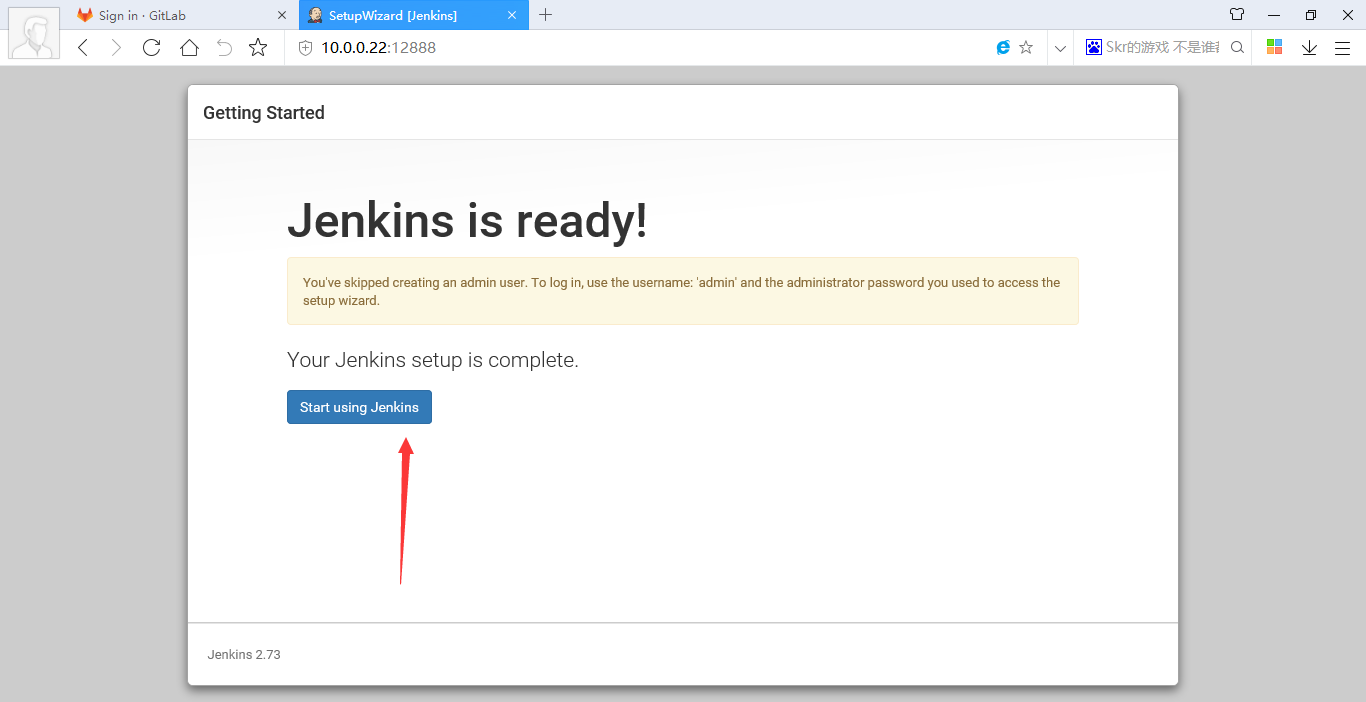
2.5 将此页面关闭,在安装完成Jenkins后安装插件。
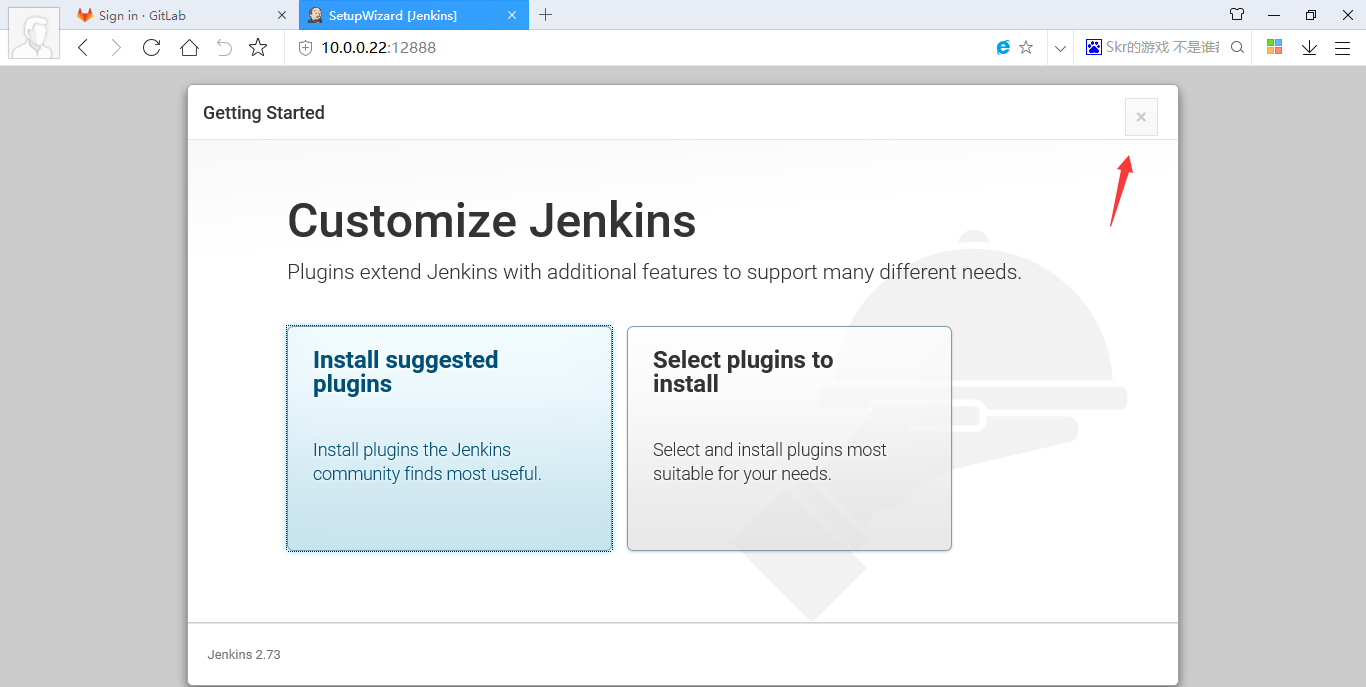
2.6 安装插件
使用压缩包的方式
[root@jenkins ~]# ll /var/lib/jenkins/plugins/
总用量 0
[root@jenkins ~]# tar xfP /tar/tools/jenkins_plugins.tar.gz
[root@jenkins ~]# ll /var/lib/jenkins/plugins/ |wc -l
153
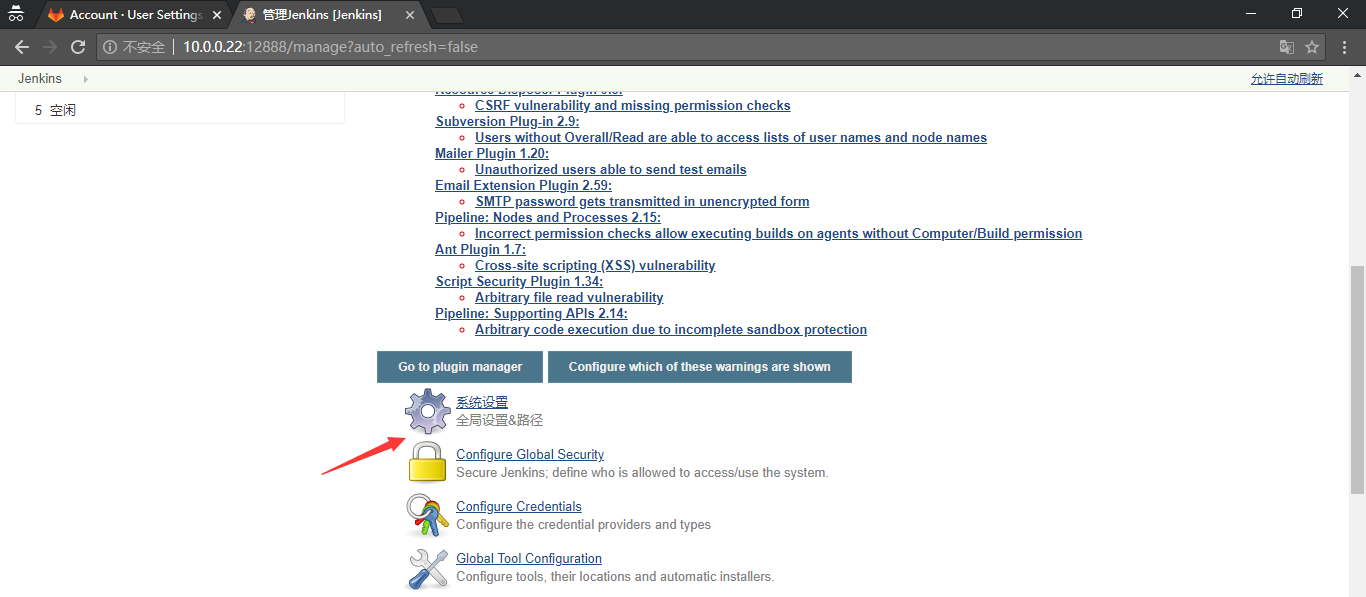
2.7 配置jenkins并发执行数量,提高执行效率


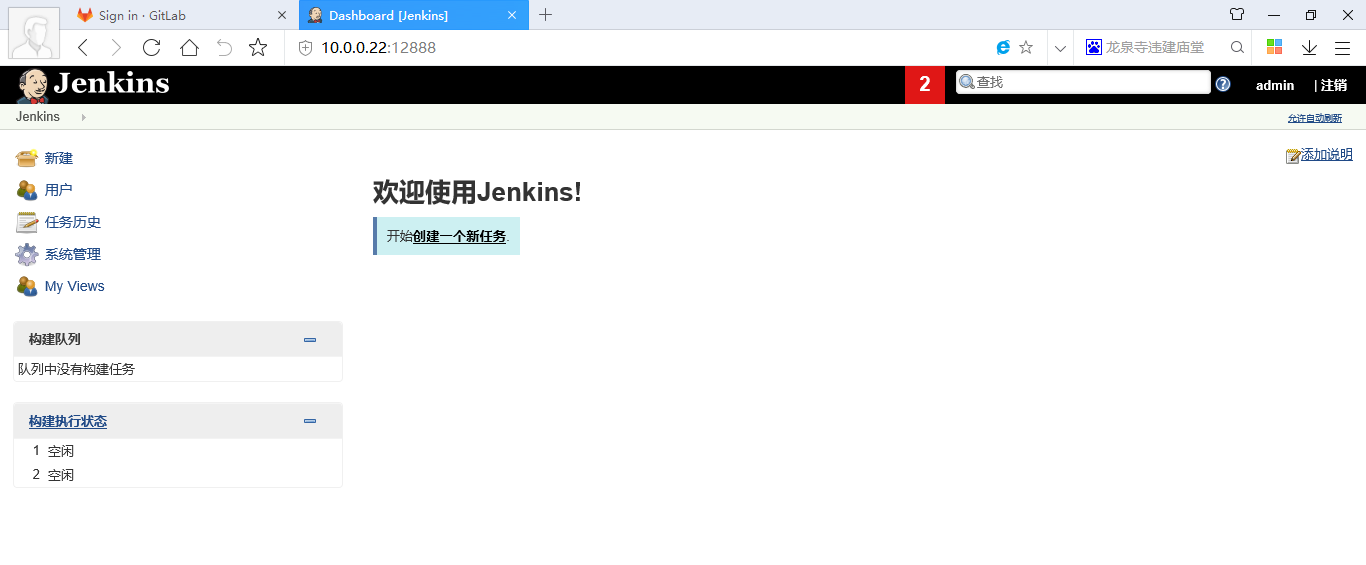
2.8 使用Jenkins
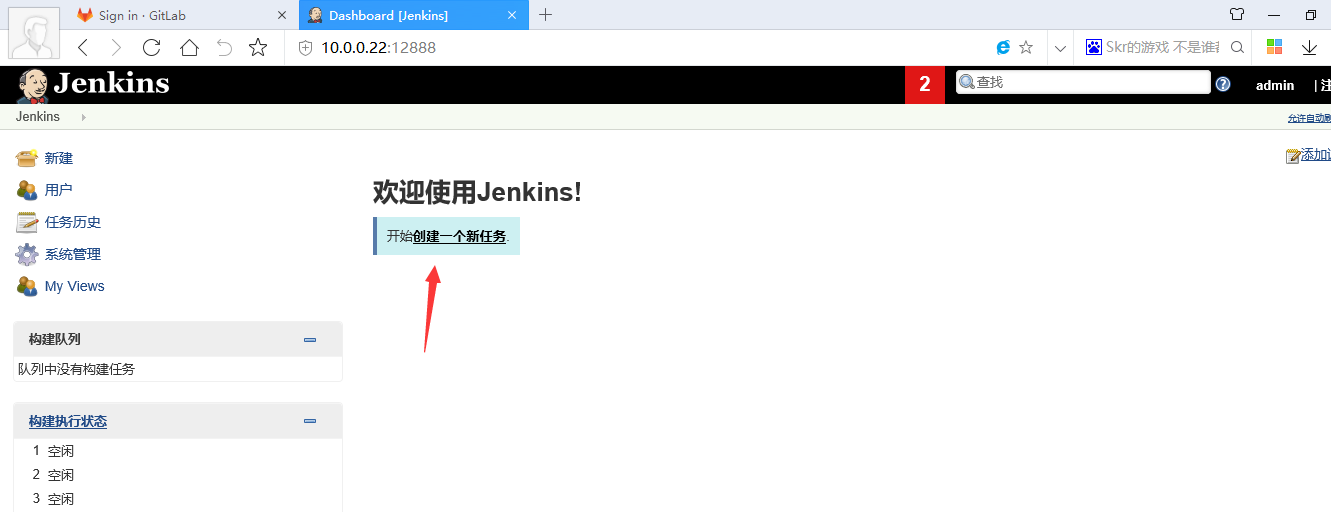

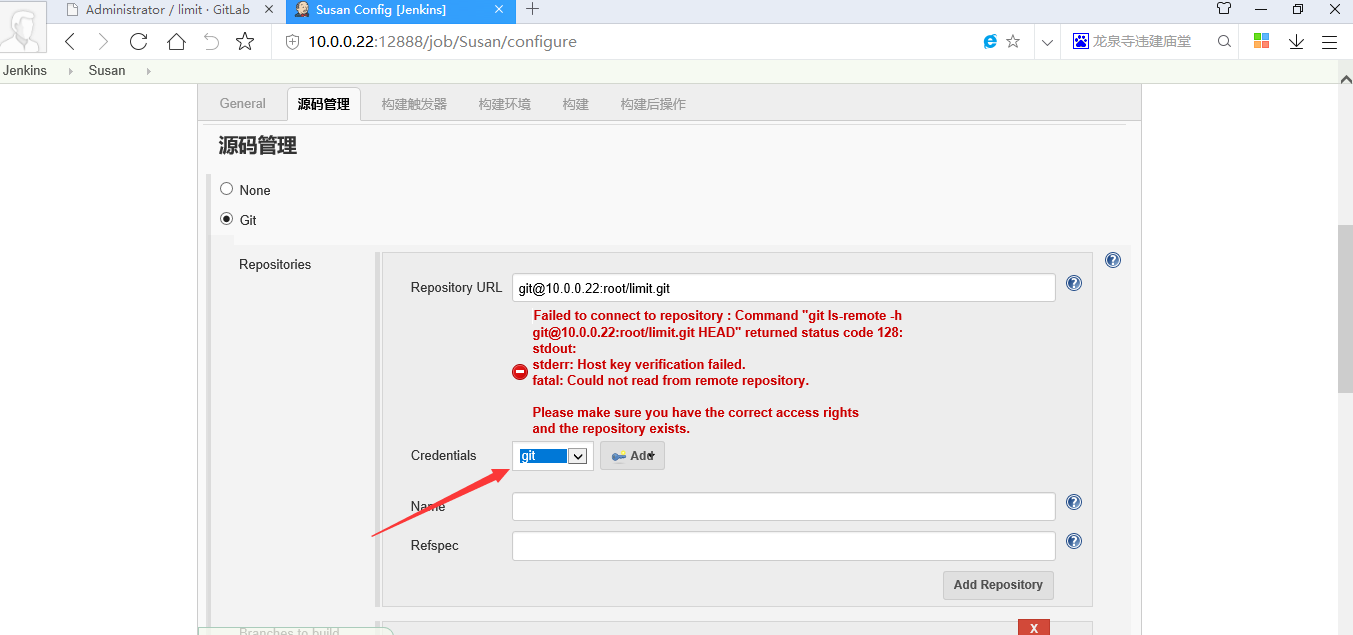
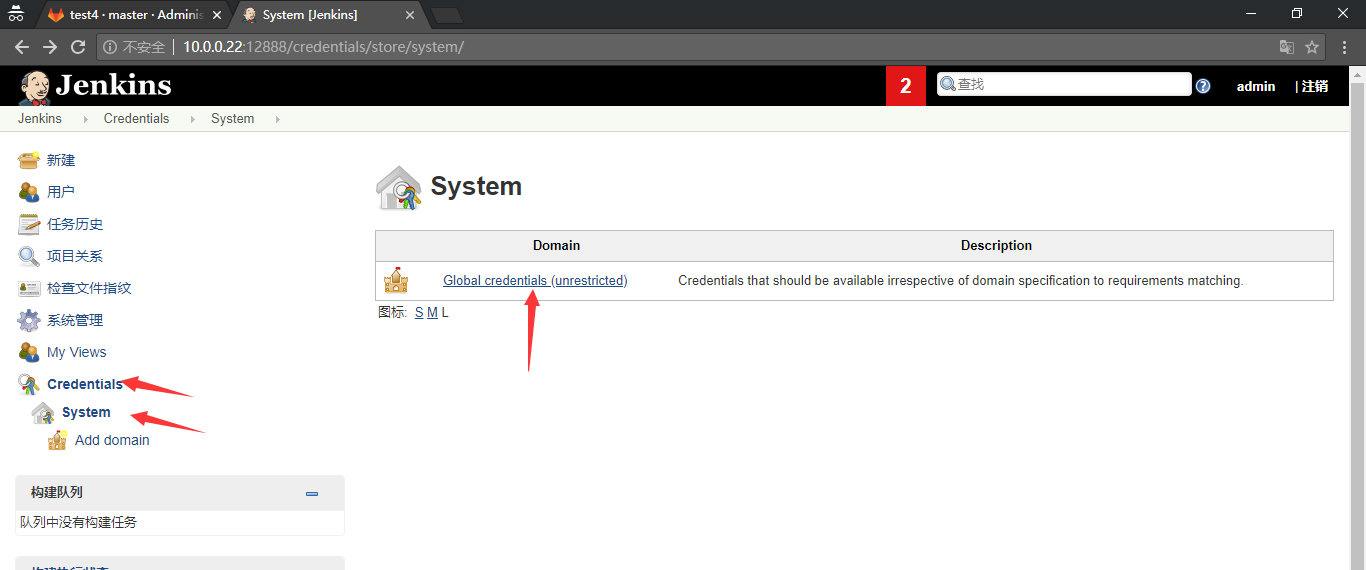
2.9 将Jenkins与gitlab联合
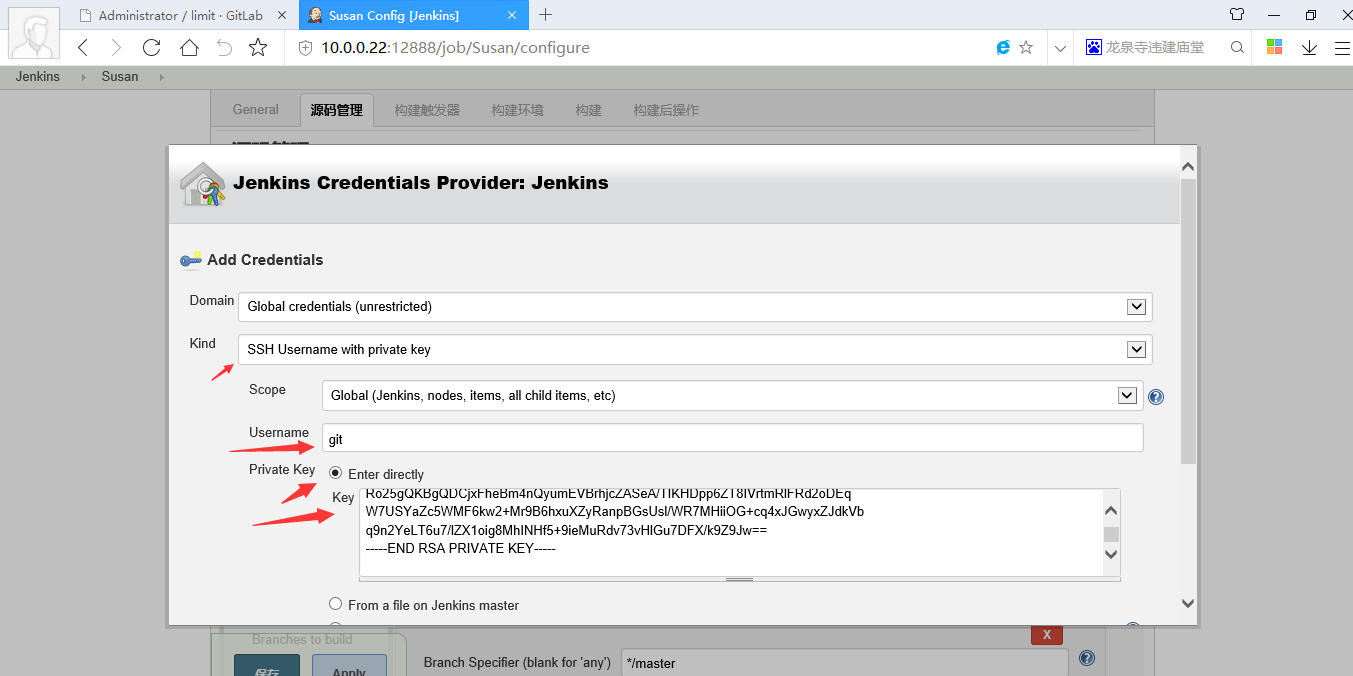
2.9.1 在jenkins中添加私钥id_rsa
2.9.2 先将gitlab的项目地址复制过来
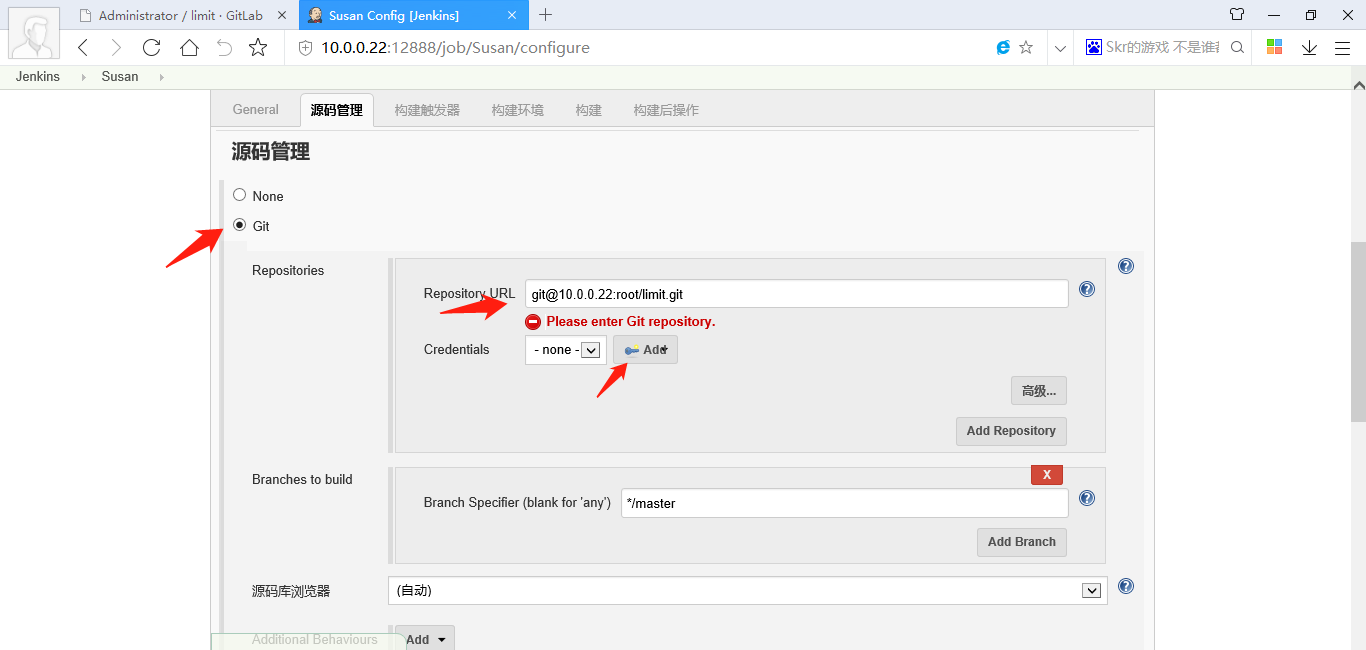
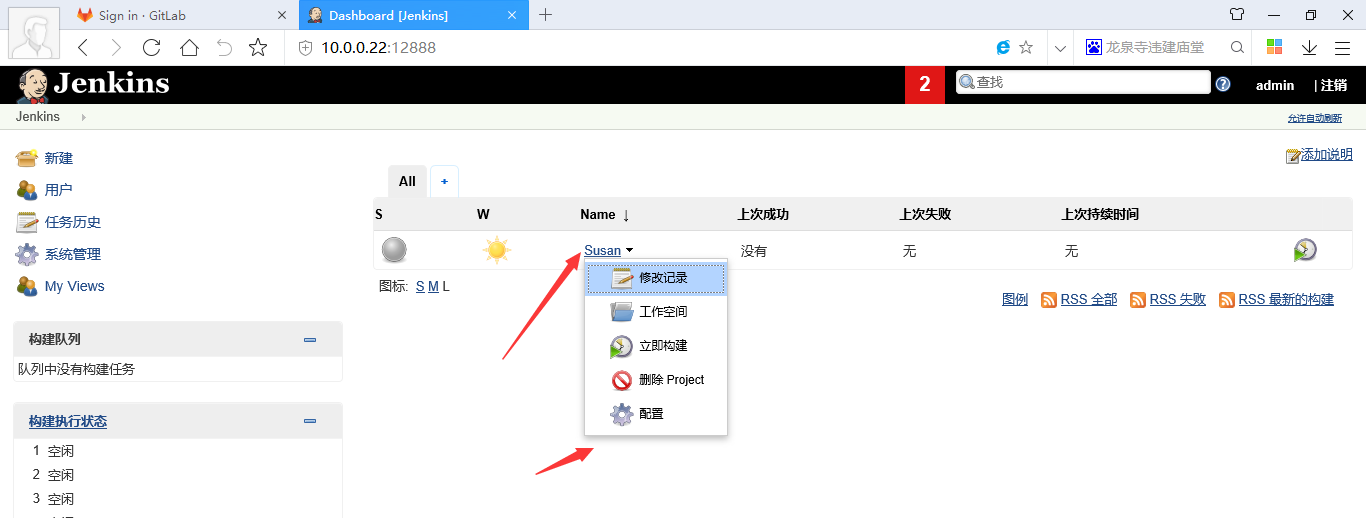
2.9.3 选择构建

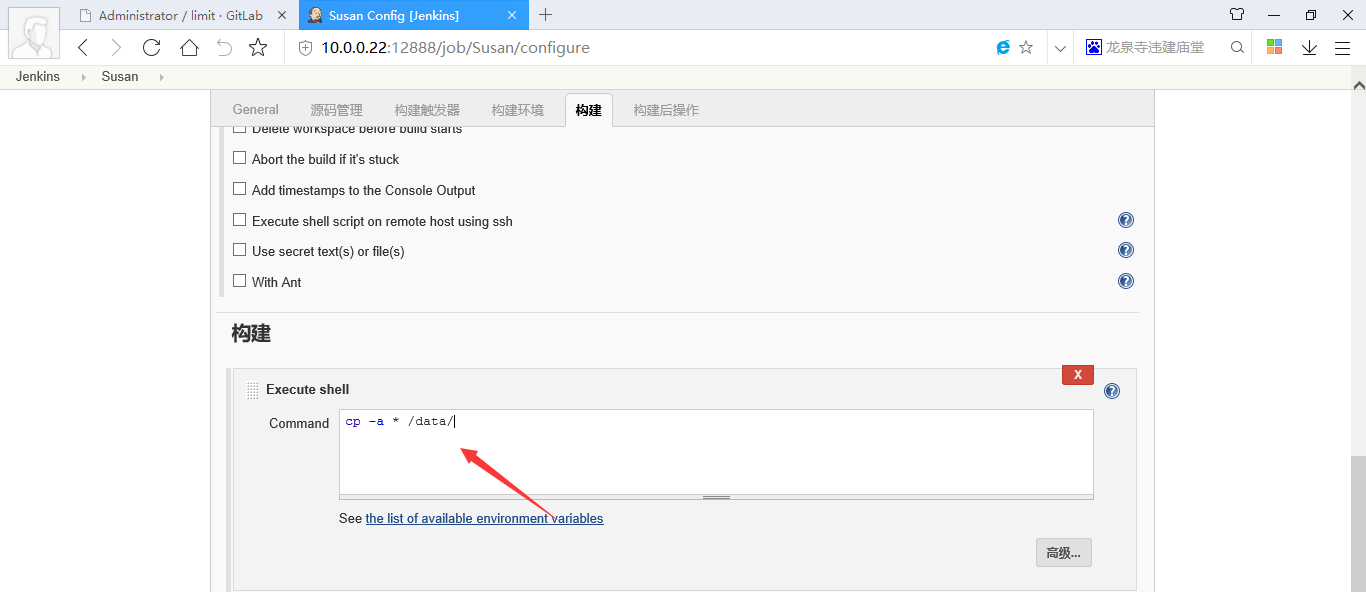
创建测试目录
[root@jenkins ~]# mkdir /data
[root@jenkins ~]# chown -R jenkins.jenkins /data/
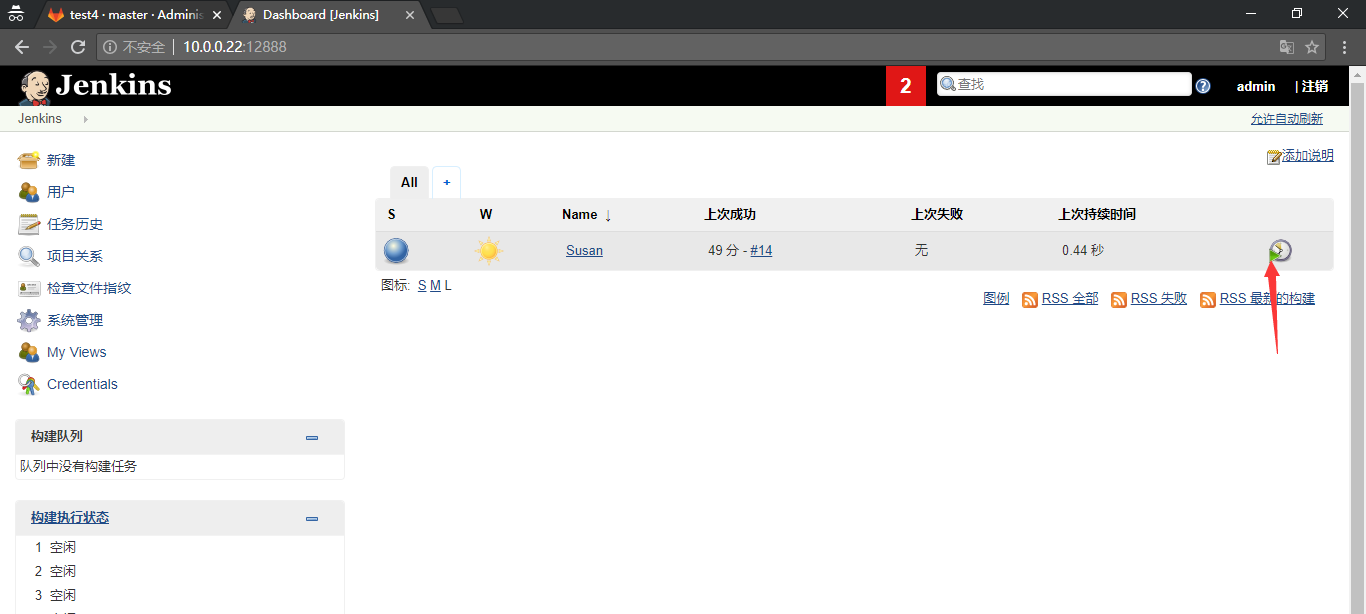
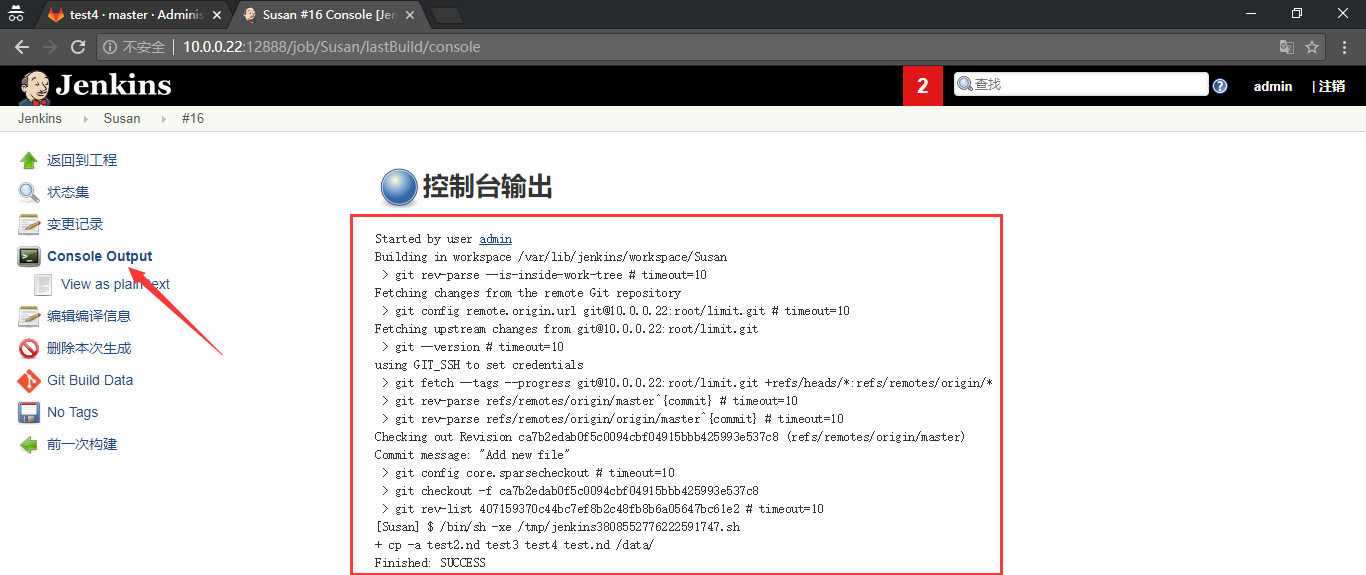
2.10 自动发布代码
[root@jenkins limit]# ll /var/lib/jenkins/workspace/Susan
总用量 8
drwxr-xr-x 2 jenkins jenkins 16 8月 8 02:46 test2.nd
-rw-r--r-- 1 jenkins jenkins 25 8月 8 03:40 test3
-rw-r--r-- 1 jenkins jenkins 20 8月 8 02:41 test.nd
[root@jenkins limit]# ll /var/lib/jenkins/workspace/Susan
总用量 12
drwxr-xr-x 2 jenkins jenkins 16 8月 8 02:46 test2.nd
-rw-r--r-- 1 jenkins jenkins 25 8月 8 03:40 test3
-rw-r--r-- 1 jenkins jenkins 24 8月 8 03:46 test4
-rw-r--r-- 1 jenkins jenkins 20 8月 8 02:41 test.nd
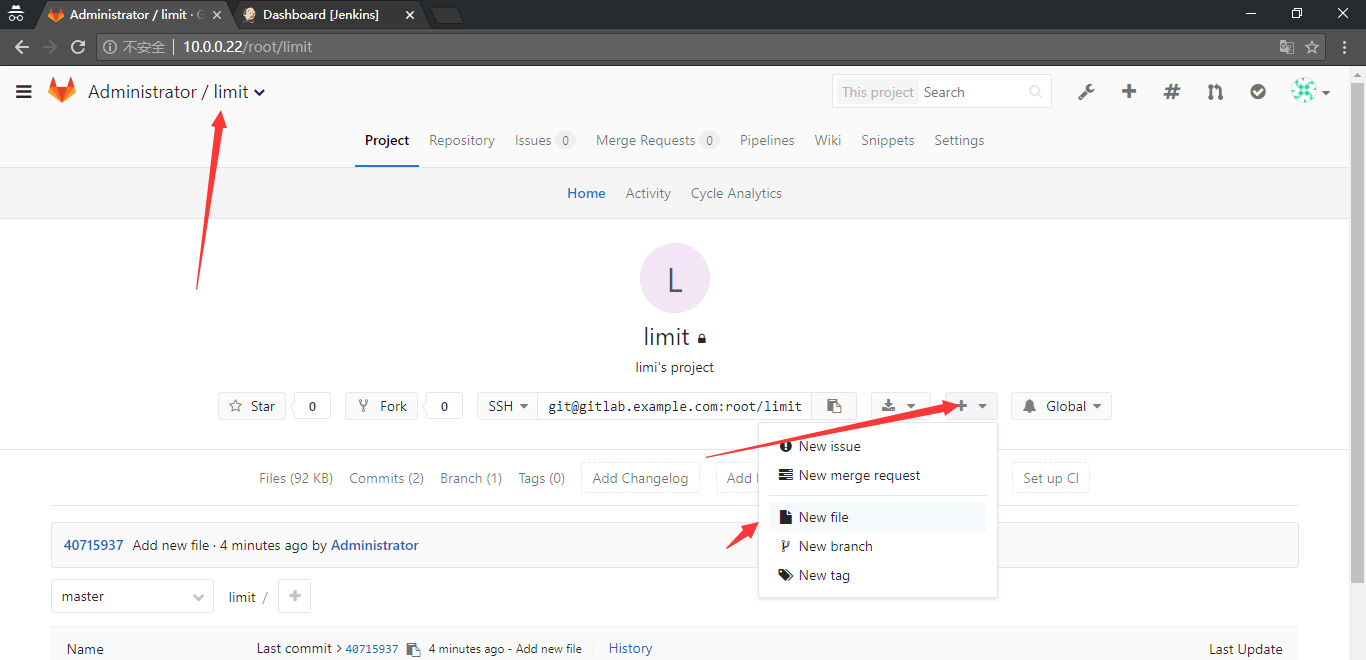
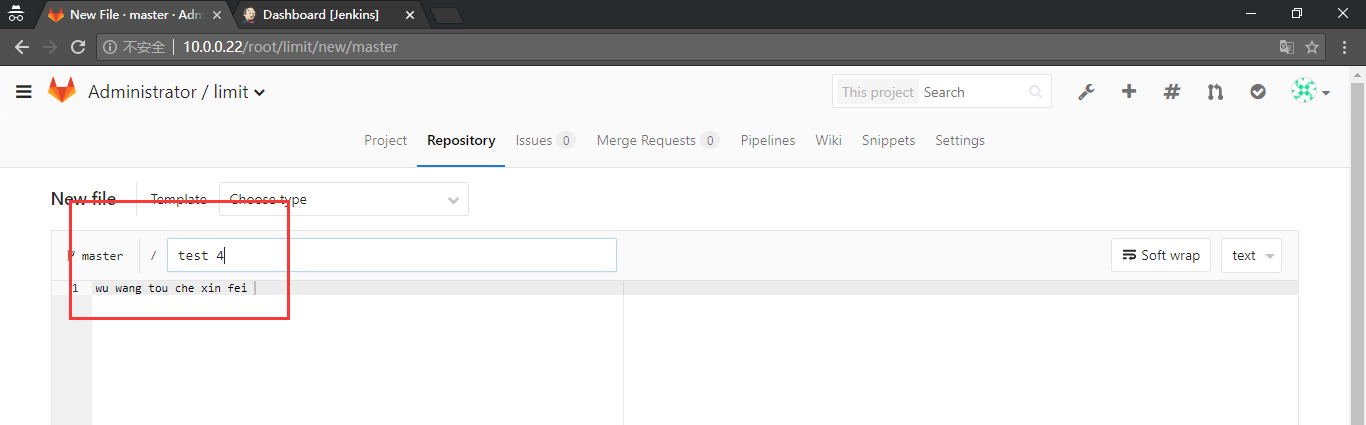
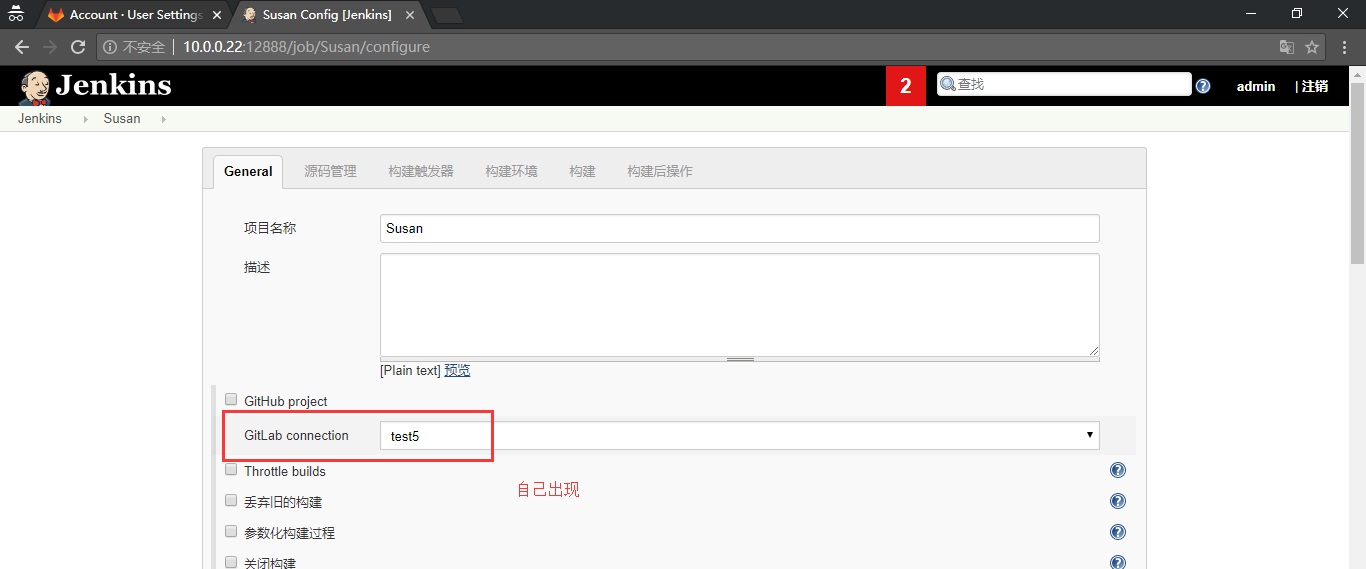
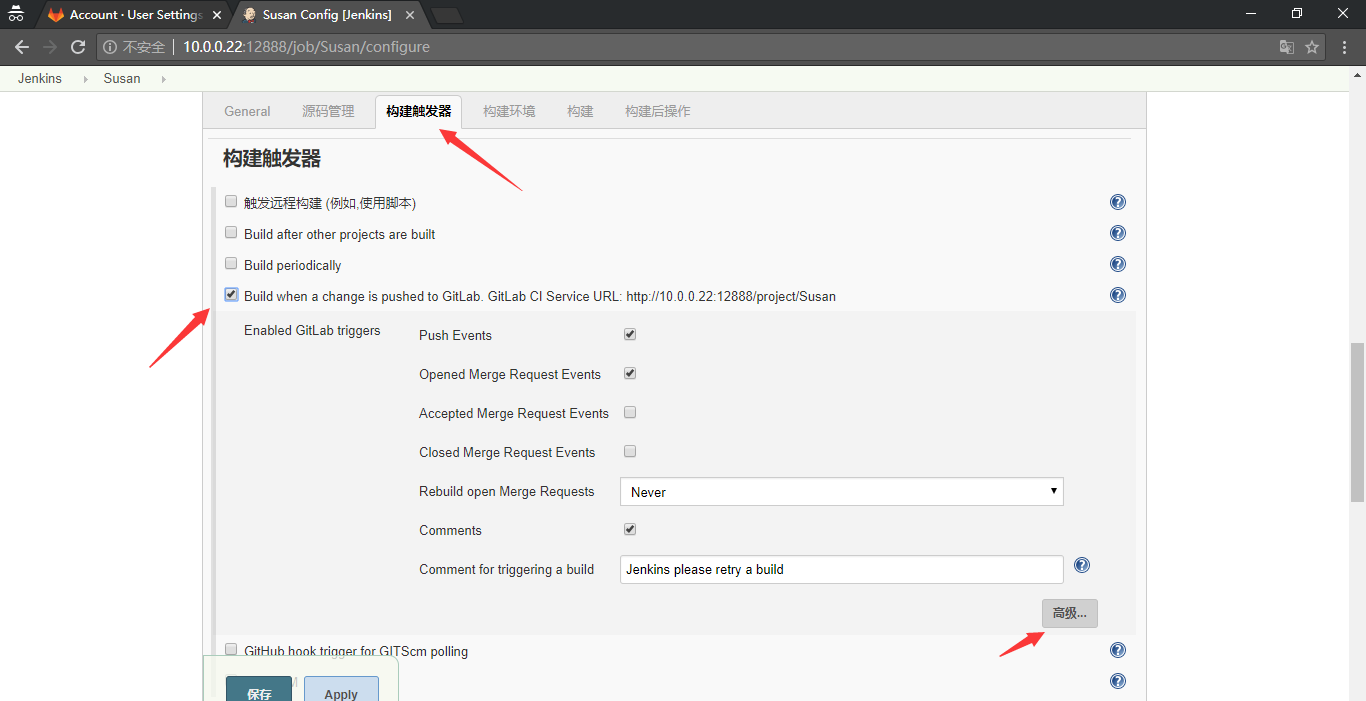
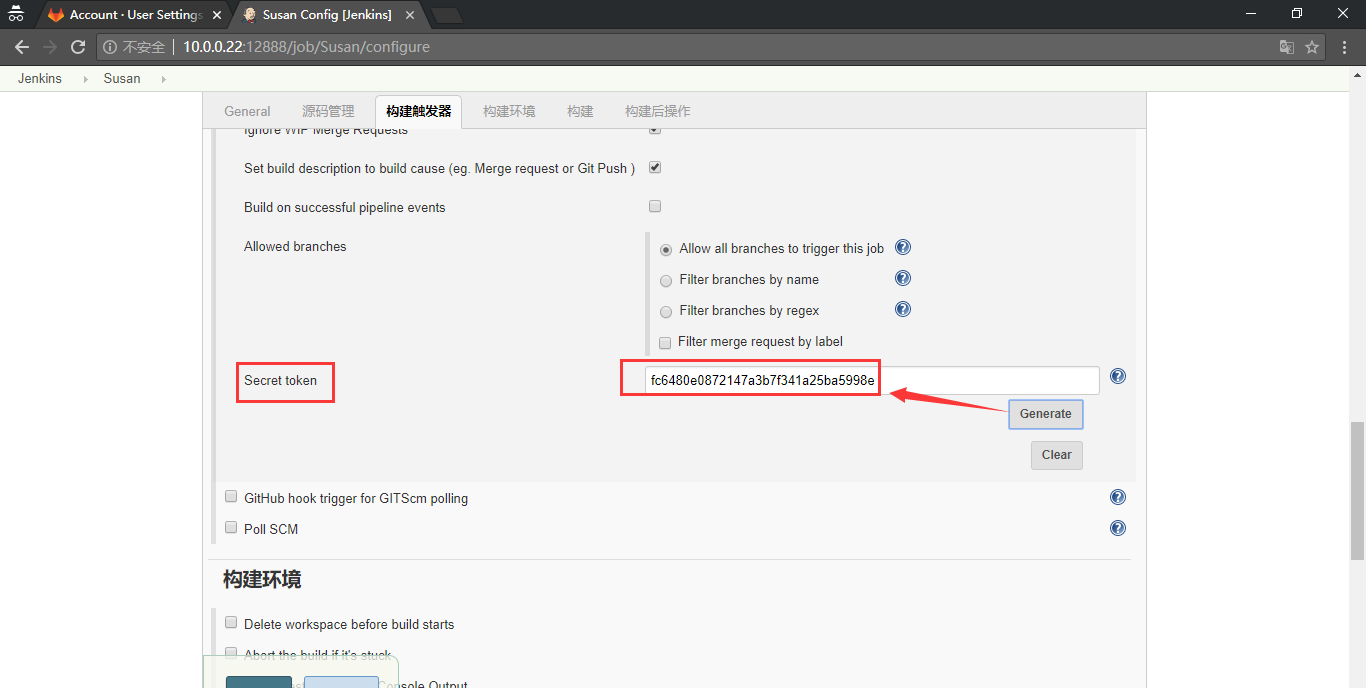
2.11 自动触发自动代码
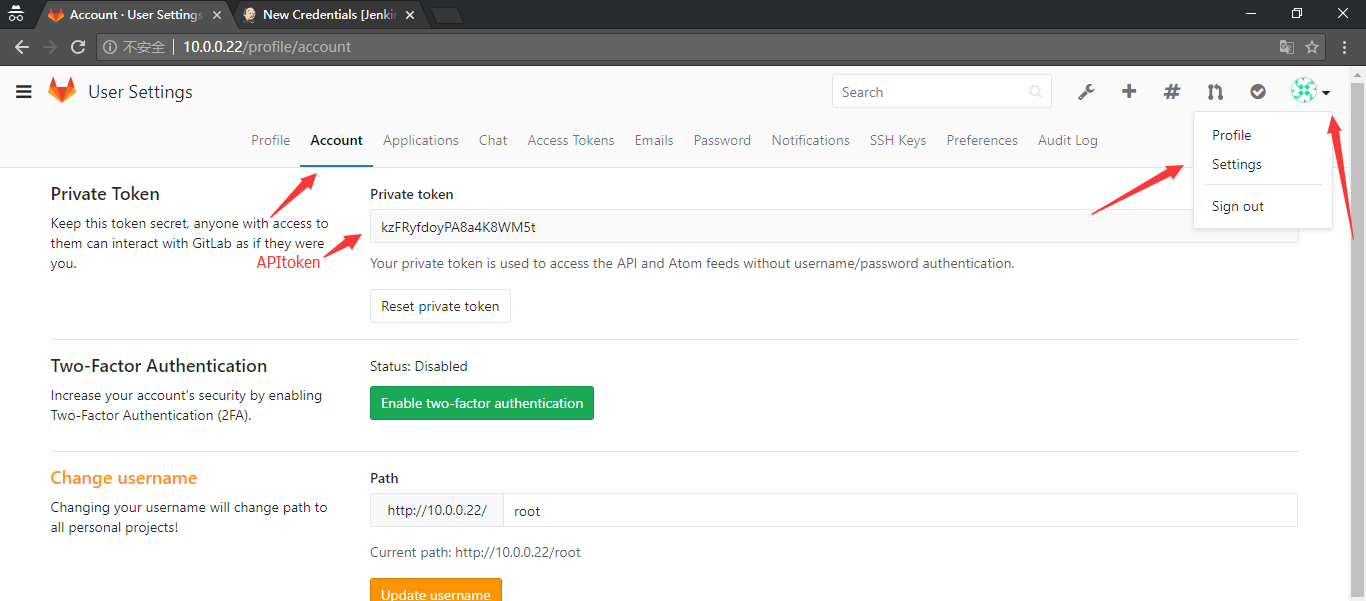
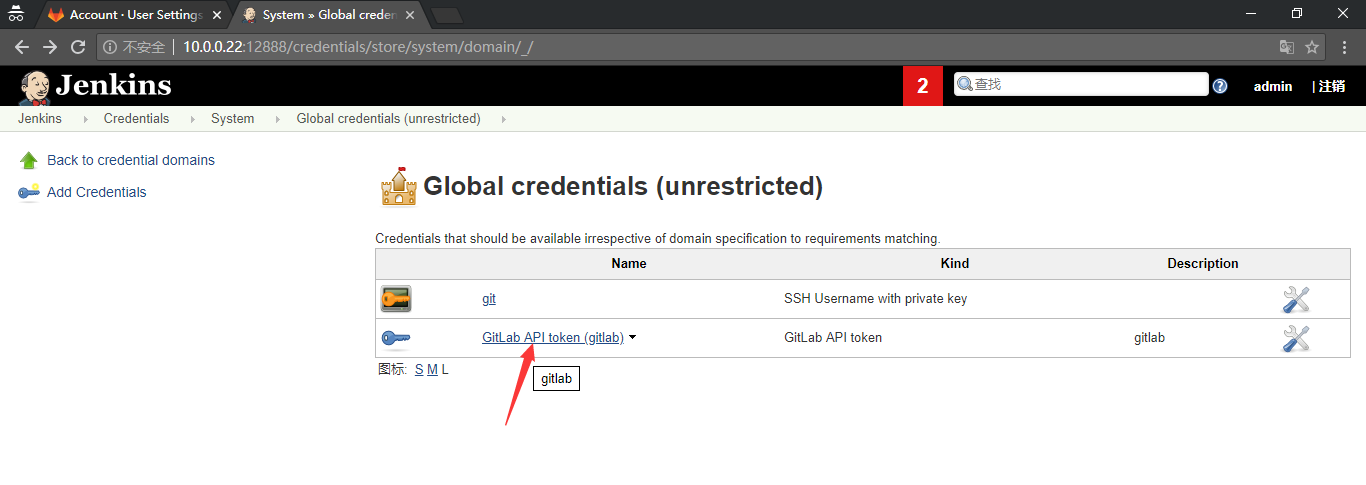
2.11.1 配置

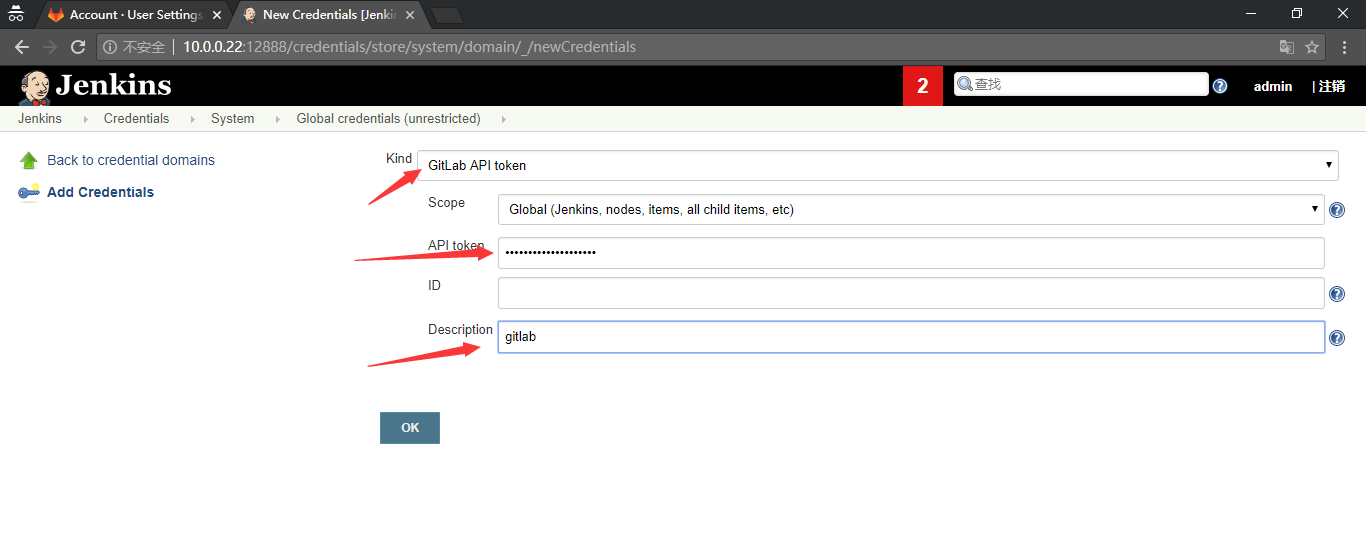
API token咋 gitlab中找到。复制到Jenkins中。
2.11.2 链接

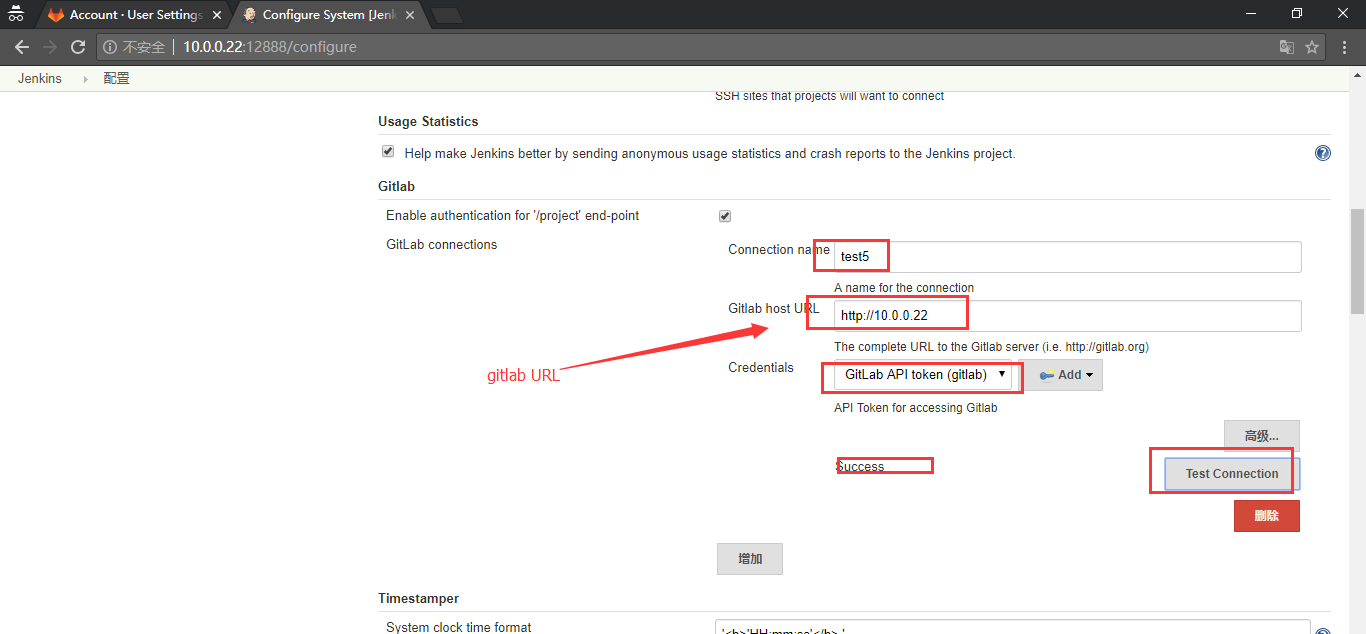
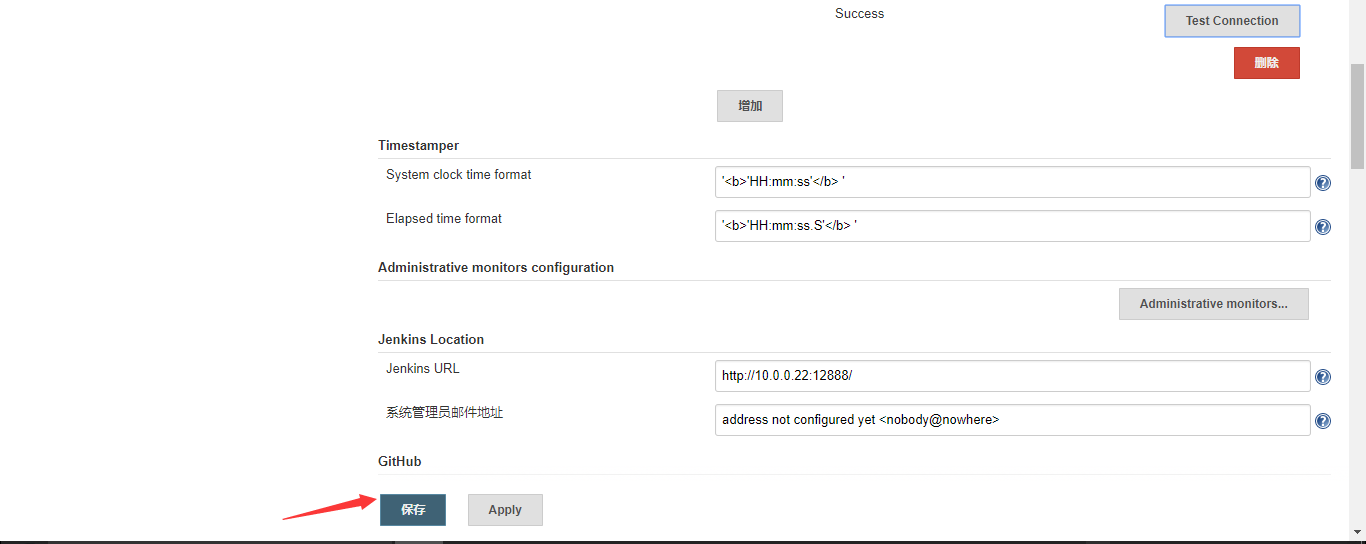
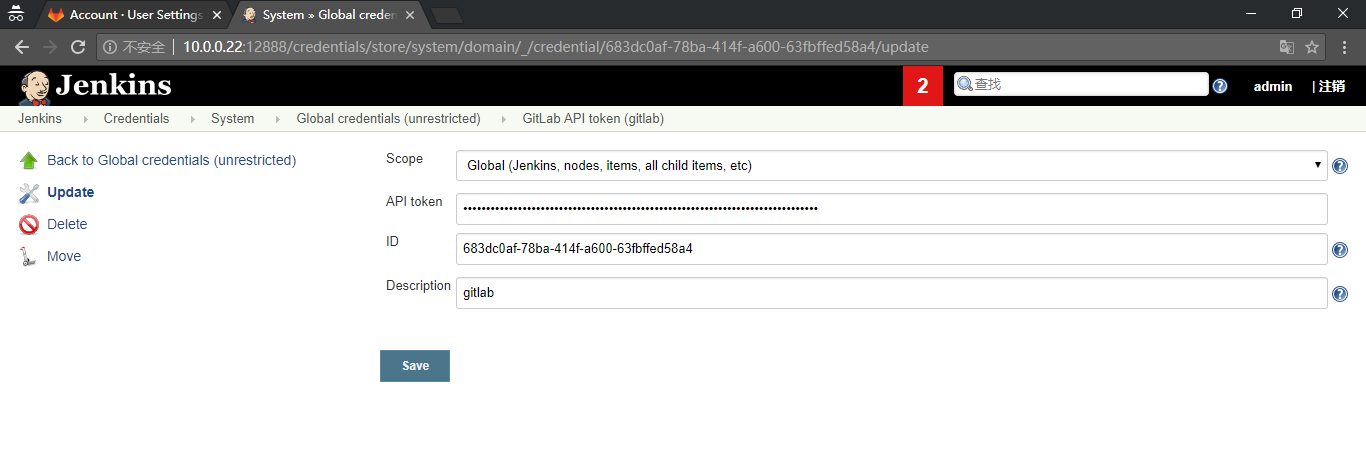
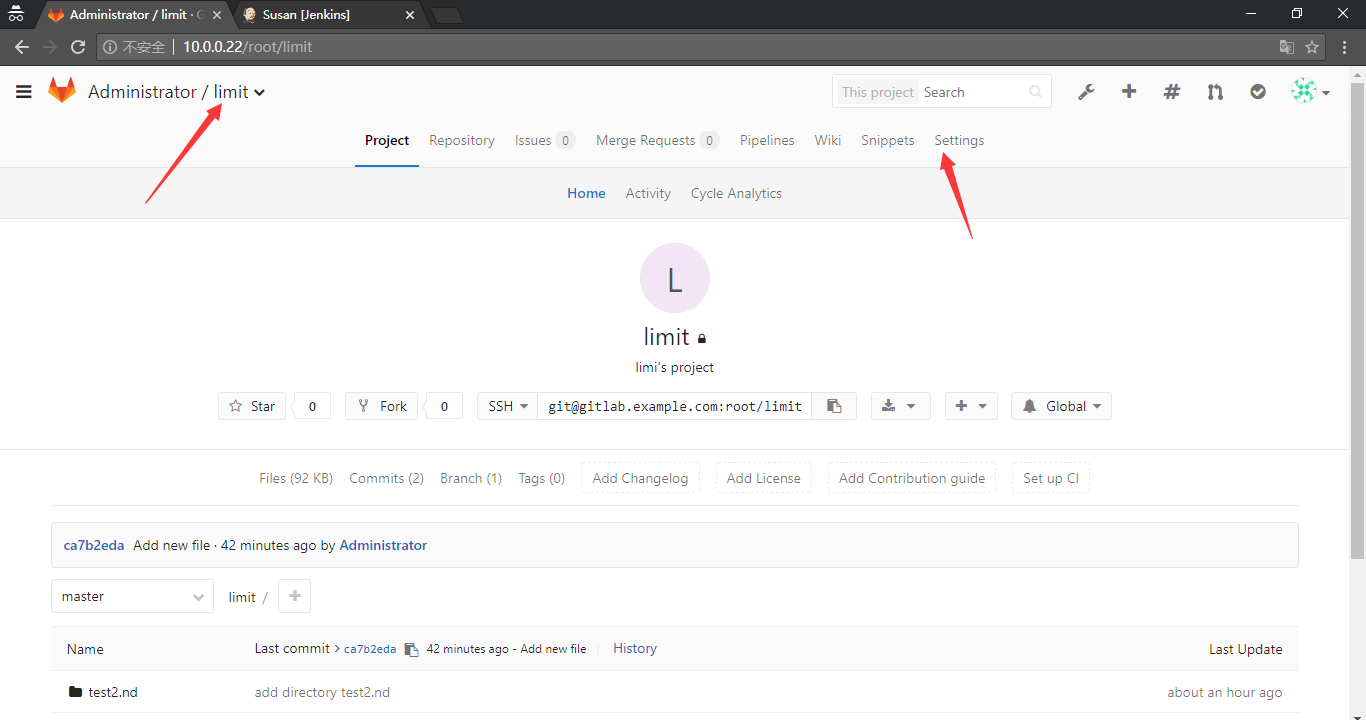
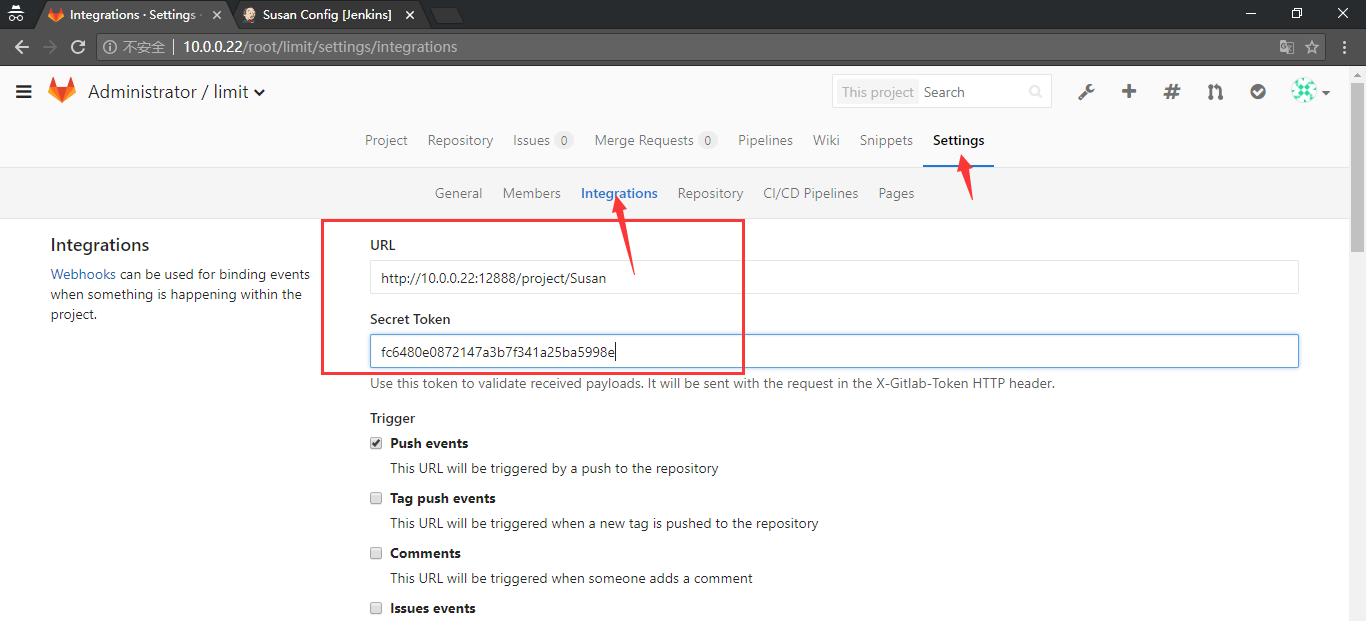
2.11.3 配置


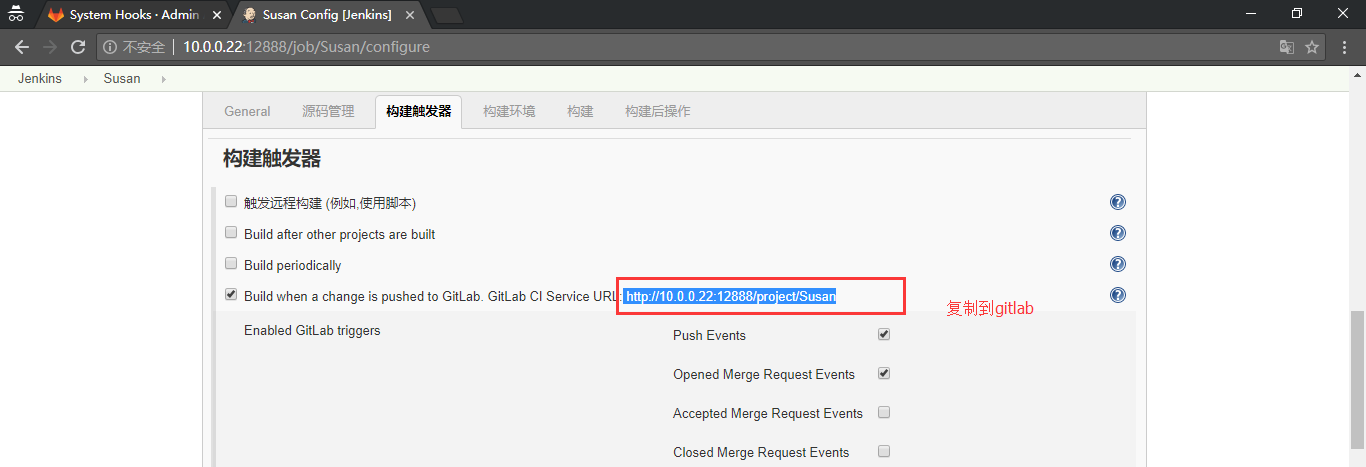
复制上面生成的token和URL到gitlab界面到如下指定位置。

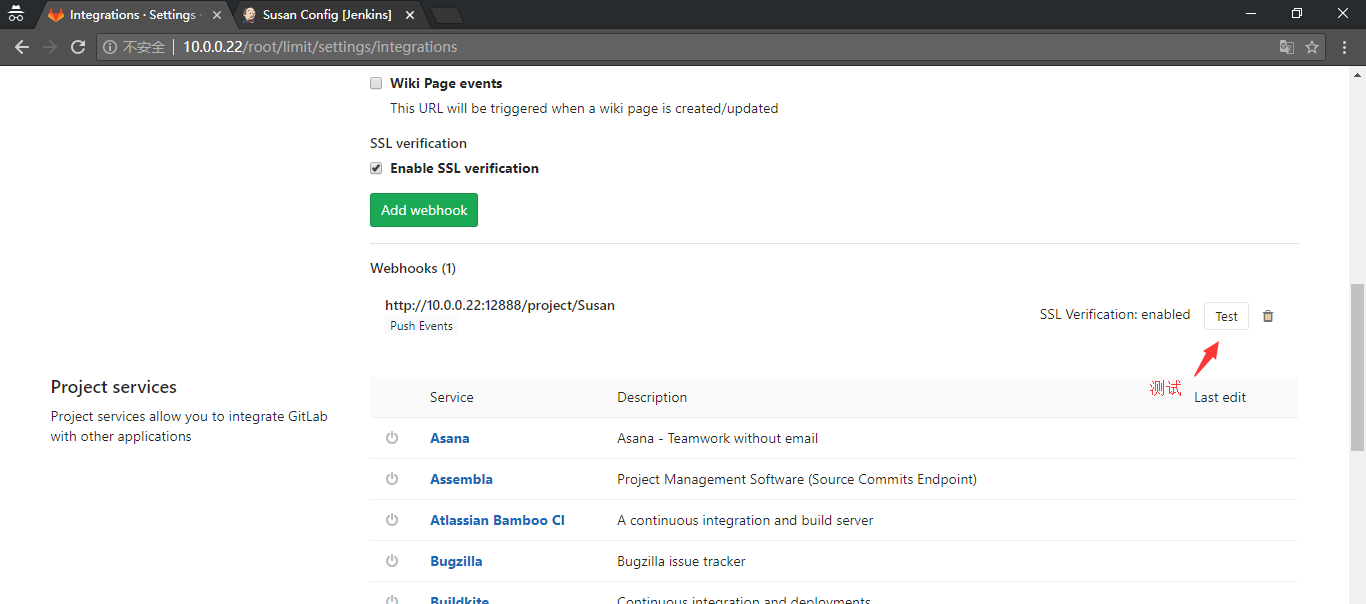
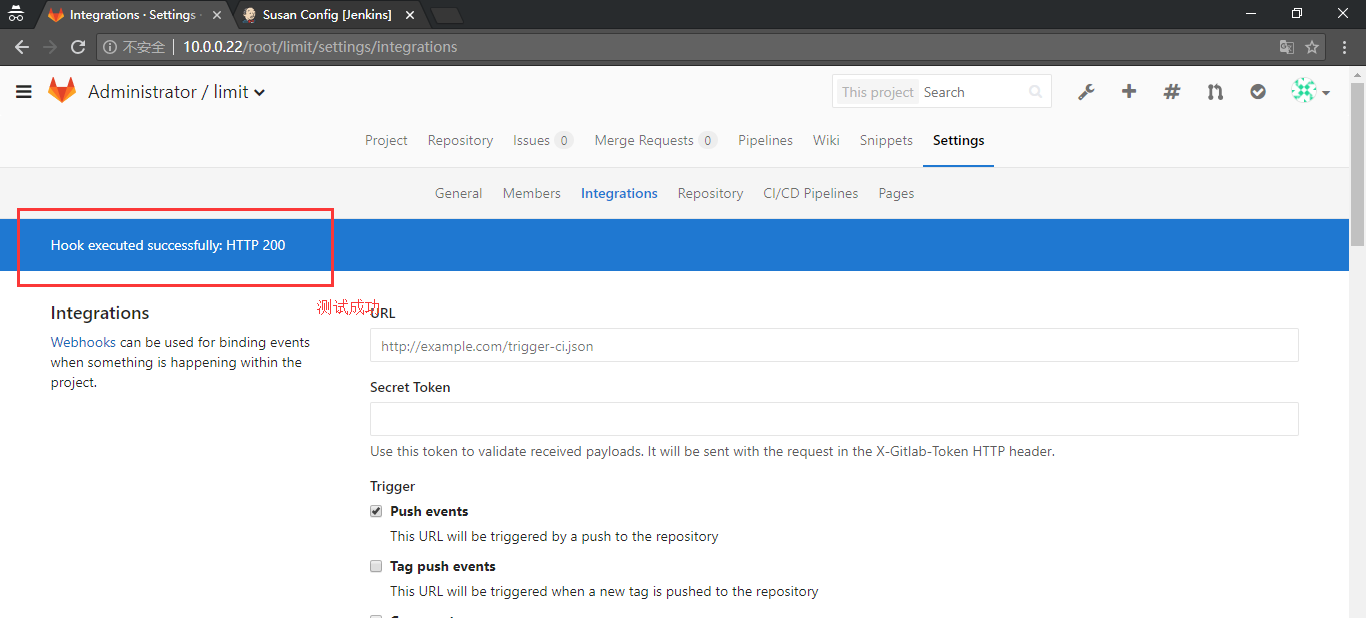

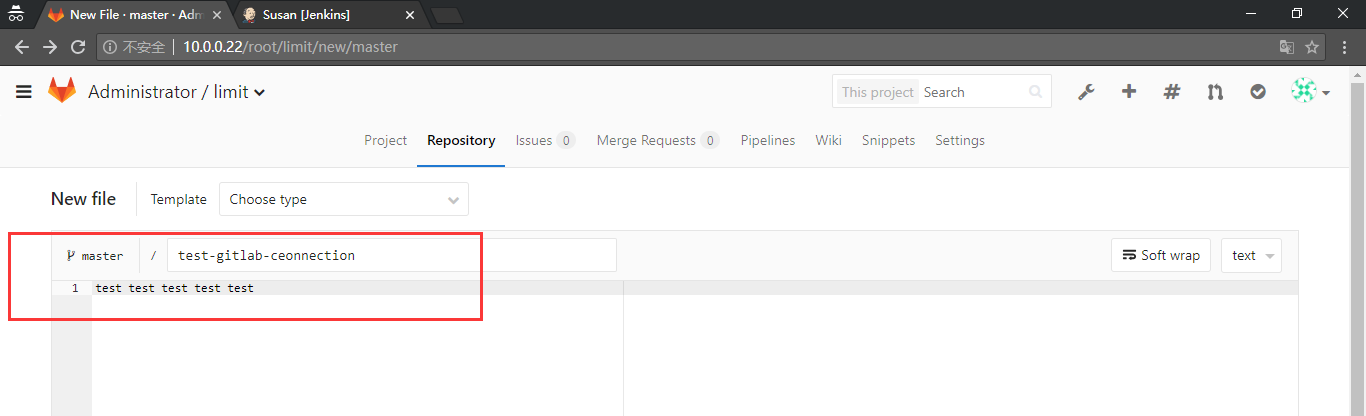
2.11.4 push文件测试