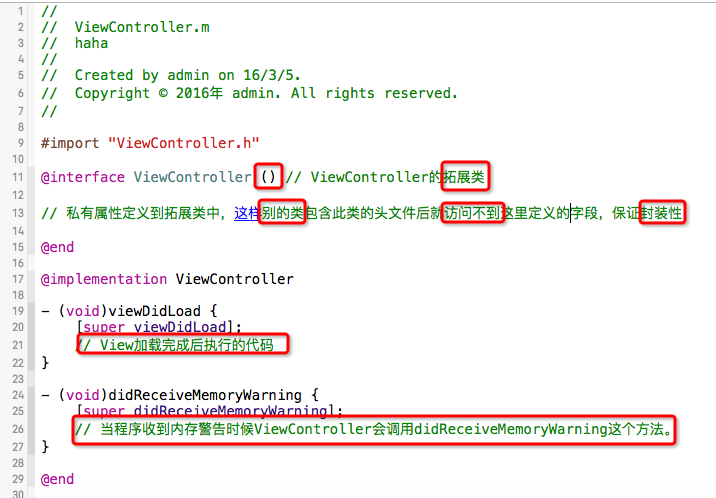
一、介绍一下ViewController中的结构
二、九宫格设计思路

三、代码实现
 1 // 点击增加按钮
 2 - (void)add:(UIButton *)btn
 3 {
 4     // 定义一行中的列数(个数)
 5     NSInteger cols = 3;
 6
 7     // 小格子的尺寸
 8     NSInteger bagWidth = 80;
 9     NSInteger bagHeight = 120;
10
11     // 小格子横向之间的间距
12     CGFloat marginX = (self.shops.frame.size.width - (bagWidth*cols))/(cols - 1);
13     // 小格子纵向之间的间距
14     CGFloat marginY = 15;
15
16     // x方向的倍数
17     CGFloat x = bagWidth + marginX;
18     // y方向的倍数
19     CGFloat y = bagHeight + marginY;
20
21     // 小格子的索引
22     NSInteger index = self.shops.subviews.count;
23     // 小格子x坐标
24     NSInteger tempX = index % cols;  // 小格子所在的列
25     CGFloat bagX = tempX * x;
26     // 小格子y坐标
27     NSInteger tempY = index / cols; // 小格子所在的行
28     CGFloat bagY = tempY * y;
29     // 创建放图片和标签的view
30     UIView *bag = [[UIView alloc] init];
31     bag.frame = CGRectMake(bagX, bagY, bagWidth, bagHeight);
32     bag.backgroundColor = [UIColor redColor];
33
34     // 创建图片
35     UIImageView *image = [[UIImageView alloc] init];
36     [image setImage:[UIImage imageNamed:self.things[index][@"icon"]]];
37     image.frame = CGRectMake(0, 0, 80, 80);
38
39     // 创建标签
40     UILabel *label = [[UILabel alloc] init];
41     label.frame = CGRectMake(0, 80, 80, 40);
42     label.text = self.things[index][@"name"];
43     label.textAlignment = NSTextAlignmentCenter;
44     label.font = [UIFont systemFontOfSize:13];
45
46     [bag addSubview:label];
47     [bag addSubview:image];
48     [self.shops addSubview:bag];
49
50     // 改变按钮状态
51     [self changeState:btn];
52 }
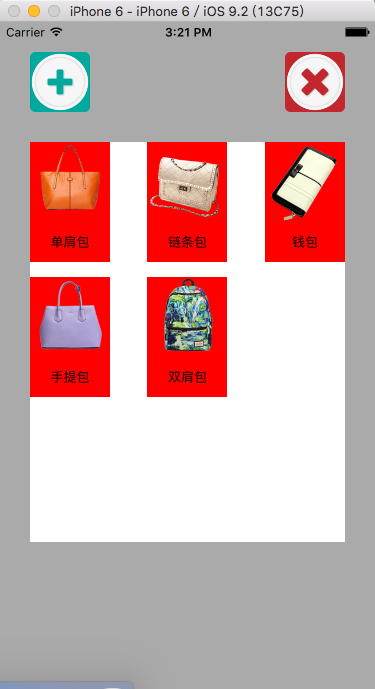
四、练习效果图
PS:参考小码哥视频教学,初学者膜拜大神!