转载至:https://www.cnblogs.com/xinhua19/p/12750611.html
【准备环境】
Linux centos7
【mysql安装步骤】
1.首先确定centos版本
cat /etc/redhat-release

2.yum安装
yum -y install mariadb-server
3.启动服务
systemctl start mariadb.service
4.开机自动启动
systemctl enable mariadb.service
5.修改密码
mysqladmin -u root password '123456'或者
/usr/bin/mysqladmin -u root password '123456'
6.登录
mysql -uroot -p123456
【修改mysql(yum安装)字符集及端口号】
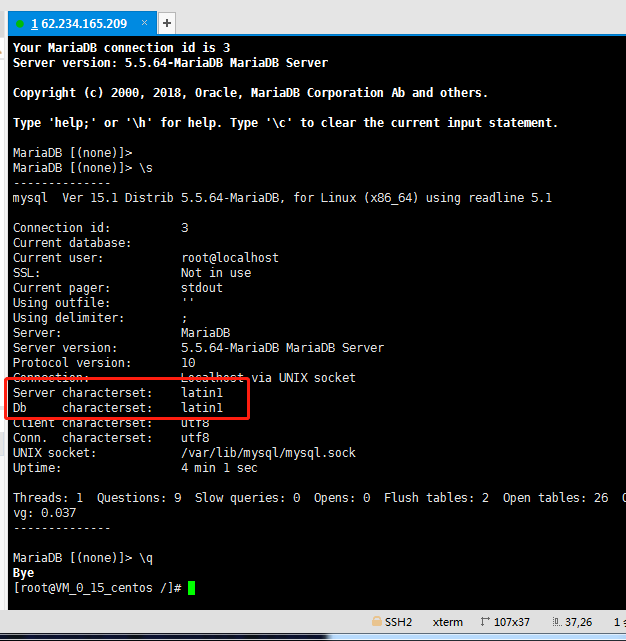
登录进入mysql后 查看字符集
7.
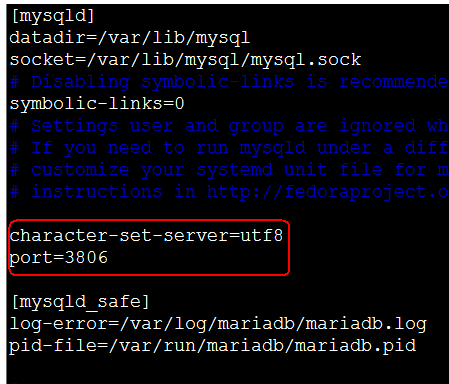
8.更改字符集及端口
vim /etc/my.cnf
[mysqld]
datadir=/var/lib/mysql
socket=/var/lib/mysql/mysql.sock
character-set-server=utf8
port=3806
[mysqld_safe]
log-error=/var/log/mariadb/mariadb.log
pid-file=/var/run/mariadb/mariadb.pid
#
# This group is read both both by the client and the server
# use it for options that affect everything
#
[client-server]
#
# include all files from the config directory
#
!includedir /etc/my.cnf.d
9.重新启动mysql
systemctl restart mariadb.service 或者 systemctl restart mariadb
如果无法重启 可以通过 ps -ef | grep mysql 查找进程号 然后kill掉 再重启
10.再次登录mysql 查看字符集

11 修改数据库字符集成功后 navicat连接数据库
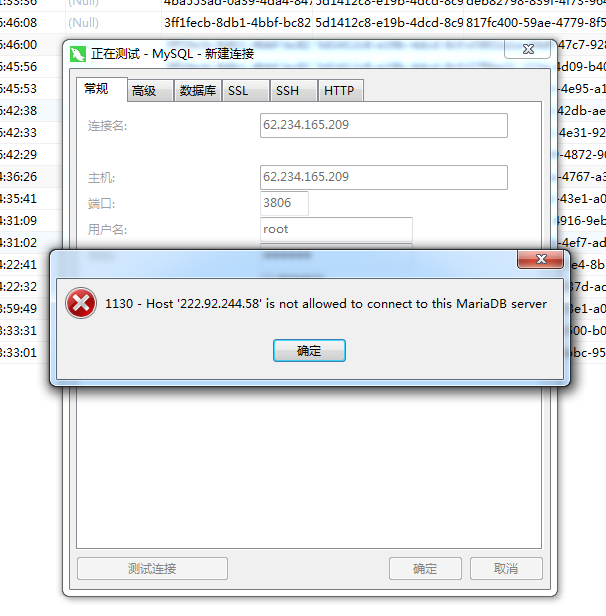

连接过程遇到问题,百度了下解决方案,客户端连接报错
这个问题是因为用户在数据库服务器中的mysql数据库中的user的表中没有权限
(1)下面是解决客户端连接不上的问题
连接服务器 mysql -u root -p
输入密码进入数据库
(2)
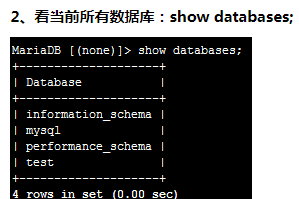
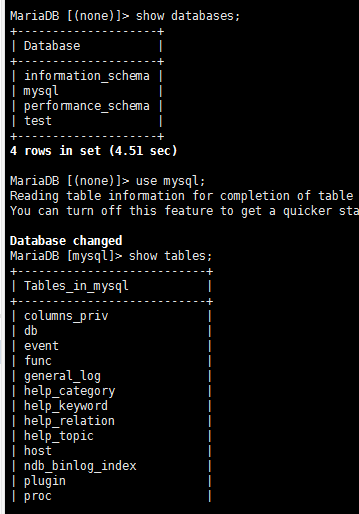

(3) 查看user表中的数据:select Host, User,Password from user;
(4)上面localhost表示只允许本地连接 不能远程连接
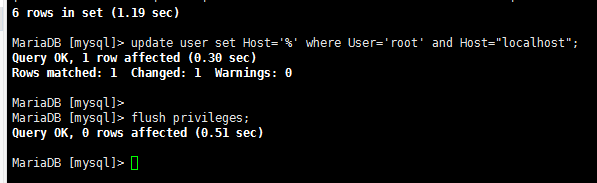
修改user表中的host
grant select,insert,update,delete on *.* to root@'%' identified by '123456';
flush privileges;
(5)重新navicate连接数据库客户端
