搭建一个Spring Boot项目Hello World
写在前面
从零开始的Spring Boot(2、在Spring Boot中整合Servlet、Filter、Listener的方式):https://www.cnblogs.com/gaolight/p/13121984.html
一、搭建项目:
1)从官网搭建项目:
1、官网地址:https://spring.io/projects/spring-boot
2、点击此处进入https://start.spring.io/:配置页面

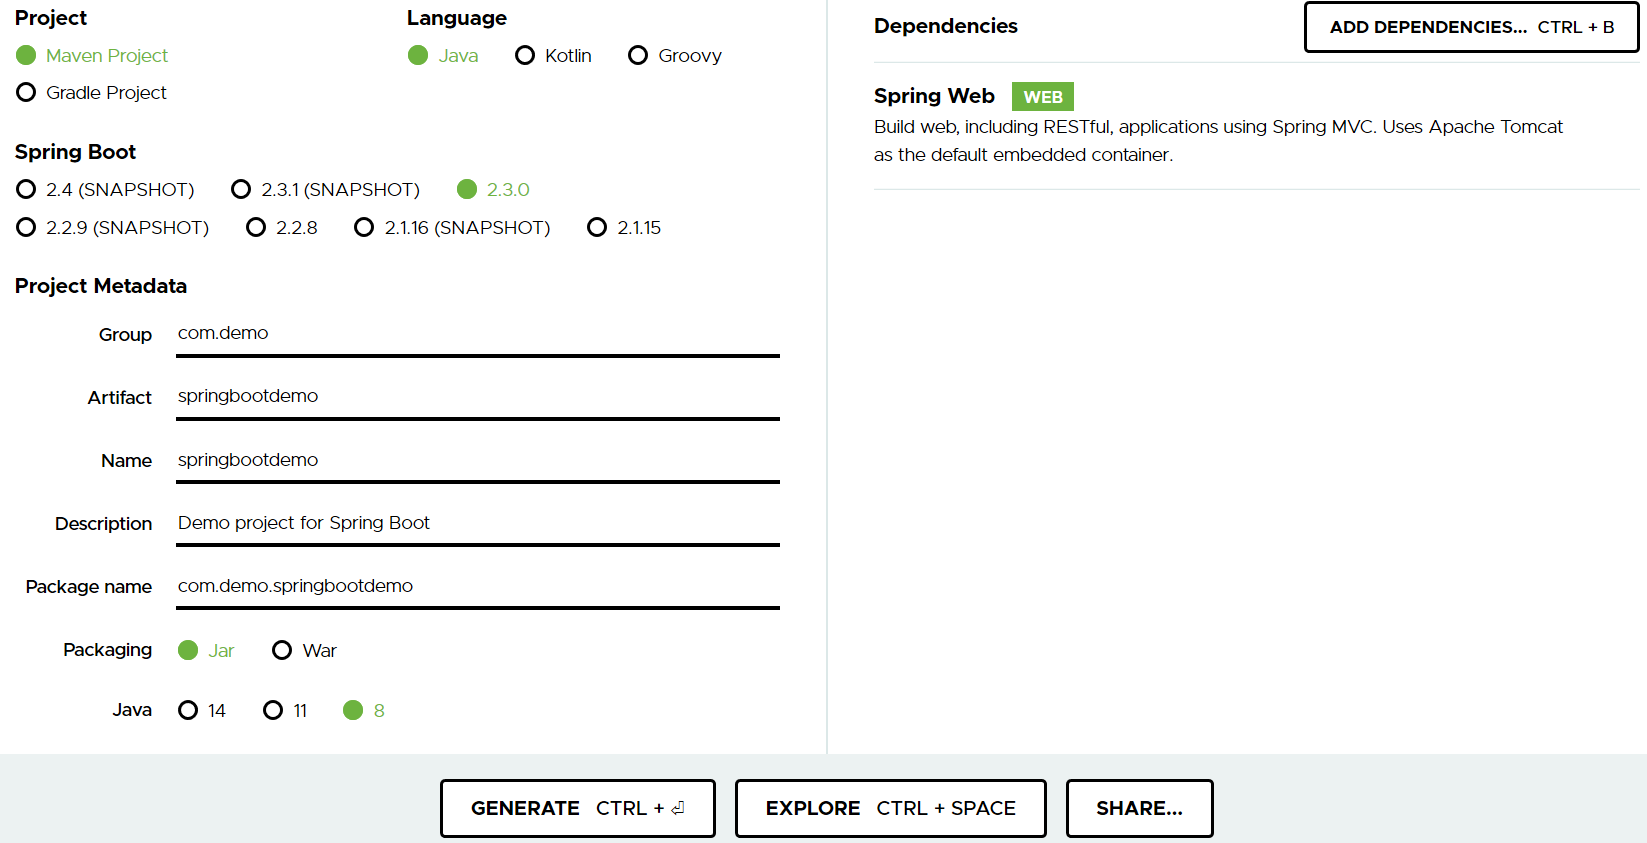
3、配置如下:并点击generate
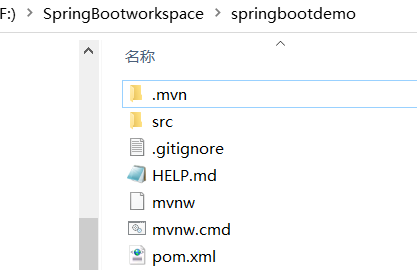
4、将生成的压缩文件保存在本地文件夹中,并解压:

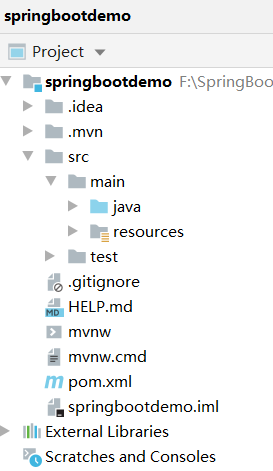
5、导入项目,并等待项目加载完成。

2)通过IDEA脚手架创建项目
1、打开IDEA,创建新项目

2、选择Spring Initializr,如图,点击NEXT

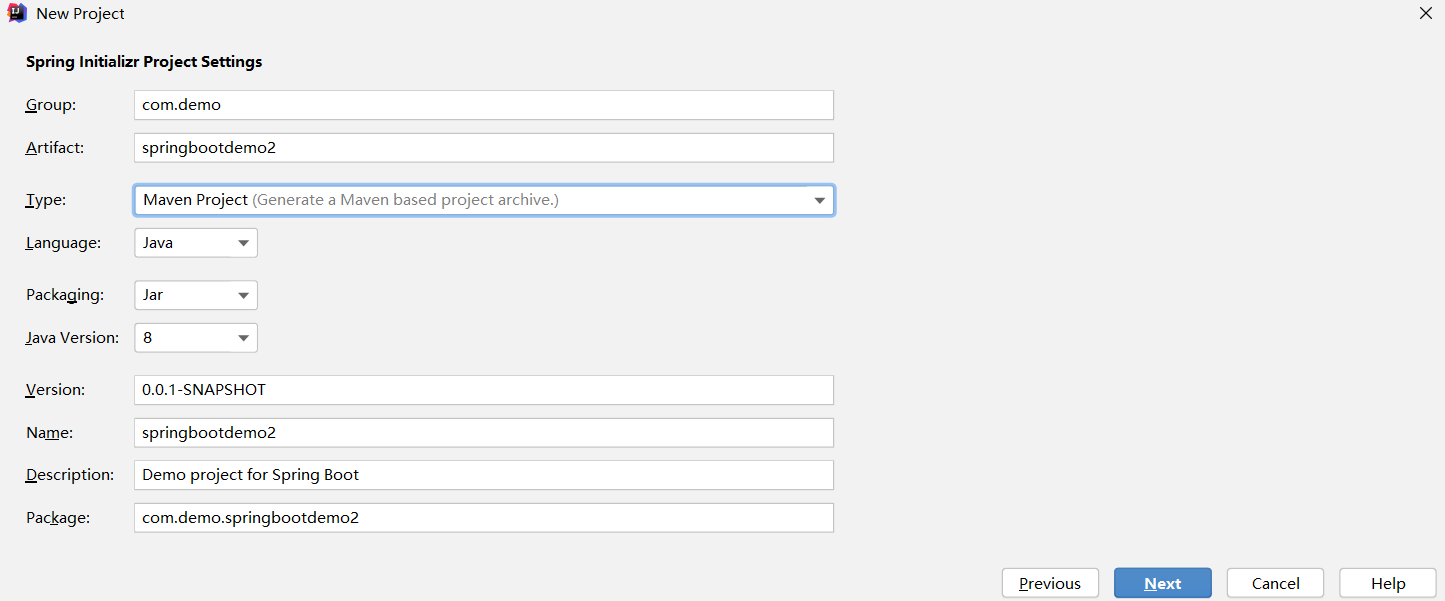
3、配置如下,根据自己需求更改,点击NEXT
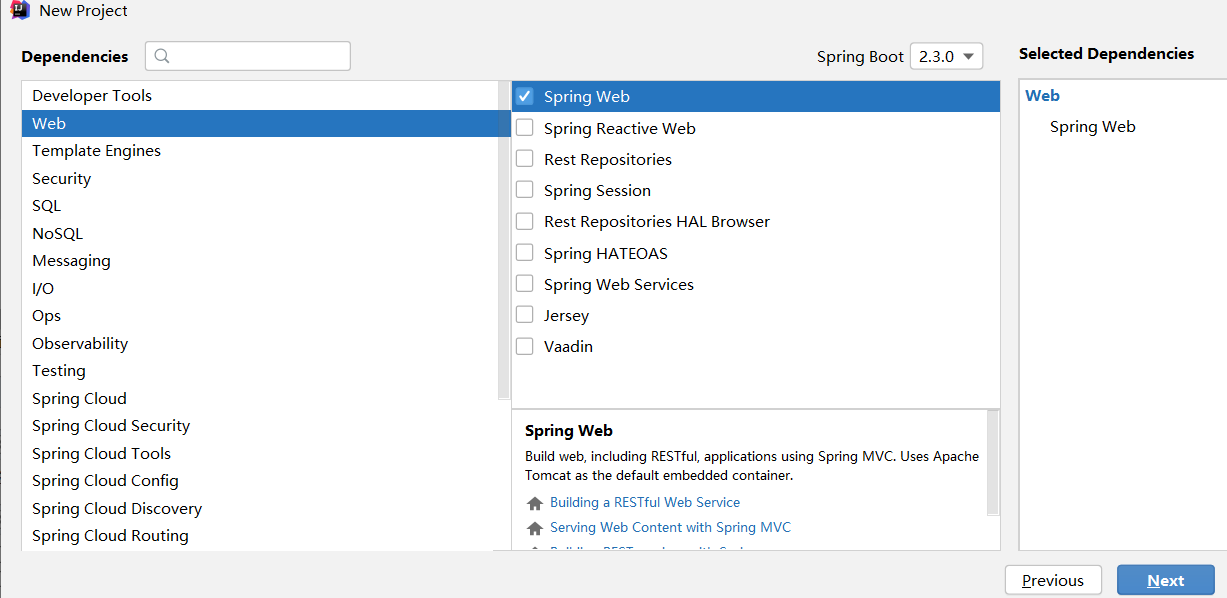
4、添加web依赖
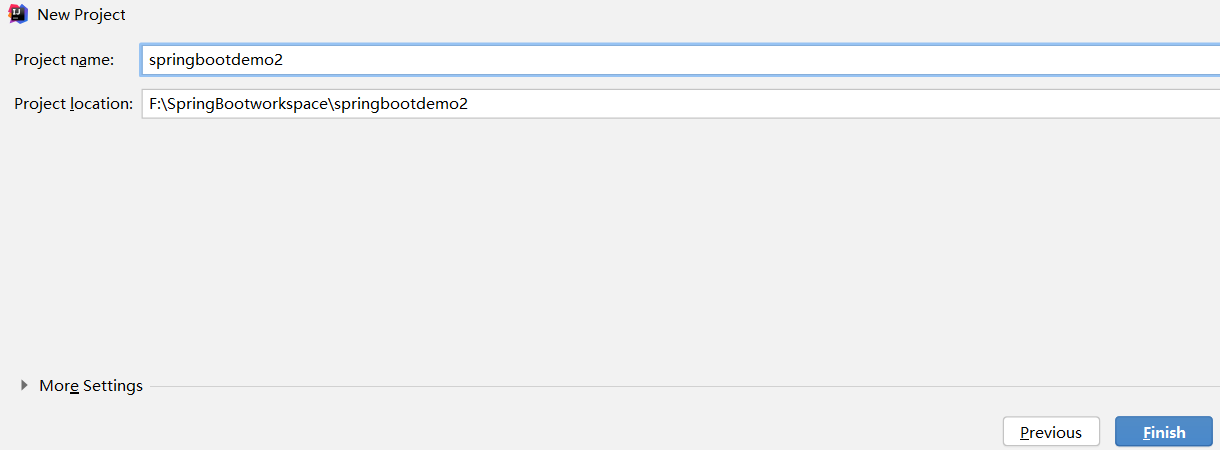
5、选择项目保存地址,点击Finish
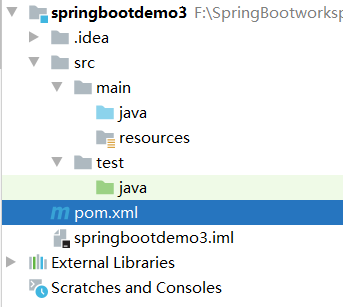
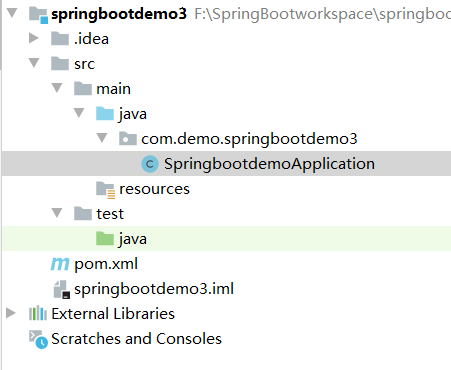
6、等待项目加载完成,创建完毕

3)通过IDEA的Maven项目创建
1、创建新项目,并选择Maven,点击NEXT

2、配置如下,点击Finish.

3、配置pom.xml,代码如下:
<?xml version="1.0" encoding="UTF-8"?>
<project xmlns="http://maven.apache.org/POM/4.0.0" xmlns:xsi="http://www.w3.org/2001/XMLSchema-instance"
   xsi:schemaLocation="http://maven.apache.org/POM/4.0.0 https://maven.apache.org/xsd/maven-4.0.0.xsd">
   <modelVersion>4.0.0</modelVersion>
   <parent>
      <groupId>org.springframework.boot</groupId>
      <artifactId>spring-boot-starter-parent</artifactId>
      <version>2.3.0.RELEASE</version>
      <relativePath/> <!-- lookup parent from repository -->
   </parent>
   <groupId>com.demo</groupId>
   <artifactId>springbootdemo</artifactId>
   <version>0.0.1-SNAPSHOT</version>
   <name>springbootdemo</name>
   <description>Demo project for Spring Boot</description>
   <properties>
      <java.version>1.8</java.version>
   </properties>
   <dependencies>
      <dependency>
         <groupId>org.springframework.boot</groupId>
         <artifactId>spring-boot-starter-web</artifactId>
      </dependency>
      <dependency>
         <groupId>org.springframework.boot</groupId>
         <artifactId>spring-boot-starter-test</artifactId>
         <scope>test</scope>
         <exclusions>
            <exclusion>
               <groupId>org.junit.vintage</groupId>
               <artifactId>junit-vintage-engine</artifactId>
            </exclusion>
         </exclusions>
      </dependency>
   </dependencies>
   <build>
      <plugins>
         <plugin>
            <groupId>org.springframework.boot</groupId>
            <artifactId>spring-boot-maven-plugin</artifactId>
         </plugin>
      </plugins>
   </build>

</project>
4、在java下创建SpringbootdemoApplication.java文件及相关包,并修改内容,创建完毕,如下
package com.demo;
import org.springframework.boot.SpringApplication;
import org.springframework.boot.autoconfigure.SpringBootApplication;
@SpringBootApplication
public class Springbootdemo3Application {
    public static void main(String[] args) {
        SpringApplication.run(Springbootdemo3Application.class,args);
    }
4)运行项目


二、编写Hello Worid代码
1、创建HelloWorldController.java文件及相关包,修改文件内容,如下:
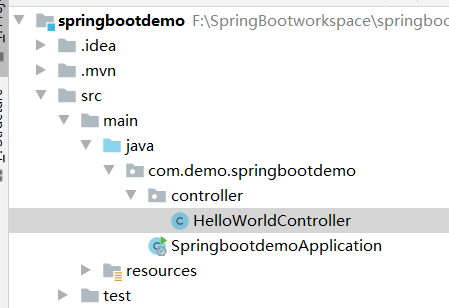
package com.demo.springbootdemo.controller;

import org.springframework.web.bind.annotation.RequestMapping;
import org.springframework.web.bind.annotation.RestController;

@RestController
public class HelloWorldController {

    @RequestMapping("/helloworld")
    public String showHelloWorld(){
        return "HelloWorld!";
    }
}
2、启动启动类class SpringbootdemoApplication,在浏览器中输入http://localhost:8080/helloworld

恭喜你,你已经完成了Spring Boot项目的创建,并开启了你Spring Boot的第一行代码!