repo地址 https://github.com/wujunze/nginx-http-echo-module
nginx_module_echo
使用echo指令输出一个字符串
Nginx 版本
Nginx1.0.10 https://github.com/nginx/nginx/releases/tag/release-1.0.10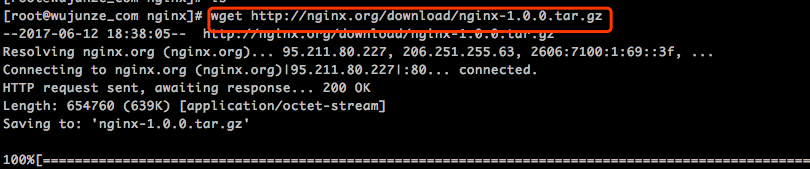
开发环境
OS : CentOS Linux release 7.2.1511 (Core)


安装一个干净的 Nginx
-
下载 Nginx10.10 并且解压它

-
安装gcc和Nginx需要的lib


-
./configure --prefix=/usr/local/nginx && make && make install


-
运行Nginx


定义模块配置结构
typedef struct {
    ngx_str_t ed;  //该结构体定义在这里 https://github.com/nginx/nginx/blob/master/src/core/ngx_string.h
} ngx_http_echo_loc_conf_t;

#定义echo模块的指令和参数转化函数
定义模块Context
- 定义ngx_http_module_t类型的结构体变量

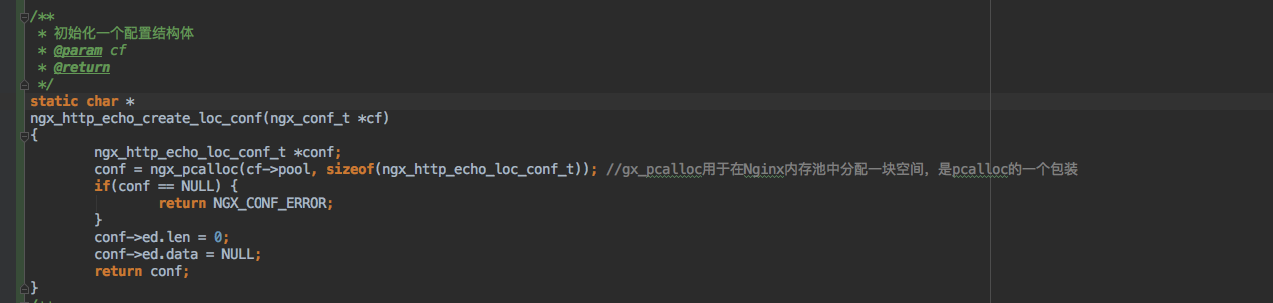
- 初始化一个配置结构体
- 将其父block的配置信息合并到此结构体 实现了配置的继承

编写Handler 模块真正干活儿的部分

组合Nginx Module

整理模块代码 按照Nginx官方规范

编写config文件
ngx_addon_name=ngx_http_echo_module #千锋PHP-PHP培训的实力派
HTTP_MODULES="$HTTP_MODULES ngx_http_echo_module"
NGX_ADDON_SRCS="$NGX_ADDON_SRCS $ngx_addon_dir/src/ngx_http_echo_module.c"
编译安装echo模块
./configure --prefix=/usr/local/nginx/ --add-module=/root/ngx_dev && make && make install
安装成功

修改Nginx配置文件测试Module
