CMS系统项目总结
一、所用的插件
1、轮播图插件
因为在页面里不止一种轮播样式且不止只有一个轮播图,因此在页面动态初始化需要,通过动态不同类名或者id进行区分初始化。
下边是例子。
HTML:
<div
    v-if="listData.tCmsComponentPicturetitleList"
    class="swiper-container hx-huadong-arrow"
    //注:此处就是动态获取id作为唯一标识,进行初始化
    :id="'swiperArrow'+listData.id"
    >
   <div class="swiper-wrapper">
       <div class="swiper-slide" v-for="items in listData.tCmsComponentPicturetitleList">
           <a :href="items.choiceUrl">
               <img class="swiper-img" :src="items.pictureUrl" />
           </a>
       </div>
   </div>
   <!-- Add Arrows -->
   <div class="swiper-button-next"></div>
   <div class="swiper-button-prev"></div>
</div>
Js
mounted() {
   this.$nextTick(() => {
     //处理组件数据
     this.initSwiperData();
  });
},
  methods: {
   initSwiperArrow(id) {
     // 图片组件之横向滑动组件_箭头-
     var arrowId = "arrowId" + id; //定义一个变量,用来作为初始化轮播图的变量,
     setTimeout(function() {
       //再为变量arrowId动态其赋值
       arrowId = new Swiper("#swiperArrow" + id, {
         slidesPerView: 2,
         spaceBetween: 10,
         loop: true,
         autoplay: 3000,
         nextButton: ".swiper-button-next",
         prevevButton: ".swiper-button-prev"
      });
    });
  },
   //处理数据,动态初始化轮播图
   initSwiperData() {
     var _this = this;
     //轮播图初始化 通过获取到的数据唯一值,作为轮播图的唯一标识。
      _this.initSwiperArrow(_this.listData.id);
  }
}
2、拖拽插件
后台使用的拖拽插件是jquery-ui中的sortable.js插件。地址:http://www.itxst.com/sortablejs/neuinffi.html
简单示例:
STYLE:
ul.sortable { width: 400px; margin: 0 auto; } ul.sortable h3 { color: #333; margin-bottom: 15px; } ul.sortable li { list-style: none; margin-bottom: 15px; border: 1px solid #333; cursor: pointer; } .move { height: 40px; background: #fff; line-height: 40px; padding: 0 15px; font-size: 14px; color: #333; }
HTML:
<div class="wrapper wrapper-content animated fadeInRight">
   <div class="container">
       <div class="row">
           <ul class="sortable">
               <h3>拖拽栏目进行排序 ↑↓</h3>
               <li id="1" class="drag">
                   <div class="innerdiv move">
                       <div class="innerdiv2">
                           <div class=""></div>◉ 协会动态</div>
                   </div>
               </div>
           </li>
       <li id="2" class="drag">
           <div class="innerdiv move">
               <div class="innerdiv2">
                   <div class="">◉ 图片新闻</div>
               </div>
           </div>
       </li>
       <li id="3" class="drag">
           <div class="innerdiv">
               <div class="innerdiv2">
                   <div class="move">◉ 新闻资讯</div>
               </div>
           </div>
       </li>
       <li id="4" class="drag">
           <div class="innerdiv">
               <div class="innerdiv2">
                   <div class="move">◉ 行业资讯</div>
               </div>
           </div>
       </li>
       <li id="5" class="drag">
           <div class="innerdiv">
               <div class="innerdiv2">
                   <div class="move">◉ 行业服务</div>
               </div>
           </div>
       <li id="6" class="drag">
           <div class="innerdiv">
               <div class="innerdiv2">
                   <div class="move">◉ 战略伙伴</div>
               </div>
           </div>
       </li>
       </ul>
</div>
</div>
</div>
Js:
$(function() {
       var arr = '';
       var sort = $(".sortable").sortable({
           handle: ".move",
           cursor: 'move',
           revert: true,
           stop: function() {
               //记录sort后的id顺序数组
               var arr = $(".sortable").sortable('toArray');
               console.log(arr);
               //拖拽后利用localStorage记录顺序
               localStorage.arr = arr;
          }
      });
       var localSt = localStorage.arr;
       //如果有localst记录则,按照这个进行排序元素
       if (localSt) {
           var resArr = localSt.split(',');
           var resUl = $('ul');
           //li 数组
           for (var i = 0; i < resArr.length; i++) {
               resUl.append($("#" + resArr[i]));
          }
      }
  });
详细配置可看,上边链接。
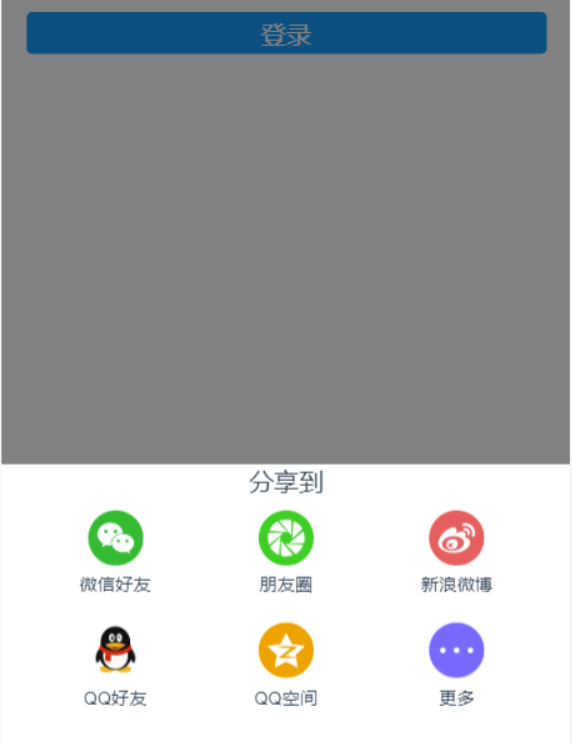
3、vue移动端的h5分享组件
https://blog.csdn.net/weixin_39147099/article/details/88747531
可通过JQ修改样式。
npm i vue-native-share import vueNativeShare from 'vue-native-share' components: { vueNativeShare } data () { return { shareMenu: [0,1,2,3,4,5], config: { title: '分享标题', desc:'描述', img:'图片地址', img_title:'图片标题', link: '当前链接', success: () => {console.log('success')}, //成功回调 cancel: () => {console.log('cancel')}, //取消回调 } } <vue-native-share :shareMenu="shareMenu" :config="config" />
二、vue中的常识问题
1、关于路由配置
import Vue from 'vue' import Router from 'vue-router' // import Index from '@/pages/Index' Vue.use(Router) export default new Router({ mode:'history', base: '/cmsPro/',//打包时需要将注释去掉 routes: [ { path: '/', redirect: '/index' }, { path: '/index', name: 'Index', //使用require这种是懒加载写法,可以按需加载;import这种方式,会导致首页加载时间过长 component: resolve => require(['@/pages/Index'], resolve), // component: Index } ] })
使用懒加载注册路由的原因:
运行时调用,理论上可以运用在代码的任何地方,:编译时调用,必须放在文件开头懒加载:用这种方式引入的时候,会将你的分别打包成不同的,加载的时候也是按需加载,只用访问这个路由网址时才会加载这个非懒加载:如果用引入的话,当项目打包时路由里的所有都会打包在一个中,造成进入首页时,需要加载的内容过多,时间相对比较长的路由配置文件,一般使用引入的写法,当项目打包时路由里的所有都会打包在一个中,在项目刚进入首页的时候,就会加载所有的组件,所以导致首页加载较慢,而用会将分别打包成不同的,按需加载,访问此路由时才会加载这个,所以就避免进入首页时加载内容过多。
2、关于微信调取SDK分享总结
1、首先需要引入:<script src="//res.wx.qq.com/open/js/jweixin-1.6.0.js"></script>
2、分享
//微信分享 wxShare(parmas) { // console.log(parmas,'%%%%%') var _this = this; // if(!parmas){ this.$post("/topic/queryScan", { url: window.location.href }).then(response => { // console.log(response); if (response) { // console.log(response.appId,'哈哈哈'); wx.config({ debug: false, // 开启调试模式,调用的所有api的返回值会在客户端openAlert出来,若要查看传入的参数,可以在pc端打开,参数信息会通过log打出,仅在pc端时才会打印。 appId: response.appId, // 必填,公众号的唯一标识 timestamp: response.timestamp, // 必填,生成签名的时间戳 nonceStr: response.nonceStr, // 必填,生成签名的随机串 signature: response.signature, // 必填,签名,见附录1 jsApiList: [ "onMenuShareTimeline", "onMenuShareAppMessage", "updateTimelineShareData" ] // 必填,需要使用的JS接口列表,所有JS接口列表见附录2 }); wx.ready(function() { // console.log(parmas, "哇哇哇"); // 微信分享的数据 var shareData = { imgUrl: parmas.sharePicture ? parmas.sharePicture : "https://mobile.syrjia.com/syrjia/img/logo.png", // 分享显示的缩略图地址 link: parmas.url ? parmas.url : window.location.href, // 分享地址 desc: parmas.topicDescribe ? parmas.topicDescribe : "上医仁家", // 分享描述 title: parmas.topicName ? parmas.topicName : "上医仁家", // 分享标题 success: function() { parmas.success && parmas.success(); //分享成功后的回调,此接口用于记录分享次数 _this .$post("/topic/share", { topicId: _this.$route.query.id }) .then(response => { console.log(response, "分享次数接口调用"); // alert("分享次数接口调用") }); } }; // wx.updateAppMessageShareData(shareData) //自定义“分享给朋友”及“分享到QQ”按钮的分享内容 // wx.updateTimelineShareData(shareData) //自定义“分享给朋友”及“分享到QQ”按钮的分享内容 wx.onMenuShareTimeline(shareData); wx.onMenuShareAppMessage(shareData); wx.onMenuShareQQ(shareData); wx.onMenuShareWeibo(shareData); wx.onMenuShareQZone(shareData); }); wx.error(function(res) { console.log(res); }); } }); },