maven
<!--引入JWT依赖,由于是基于Java,所以需要的是java-jwt-->
        <dependency>
            <groupId>io.jsonwebtoken</groupId>
            <artifactId>jjwt</artifactId>
            <version>0.9.1</version>
        </dependency>
        <dependency>
            <groupId>com.auth0</groupId>
            <artifactId>java-jwt</artifactId>
            <version>3.4.0</version>
        </dependency>
工具类 JwtHelper
 1 import io.jsonwebtoken.Claims;
 4 import io.jsonwebtoken.JwtBuilder;
 5 import io.jsonwebtoken.Jwts;
 6 import io.jsonwebtoken.SignatureAlgorithm;
 7 import org.apache.commons.codec.binary.Base64;
 8
 9 import javax.crypto.SecretKey;
10 import javax.crypto.spec.SecretKeySpec;
11 import java.util.Date;
12 import java.util.HashMap;
13 import java.util.Map;
14
15 public class JwtHelper {
16
17     /**
18      * token 过期时间, 单位: 秒. 这个值表示 30 天
19      */
20     private static final long TOKEN_EXPIRED_TIME = 30 * 24 * 60 * 60;
21
22     /**
23      * jwt 加密解密密钥
24      */
25     private static final String JWT_SECRET = "MDk4ZjZiY2Q0NjIxZDM3M2NhZGU0ZTgzMjYyN2I0ZjY=";
26
27     public static final String jwtId = "tokenId";
28
29     /**
30      * 创建JWT
31      */
32     public static String createJWT(Map<String, Object> claims, Long time) {
33         SignatureAlgorithm signatureAlgorithm = SignatureAlgorithm.HS256; //指定签名的时候使用的签名算法,也就是header那部分,jjwt已经将这部分内容封装好了。
34         Date now = new Date(System.currentTimeMillis());
35
36         SecretKey secretKey = generalKey();
37         long nowMillis = System.currentTimeMillis();//生成JWT的时间
38         //下面就是在为payload添加各种标准声明和私有声明了
39         JwtBuilder builder = Jwts.builder() //这里其实就是new一个JwtBuilder,设置jwt的body
40                 .setClaims(claims)          //如果有私有声明,一定要先设置这个自己创建的私有的声明,这个是给builder的claim赋值,一旦写在标准的声明赋值之后,就是覆盖了那些标准的声明的
41                 .setId(jwtId)                  //设置jti(JWT ID):是JWT的唯一标识,根据业务需要,这个可以设置为一个不重复的值,主要用来作为一次性token,从而回避重放攻击。
42                 .setIssuedAt(now)           //iat: jwt的签发时间
43                 .signWith(signatureAlgorithm, secretKey);//设置签名使用的签名算法和签名使用的秘钥
44         if (time >= 0) {
45             long expMillis = nowMillis + time;
46             Date exp = new Date(expMillis);
47             builder.setExpiration(exp);     //设置过期时间
48         }
49         return builder.compact();
50     }
51
52     /**
53      * 验证jwt
54      */
55     public static Claims verifyJwt(String token) {
56         //签名秘钥,和生成的签名的秘钥一模一样
57         SecretKey key = generalKey();
58         Claims claims;
59         try {
60             claims = Jwts.parser()  //得到DefaultJwtParser
61                     .setSigningKey(key)         //设置签名的秘钥
62                     .parseClaimsJws(token).getBody();
63         } catch (Exception e) {
64             claims = null;
65         }//设置需要解析的jwt
66         return claims;
67
68     }
69
70
71     /**
72      * 由字符串生成加密key
73      *
74      * @return
75      */
76     public static SecretKey generalKey() {
77         String stringKey = JWT_SECRET;
78         byte[] encodedKey = Base64.decodeBase64(stringKey);
79         SecretKey key = new SecretKeySpec(encodedKey, 0, encodedKey.length, "AES");
80         return key;
81     }
82
83     /**
84      * 根据userId和openid生成token
85      */
86     public static String generateToken(String openId, Integer userId) {
87         Map<String, Object> map = new HashMap<>();
88         map.put("userId", userId);
89         map.put("openId", openId);
90         return createJWT(map, TOKEN_EXPIRED_TIME);
91     }
92
93 }
过滤器 JwtFilter
 1 import com.llh.chat.util.JwtHelper;
 2 import io.jsonwebtoken.Claims;
 3
 4 import javax.servlet.*;
 5 import javax.servlet.http.HttpServletRequest;
 6 import javax.servlet.http.HttpServletResponse;
 7 import java.io.IOException;
 8
 9 public class JwtFilter implements Filter {
10
11     @Override
12     public void init(FilterConfig filterConfig) throws ServletException {
13
14     }
15
16     @Override
17     public void doFilter(ServletRequest servletRequest, ServletResponse servletResponse, FilterChain filterChain) throws IOException, ServletException {
18         HttpServletRequest request = (HttpServletRequest) servletRequest;
19         HttpServletResponse response = (HttpServletResponse) servletResponse;
20         String token = request.getHeader("authorization"); //获取请求传来的token
21         Claims claims = JwtHelper.verifyJwt(token); //验证token
22         if (claims == null) {
23             response.getWriter().write("token is invalid");
24         } else {
25             filterChain.doFilter(request, response);
26         }
27     }
28
29     @Override
30     public void destroy() {
31
32     }
33 }
启动配置器 BeanRegisterConfig
import com.llh.chat.filter.JwtFilter;
import org.springframework.boot.web.servlet.FilterRegistrationBean;
import org.springframework.context.annotation.Bean;
import org.springframework.context.annotation.Configuration;

@Configuration
public class BeanRegisterConfig {

    @Bean
    public FilterRegistrationBean createFilterBean() {
        //过滤器注册类
        FilterRegistrationBean registration = new FilterRegistrationBean();
        registration.setFilter(new JwtFilter());
        registration.addUrlPatterns("/user/hello"); //需要过滤的接口
        return registration;
    }
}
Controller
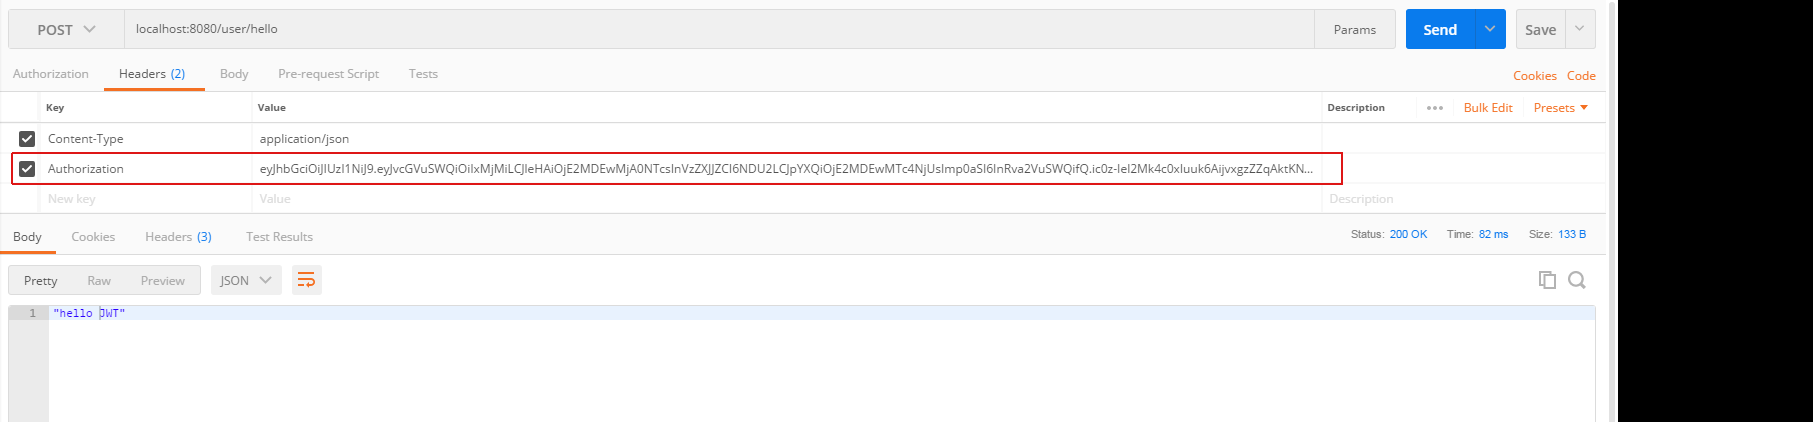
@RestController
public class LoginController {
    @RequestMapping("/user/login")
    public String login() {

        String jwtToken = JwtHelper.generateToken("123",456);

        return jwtToken;
    }
    @RequestMapping("user/hello")
    public String user(){
        return   "hello JWT";
    }

}
启动项目用posman来请求
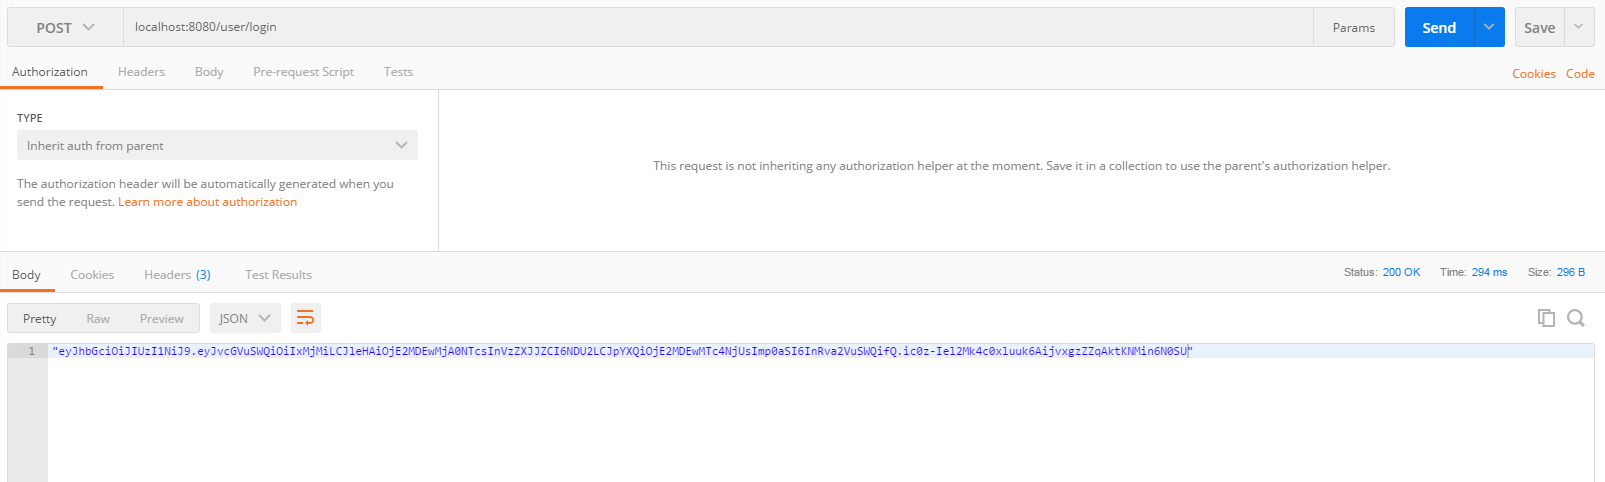
把eyJhbGciOiJIUzI1NiJ9.eyJvcGVuSWQiOiIxMjMiLCJleHAiOjE2MDEwMjA0NTcsInVzZXJJZCI6NDU2LCJpYXQiOjE2MDEwMTc4NjUsImp0aSI6InRva2VuSWQifQ.ic0z-Iel2Mk4c0xluuk6AijvxgzZZqAktKNMin6N0SU带入请求