ps:SpringBoot整合jsp并不常用,SpringBoot推荐模板引擎 如 freemarker
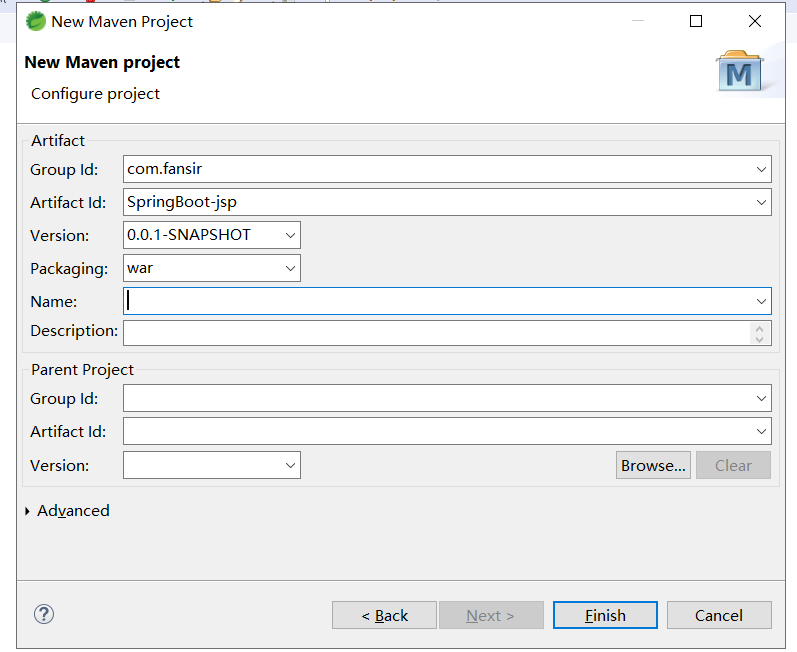
1.创建SpringBoot项目时,项目类型一定要选成war (否则最后会一直报404)
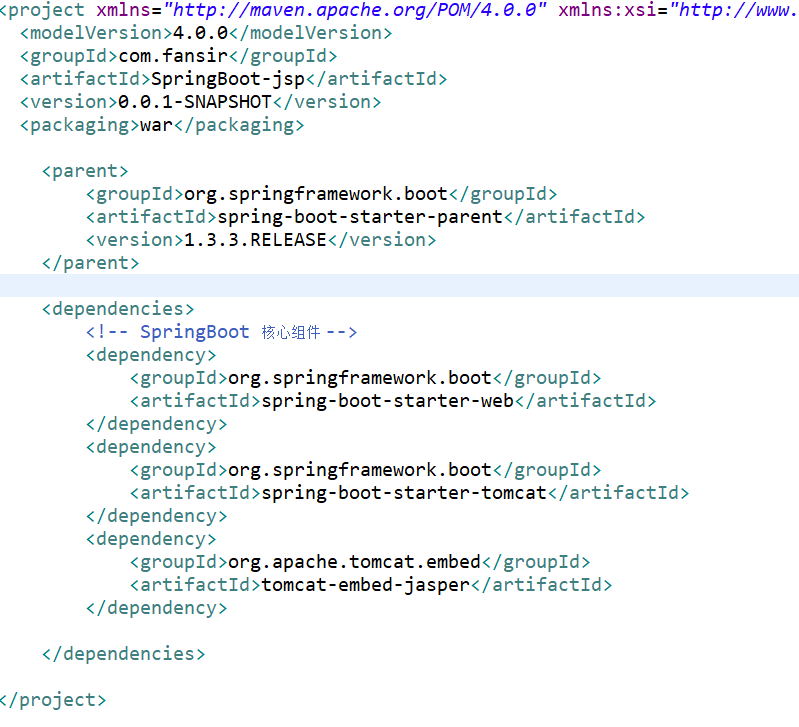
2. 在pom.xml中添加以下依赖
<parent>

  <groupId>org.springframework.boot</groupId>

  <artifactId>spring-boot-starter-parent</artifactId>

  <version>1.3.3.RELEASE</version>

</parent>

<dependencies>

  <!-- SpringBoot 核心组件 -->

  <dependency>

    <groupId>org.springframework.boot</groupId>

    <artifactId>spring-boot-starter-web</artifactId>

  </dependency>

  <dependency>

    <groupId>org.springframework.boot</groupId>

    <artifactId>spring-boot-starter-tomcat</artifactId>

  </dependency>

  <dependency>

    <groupId>org.apache.tomcat.embed</groupId>

    <artifactId>tomcat-embed-jasper</artifactId>

  </dependency>

</dependencies>
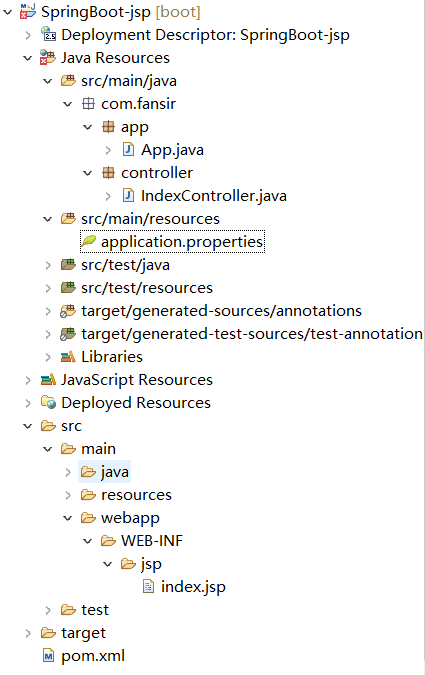
3.在src/main/resources下创建 application.properties文件,并添加以下配置:
spring.mvc.view.prefix=/WEB-INF/jsp/
spring.mvc.view.suffix=.jsp
4.在src下的main下的webapp目录下创建WEB-INF文件夹,然后在WEB-INF文件夹下创建jsp文件夹(用于放置jsp页面),创建index.jsp
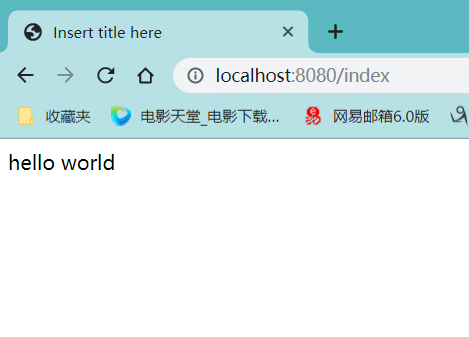
<%@ page language="java" contentType="text/html; charset=UTF-8"
    pageEncoding="UTF-8"%>
<!DOCTYPE html>
<html>
<head>
<meta charset="UTF-8">
<title>Insert title here</title>
</head>
<body>
    hello world
</body>
</html>
5.写程序启动类
package com.fansir.app;

import org.springframework.boot.SpringApplication;
import org.springframework.boot.autoconfigure.EnableAutoConfiguration;
import org.springframework.context.annotation.ComponentScan;

@ComponentScan("com.fansir.controller")  //扫描controller包
@EnableAutoConfiguration
public class App {

    public static void main(String[] args) {

        SpringApplication.run(App.class,args);
    }

}
6.写测试类
package com.fansir.controller;

import org.springframework.stereotype.Controller;
import org.springframework.web.bind.annotation.RequestMapping;

@Controller
public class IndexController {

    @RequestMapping("/index")
    public String Index() {

        System.out.println("来了...");
        return"index";

    }

}
7.运行程序,在浏览器中输入: http://localhost:8080/index ,效果如下: