本文源自于
https://dzone.com/articles/how-to-deploy-a-django-application-with-docker
只不过这里用自己的方式再简述一遍。而且使用了较新的Python 和django 版本
因为现在大部分都是使用windows环境的,所以我就没有使用linux或者文中所说的“Alibaba Cloud ECS Linux instance”
步骤:
1.安装Docker windows版本
2.安装python 及 django
3.创建django程序
4.编辑DockerfIle
# set the base image
FROM python:3
# File Author / Maintainer
MAINTAINER Esther
#add project files to the usr/src/app folder
ADD . /usr/src/app
#set directoty where CMD will execute
WORKDIR /usr/src/app
COPY requirements.txt ./
# Get pip to download and install requirements:
RUN pip install --no-cache-dir -r requirements.txt
# Expose ports
EXPOSE 8000
# default command to execute
CMD exec gunicorn djangoapp.wsgi:application --bind 0.0.0.0:8000 --workers 3
5.编辑requirements.txt
#requirements.txt
Django==2.1
gunicorn==19.9.0
最终生成的目录结构如下:

7.在该目录下,运行CMD命令。执行创建镜像的命令
docker build -t django_application_image .
8.运行该容器
docker run -p 8000:8000 -i -t django_application_image
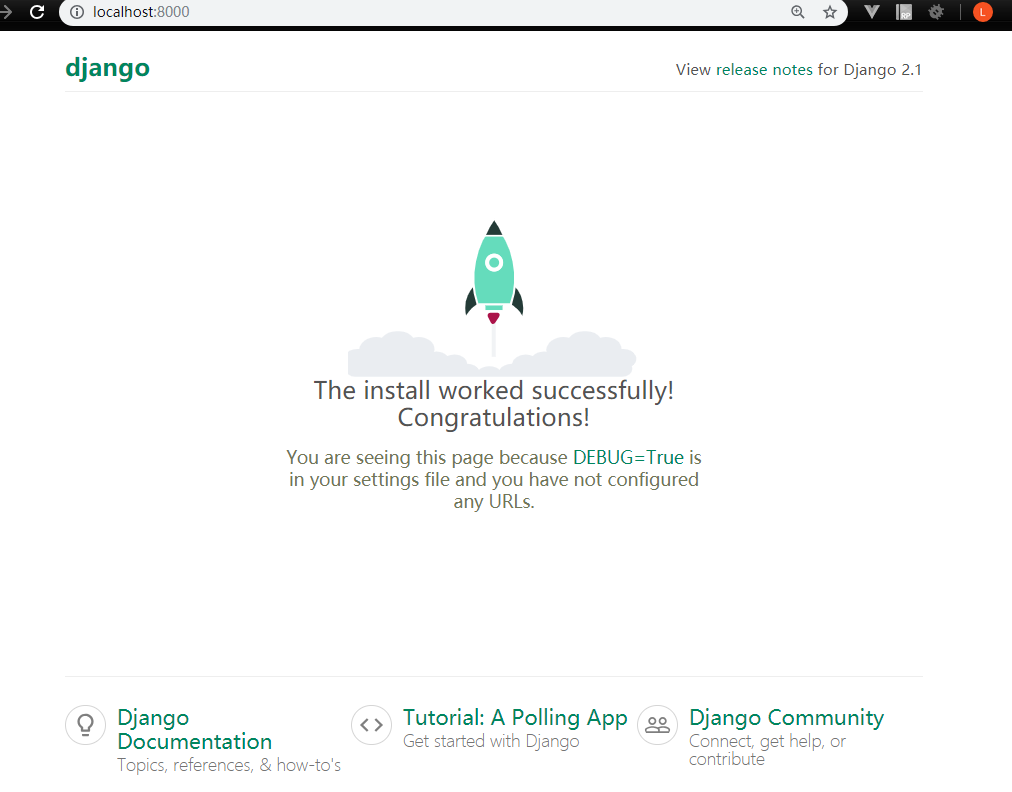
至此,容器已经成功运行起来了,并且服务端口已经映射到 8000 端口了。
至于退出容器,可以使用
Ctrl P + Q 退出容器,并让容器在后台运行
如果想再停止该容器,可以执行
docker stop imageid