官方文档链接:https://help.sonatype.com/repomanager3
参考链接:https://www.cnblogs.com/yaozhenfa/p/13646007.html
部署流程
查看所需的虚拟机配置大小
https://help.sonatype.com/repomanager3/installation/system-requirements
一.Centos设置
1.更换阿里源
curl -o /etc/yum.repos.d/CentOS-Base.repo http://mirrors.aliyun.com/repo/Centos-7.repo
yum makecache
2.安装网络工具
yum install net-tools -y
3.使用阿里NTP服务
yum install chrony -y
sed -i "/server/d" /etc/chrony.conf # 删除所有server行
vim /etc/chrony.conf 增加server ntp.aliyun.com iburst # 与阿里ntp同步
systemctl restart chronyd
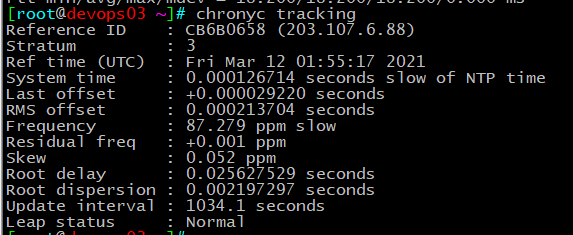
chronyc tracking # 显示与系统时钟性能有关的参数
二.安装JDK8
1.直接yum源的方式安装
yum install java-1.8.0-openjdk.x86_64 -y
2.安装完成,查看对应版本
java -version

三.安装nexus
1.下载并解压文件,这里选择unix版本的
官网下载地址:
https://help.sonatype.com/repomanager3/download/download-archives---repository-manager-3
cd /mnt
tar zxf nexus-3.30.0-01-unix.tar.gz
2.设置启动用户
useradd nexus
vim nexus-3.30.0-01/bin/nexus.rc   # 编辑为
#run_as_user="root"
3.建立链接
ln -s /mnt/nexus-3.30.0-01/bin/nexus /etc/init.d/nexus
4.设置开机启动
首先打开对应文件并输入以下内容:
vim /etc/systemd/system/nexus.service
[Unit]
Description=nexus service
After=network.target

[Service]
Type=forking
LimitNOFILE=65536
ExecStart=/etc/init.d/nexus start
ExecStop=/etc/init.d/nexus stop
Restart=on-abort

[Install]
WantedBy=multi-user.target
完成后开启服务并设置自启动
systemctl daemon-reload
systemctl enable nexus.service
systemctl start nexus.service
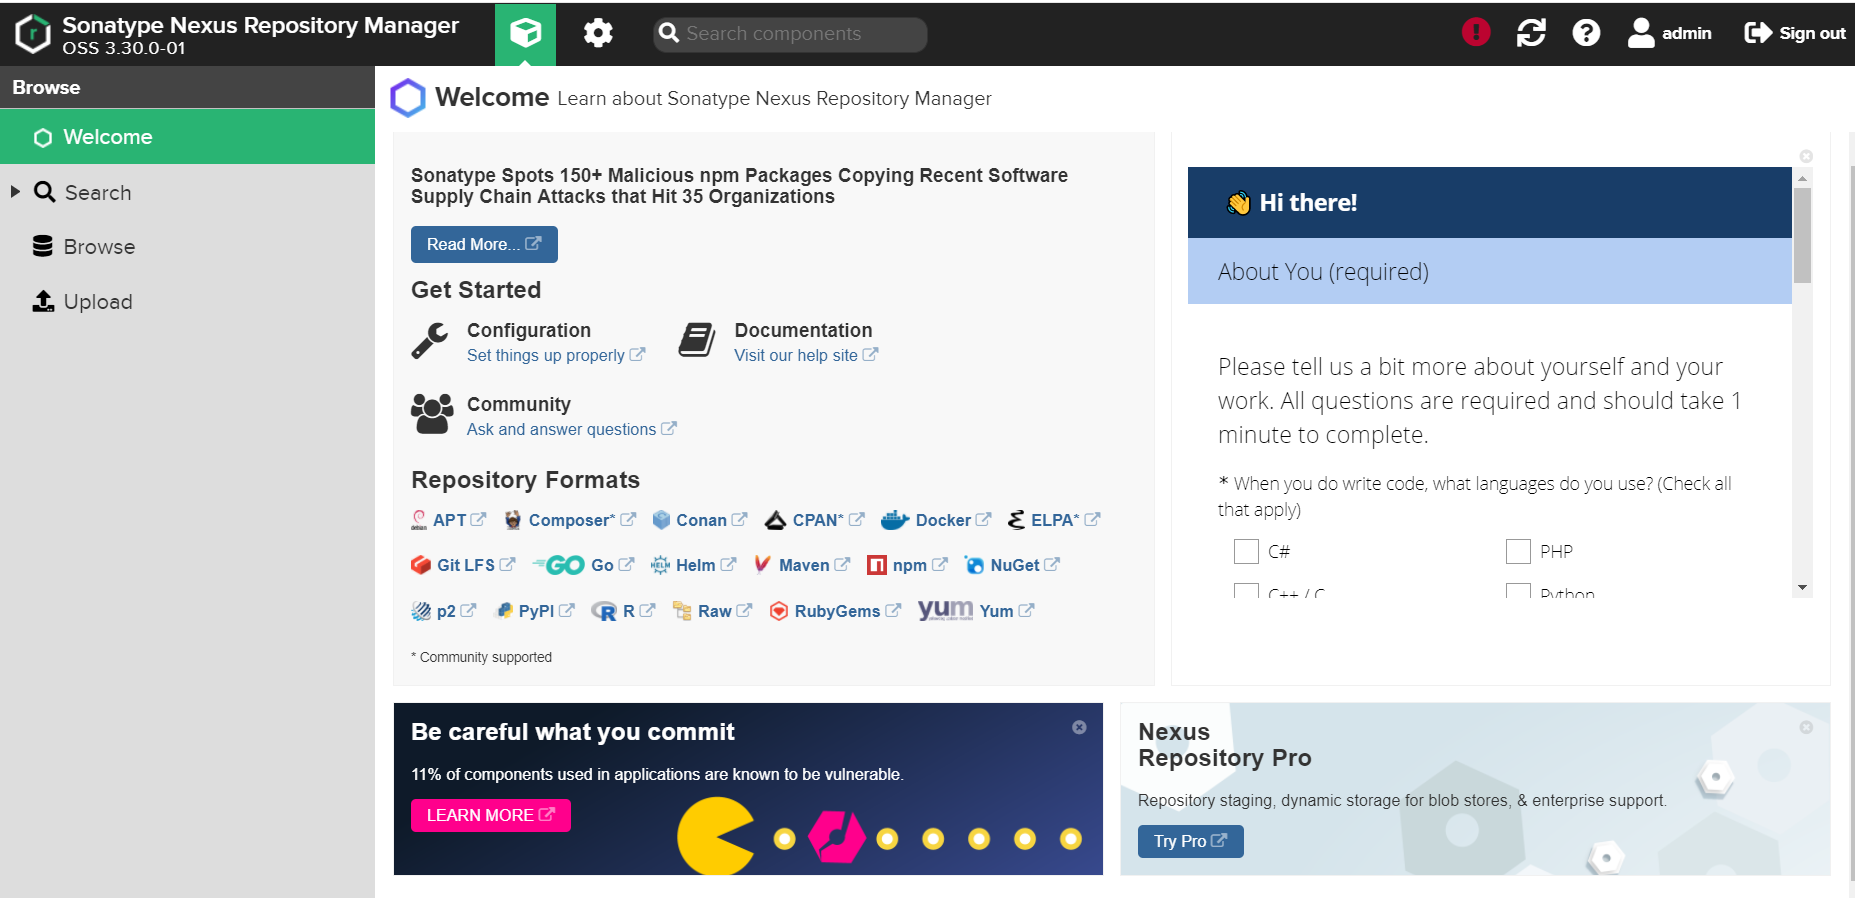
nexus默认开启的是8081端口,开启后就可以在浏览器中输入url: http://ip:8081 进行登录了。
登录名: admin
密码: 可以通过提示在文件中找到默认登录的密码。