转自https://www.cnblogs.com/Deskew/p/13798595.html
#1、切换至root,建立rc-local.service文件
vim /etc/systemd/system/rc-local.service
#2、在里面写入如下内容

[Unit]
Description=/etc/rc.local Compatibility
ConditionPathExists=/etc/rc.local

[Service]
Type=forking
ExecStart=/etc/rc.local start
TimeoutSec=0
StandardOutput=tty
RemainAfterExit=yes
SysVStartPriority=99

[Install]
WantedBy=multi-user.target
#3、然后在创建文件rc.local
vim /etc/rc.local
#4、里面写入下面内容(就是开机所要执行的脚本)
#!/bin/sh -e
## rc.local

# This script is executed at the end of each multiuser runlevel.
# Make sure that the script will "exit 0" on success or any other
# value on error.
# In order to enable or disable this script just change the execution  bits.
# By default this script does nothing.

#start script


#end script

echo "added sucessfully!" > /tmp/added_script.log

exit 0
#5、加上权限
chmod +x /etc/rc.local
#6、启动服务
systemctl enable rc-local
#7、开启服务
systemctl start rc-local.service
#8、查看状态
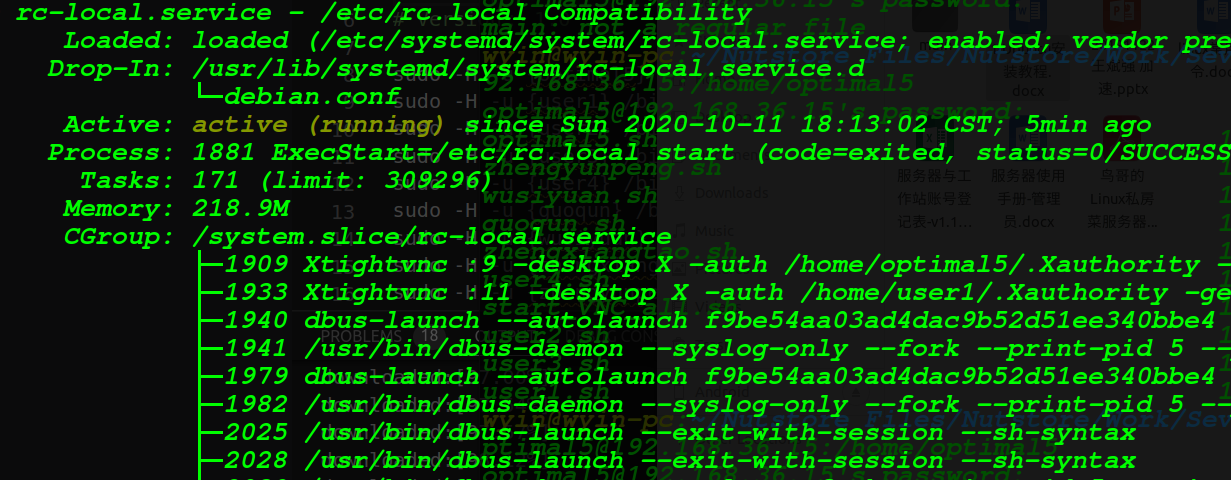
systemctl status rc-local.service
部分内容如下:(注意active (running))
#9、重启并检查test.log文件
vim /tmp/added_script.log
#10、如果里面有内容(added sucessfully!),则自启动脚本安装成功。