一、创建webapp目录
在src/main下创建webapp目录,用于存放jsp文件。这就是一个普通的目录,无需执行Mark Directory As

二、创建jsp
1、指定web资源目录
在spring boot工程中若要创建jsp文件,一般是需要在src/main下创建webapp目录,然后在该目录下创建jsp文件。但通过Alt + Insert发现没有创建jsp文件的选项。此时,需要打开Project Structrue窗口,将webapp目录指定为web资源目录,然后才可以创建jsp文件。

指定后便可看到下面的窗口情况。

此时,便可在webapp中找到jsp的创建选项了。

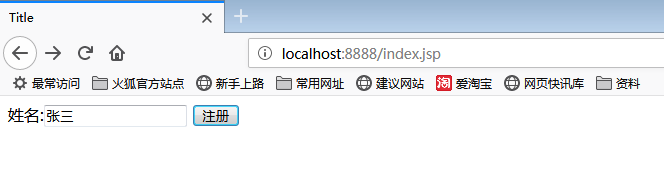
2、创建index.jsp页面与welcome.jsp页面


三、添加jasper依赖
在pom中添加一个Tomcat内嵌的jsp引擎jasper依赖。
- <dependency>
- <groupId>org.apache.tomcat.embed</groupId>
- <artifactId>tomcat-embed-jasper</artifactId>
- </dependency>
四、注册资源目录
在pom文件中将webapp目录注册为资源目录
- <build>
- <resources>
- <!--注册webapp目录为资源目录-->
- <resource>
- <directory>src/main/webapp</directory>
- <targetPath>META-INF/resources</targetPath>
- <includes>
- <include>**/*.*</include>
- </includes>
- </resource>
- </resources>
-
- <plugins>
- <plugin>
- <groupId>org.springframework.boot</groupId>
- <artifactId>spring-boot-maven-plugin</artifactId>
- </plugin>
- </plugins>
- </build>
不过,我们一般会添加两个资源目录:
- <resources>
- <!--注册Dao包目录下Mybatis映射文件资源目录-->
- <resource>
- <directory>src/main/java</directory>
- <includes>
- <include>**/*.xml</include>
- </includes>
- </resource>
-
- <!--注册webapp目录为资源目录-->
- <resource>
- <directory>src/main/webapp</directory>
- <targetPath>META-INF/resources</targetPath>
- <includes>
- <include>**/*.*</include>
- </includes>
- </resource>
- </resources>
四、创建Controller

五、逻辑视图配置

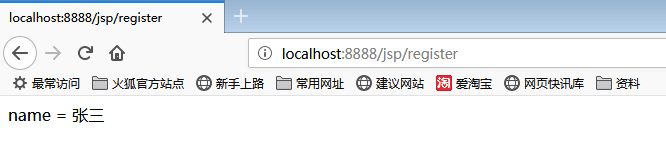
六、访问