First, let’s bake a kernel!
The firecracker team was nice enough to give us a .config to use as the basis of our kernel and its a great place to start.
#Move to a new directory and grab the config!
$ wget https://raw.githubusercontent.com/firecracker-microvm/firecracker/master/resources/microvm-kernel-config$ mv microvm-kernel-config .config
Now let’s grab the kernel sources we will be using. Note it’s best to choose a kernel version close to the distro’s native kernel but not an exact requirement.
#Grab sources
$ wget https://mirrors.edge.kernel.org/pub/linux/kernel/v4.x/linux-4.20.9.tar.xz#Untar
$ tar xvf linux-4.20.9.tar.xz#Move the .config to the root of the kernel source folders
$ cd linux-4.20.9/
$ cd ../.config ./
Next up is compiling the kernel, often an annoying and tricky part full of dragons and bad times. But assuming you have the right .config, proper libraries installed and a good source snapshot, it will work.
#while in linux-4.20.9/#Compile the kernel and use -j to increase threads to 32
$ make -j32
Errors while compiling are common, especially missing library, so try to find anything you need in a repo and install with dnf/apt or whatever your system package manager is before trying again.
Next if you get a successful build the kernel will be located at “linux-4.20.9/arch/x86/boot/bzImage”. (Yes, this will be the 64 bit kernel if you use the config.)
Now extract the kernel from the bzImage!
#Copy then extract linux-4.20.9/arch/x86/boot/bzImage
$ cp ./arch/x86/boot/bzImage ./
$ binwalk --extract bzImage
Running binwalk in “--extract” will create a folder named “_FILENAME.extraced” that contains the output. In my case the only file generated is the decompressed kernel named “44E9”. This “44E9” file is exactly whats needed.
$ cd _bzImage.extracted/
$ ls
44E9$ file 44E9
44E9: ELF 64-bit LSB executable, x86-64, version 1 (SYSV), statically linked, BuildID[sha1]=3c3a47380d9e44d2183f676a54bb86f9e37273eb, stripped$ binwalk 44E9 | head
DECIMAL       HEXADECIMAL     DESCRIPTION
--------------------------------------------------------------------
0             0x0             ELF, 64-bit LSB executable, AMD x86-64
4309805       0x41C32D        Boot section Start 0x0 End 0x-59BA38B8
12583136      0xC000E0        Linux kernel version "4.20.9 (root@loc
12617408      0xC086C0        ELF, 64-bit LSB relocatable, AMD x86-6
12852480      0xC41D00        CRC32 polynomial table, little endian
And now we have the kernel! Save it somewhere for later or try to boot it without a filesystem to see if you succeed. If you see a kernel panic following the line “VFS: Cannot open root device “(null)” or unknown-block(0,0): error -6", dont worry, it simply needs a filesystem to use.
[    0.185186] VFS: Cannot open root device "vda" or unknown-block(0,0): error -6
[    0.186122] Please append a correct "root=" boot option; here are the available partitions:
[    0.187213] Kernel panic - not syncing: VFS: Unable to mount root fs on unknown-block(0,0)
[    0.188265] CPU: 0 PID: 1 Comm: swapper/0 Not tainted 4.20.9 #2
[    0.189008] Call Trace:
[    0.189339]  dump_stack+0x4d/0x6a
[    0.189785]  panic+0xf6/0x244
[    0.190165]  mount_block_root+0x206/0x2ad
[    0.190671]  ? do_early_param+0x90/0x90
Now time to create that root filesystem! This is easiest to do by creating a raw image and use QEMU to install alpine to that image. Then with kpartx we can mount the disk image and copy/edit files we need to our new rootfs.
Create the ext4 filesystem, format it and mount.
#Create the new root filesystem with QEMU tools
$ qemu-img create -f raw ./rootfs.ext4 250M#Format
$ mkfs.ext4 rootfs.ext4#Mount for later
$ mount rootfs.ext4 /mnt
Boot a qemu vm with a new disk (use raw disk!) and perform a normal alpine install. Once the installation is complete, shut down the vm. Using kpartx we mount the fresh alpine install. This image will contain both a boot loader and a root filesystem but all we need is the filesystem. DD is an option also.
#Understand filetype
$ file qemu-alpine.raw
qemu-alpine.raw: DOS/MBR boot sector; partition 1 : ID=0x83, active, start-CHS (0x1a,3,16), end-CHS (0x2a1,2,14), startsector 2048, 204800 sectors; partition 2 : ID=0x83, start-CHS (0x2a1,2,15), end-CHS (0x250,3,7), startsector 206848, 305152 sectors#Create loop devices
$ kpartx -a -v qemu-alpine.raw
add map loop5p1 (253:5): 0 204800 linear 7:5 2048
add map loop5p2 (253:6): 0 305152 linear 7:5 206848#make mountpoint
$mkdir /mnt2#Mount loop. Usually loop0p1 == "/boot" & loop0p2 == "/" or rootfs
$ mount /dev/mapper/loop0p2 /mnt2
Lastly lets copy from the Alpine install to our new rootfs.
#populate rootfs
$ cp -r /mnt/* /mnt2/#Cleanup
$ umount /mnt
$ umount /mnt2
Booting
One important thing to do is remember to modify your firecracker boot-method to tell the kernel what device will be the filesystem is so it can continue the boot process and not panic like before. To do this we add the boot argument “root=/dev/vda”.
#Modified kernel call
curl --unix-socket /tmp/firecracker.socket -i
-X PUT 'http://localhost/boot-source'
-H 'Accept: application/json'
-H 'Content-Type: application/json'
-d '{
"kernel_image_path": "./kernel.bin",
"boot_args": "console=ttyS0 reboot=k panic=1 pci=off 'root=/dev/vda'"
}'curl --unix-socket /tmp/firecracker.socket -i
-X PUT 'http://localhost/drives/rootfs'
-H 'Accept: application/json'
-H 'Content-Type: application/json'
-d '{
"drive_id": "rootfs",
"path_on_host": "./rootfs.ext4",
"is_root_device": true,
"is_read_only": false
}'
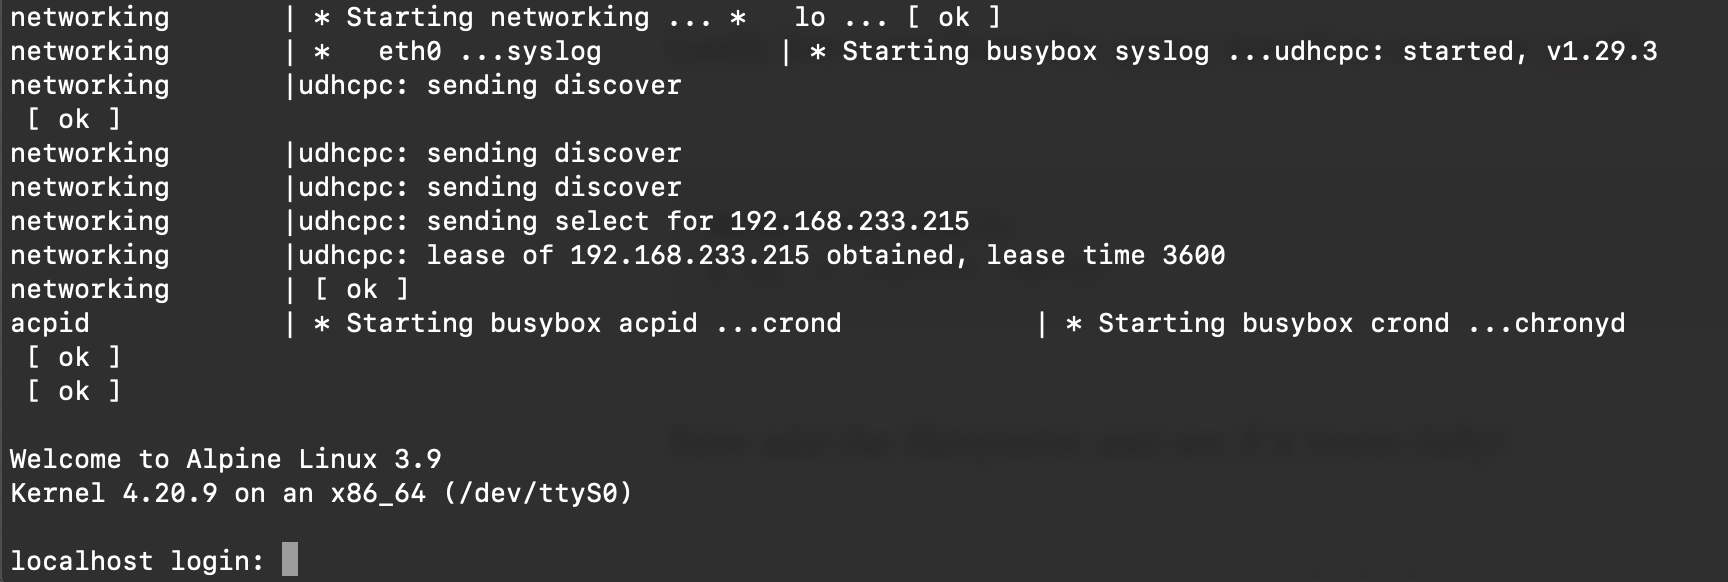
Then do an “InstanceStart” and see what happens! If everything is working then it should get you a login prompt like below. Note the 4.20.9 kernel.

Some additional info to validate your kernel:
For the sake of discussion let’s use binwalk see how our kernel looks vs the hello-world vm’s kernel. This helps sort why your kernel might not be booting. To start it must be a non-compressed, elf binary with a boot section.
First hello-vmlinux.bin, note the boot section at 0x0
$ file hello-vmlinux.bin
hello-vmlinux.bin: ELF 64-bit LSB executable, x86-64, version 1 (SYSV), statically linked, BuildID[sha1]=8647c7e2e72433a17adcc6f485c42764f187d2ff, not stripped#
$ binwalk hello-vmlinux.bin | headDECIMAL       HEXADECIMAL     DESCRIPTION
--------------------------------------------------------------------
0             0x0             ELF, 64-bit LSB executable, AMD x86-
4185862       0x3FDF06        Boot section Start 0x0 End 0x-59BA38B8
12583104      0xC000C0        Linux kernel version "4.14.55-84.37.am
12617856      0xC08880        ELF, 64-bit LSB relocatable, AMD x86-
12846848      0xC40700        CRC32 polynomial table, little endian
13033080      0xC6DE78        LZO compressed data
13463595      0xCD702B        Unix path: /x86/entry/vdso/vma.c
Now our custom kernel before unpacking:
$ file bzImage
bzImage: Linux kernel x86 boot executable bzImage, version 4.20.9 (root@localhost.localdomain) #4 SMP Sun Mar 3 14:53:10 GMT 2019, RO-rootFS, swap_dev 0x4, Normal VGA$binwalk bzImage
DECIMAL       HEXADECIMAL     DESCRIPTION
--------------------------------------------------------------------
17641         0x44E9          gzip compressed data, maximum compression, from Unix, NULL date (1970-01-01 00:00:00)
And after unpacking with “binwalk --extract” a good kernel looks like:
$ file 44E9
ELF 64-bit LSB executable, x86-64, version 1 (SYSV), statically linked, BuildID[sha1]=3c3a47380d9e44d2183f676a54bb86f9e37273eb, stripped#Use binwalk on the kernel image
$ binwalk 44E9 | headDECIMAL       HEXADECIMAL     DESCRIPTION
--------------------------------------------------------------------
0             0x0             ELF, 64-bit LSB executable, AMD x86-4309805       0x41C32D        Boot section Start 0x0 End 0x-59BA38B8
12583136      0xC000E0        Linux kernel version "4.20.9 (root@loc
12617408      0xC086C0        ELF, 64-bit LSB relocatable, AMD x86-12852480      0xC41D00        CRC32 polynomial table, little endian