通过上面的学习,现在我们进入实战演练,上代码
 1 package dao.impl;
 2
 3 import org.springframework.stereotype.Repository;
 4
 5 import dao.UserDao;
 6 import entity.User;
 7
 8 /**
 9  * 用户DAO类,实现UserDao接口,负责User类的持久化操作
10  */
11 //给数据访问层加上注解,名字随便起
12 @Repository("userDao")
13 public class UserDaoImpl implements UserDao {
14
15     public void save(User user) {
16         // 这里并未实现完整的数据库操作,仅为说明问题
17         System.out.println("保存用户信息到数据库");
18     }
19 }
 1 package service.impl;
 2
 3 import org.springframework.beans.factory.annotation.Autowired;
 4 import org.springframework.beans.factory.annotation.Qualifier;
 5 import org.springframework.stereotype.Service;
 6
 7 import service.UserService;
 8
 9 import dao.UserDao;
10 import entity.User;
11
12 /**
13  * 用户业务类,实现对User功能的业务管理
14  */
15 @Service("userService")
16 public class UserServiceImpl implements UserService {
17
18     @Autowired  // 默认按类型匹配
19     private UserDao dao;
20
21
22     public void setDao(UserDao dao) {
23         this.dao = dao;
24     }
25
26     public void addNewUser(User user) {
27         // 调用用户DAO的方法保存用户信息
28         dao.save(user);
29     }
30 }
applicationContext.xml核心配置文件
 1 <?xml version="1.0" encoding="UTF-8"?>
 2 <beans xmlns="http://www.springframework.org/schema/beans"
 3     xmlns:xsi="http://www.w3.org/2001/XMLSchema-instance"
 4     xmlns:context="http://www.springframework.org/schema/context"
 5     xsi:schemaLocation="http://www.springframework.org/schema/beans
 6     http://www.springframework.org/schema/beans/spring-beans-3.2.xsd
 7     http://www.springframework.org/schema/context
 8     http://www.springframework.org/schema/context/spring-context-3.2.xsd">
 9     <!-- 扫描包中注解标注的类 -->
10     <context:component-scan base-package="service,dao" />
11 </beans>
编写测试类:
 1 package test;
 2
 3 import org.springframework.context.ApplicationContext;
 4 import org.springframework.context.support.ClassPathXmlApplicationContext;
 5
 6 import service.UserService;
 7
 8 import entity.User;
 9
10 public class Test {
11     @org.junit.Test
12     public void test() {
13         // 使用ApplicationContext接口的实现类ClassPathXmlApplicationContext加载Spring配置文件
14         ApplicationContext ctx = new ClassPathXmlApplicationContext(
15                 "applicationContext.xml");
16         // 通过ApplicationContext接口的getBean()方法获取id或name为userService的Bean实例
17         UserService service = (UserService) ctx.getBean("userService");
18
19         User user = new User();
20         user.setId(1);
21         user.setUsername("test");
22         user.setPassword("123456");
23         user.setEmail("test@xxx.com");
24
25         service.addNewUser(user);
26     }
27 }
运行结果:
-Returning cached instance of singleton bean 'userService'
保存用户信息到数据库
通过上面的运行我们发现,核心配置文件里面的内容就少多了,只需要引入context注解就可以了,@Autowired注解是按照类型自动进行装配的,当然如果有两个类型的话,是会报错的,下面演示一下。
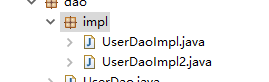
在创建一个数据访问的对象实例
UserDaoImpl.java
 1 package dao.impl;
 2
 3 import org.springframework.stereotype.Repository;
 4
 5 import dao.UserDao;
 6 import entity.User;
 7
 8 /**
 9  * 用户DAO类,实现UserDao接口,负责User类的持久化操作
10  */
11 //给数据访问层加上注解,名字随便起
12 @Repository("userDao2")
13 public class UserDaoImpl2 implements UserDao {
14
15     public void save(User user) {
16         // 这里并未实现完整的数据库操作,仅为说明问题
17         System.out.println("保存用户信息到数据库");
18     }
19 }
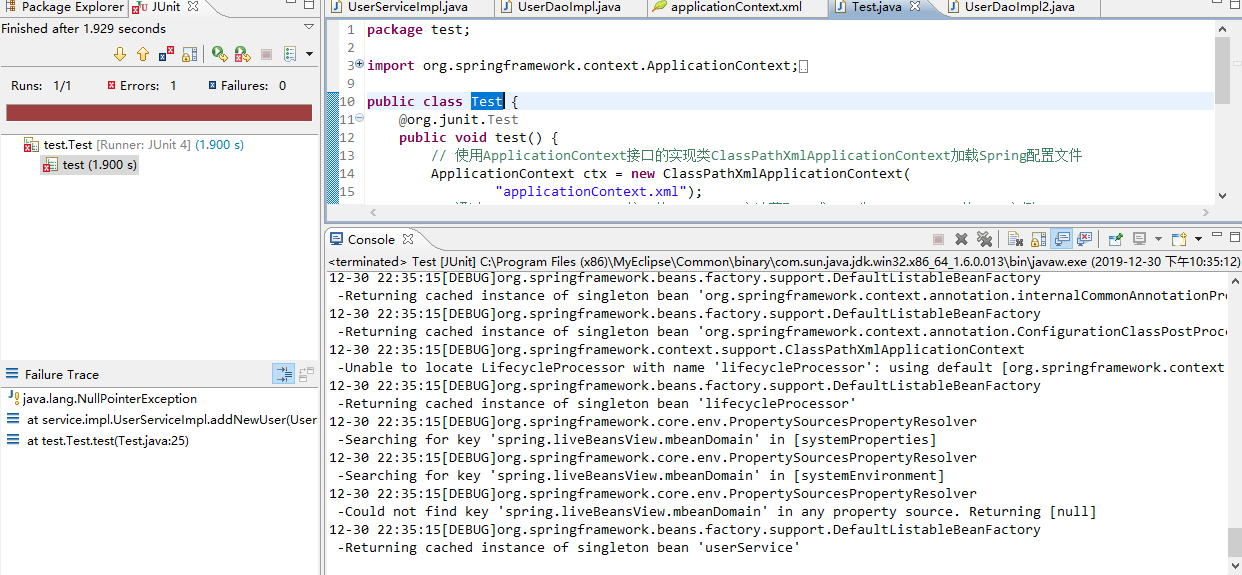
运行测试类,发现报错了:异常信息:
Exception encountered during context initialization - cancelling refresh attempt
org.springframework.beans.factory.BeanCreationException: Error creating bean with name 'userService': Injection of autowired dependencies failed; nested exception is org.springframework.beans.factory.BeanCreationException: Could not autowire field: private dao.UserDao service.impl.UserServiceImpl.dao; nested exception is org.springframework.beans.factory.NoUniqueBeanDefinitionException: No qualifying bean of type [dao.UserDao] is defined: expected single matching bean but found 2: userDao,userDao2
解决办法:
修改UserServiceImpl.java
 1 package service.impl;
 2
 3 import org.springframework.beans.factory.annotation.Autowired;
 4 import org.springframework.beans.factory.annotation.Qualifier;
 5 import org.springframework.stereotype.Service;
 6
 7 import service.UserService;
 8
 9 import dao.UserDao;
10 import entity.User;
11
12 /**
13  * 用户业务类,实现对User功能的业务管理
14  */
15 @Service("userService")
16 public class UserServiceImpl implements UserService {
17
18     @Autowired  // 默认按类型匹配
19     @Qualifier("userDao") // 按指定名称匹配 这样就能指定唯一的UserDao类型,也就是唯一的一个要实例化的userDaoImpl对象实例
20     private UserDao dao;
21
22     // 使用@Autowired直接为属性注入,可以省略setter方法
23     /*public void setDao(UserDao dao) {
24         this.dao = dao;
25     }*/
26
27     public void addNewUser(User user) {
28         // 调用用户DAO的方法保存用户信息
29         dao.save(user);
30     }
31 }
运行测试方法,不报错了。
接下来,在探讨一个知识点,使用构造方法进行注入,其他的不变,只需要变动UserServiceImpl.java
 1 package service.impl;
 2
 3 import org.springframework.beans.factory.annotation.Autowired;
 4 import org.springframework.beans.factory.annotation.Qualifier;
 5 import org.springframework.stereotype.Service;
 6
 7 import service.UserService;
 8
 9 import dao.UserDao;
10 import entity.User;
11
12 /**
13  * 用户业务类,实现对User功能的业务管理
14  */
15 @Service("userService")
16 public class UserServiceImpl implements UserService {
17     private UserDao dao;
18
19    //根据编码习惯,建议保留无参构造方法
20     public UserServiceImpl() {
21
22     }
23     //创建带有参数的构造方法
24     @Autowired  // 默认按类型匹配
25      // 按指定名称匹配 这样就能指定唯一的UserDao类型,也就是唯一的一个要实例化的userDaoImpl对象实例
26     public UserServiceImpl(@Qualifier("userDao")UserDao dao) {
27         this.dao = dao;
28     }
29     public void addNewUser(User user) {
30         // 调用用户DAO的方法保存用户信息
31         dao.save(user);
32     }
33 }
运行测试方法:
保存用户信息到数据库
下面我们在学习一下,@Autowired注解的一个属性required
修改UserServiceImpl.java
 1 package service.impl;
 2
 3 import org.springframework.beans.factory.annotation.Autowired;
 4 import org.springframework.beans.factory.annotation.Qualifier;
 5 import org.springframework.stereotype.Service;
 6
 7 import service.UserService;
 8
 9 import dao.UserDao;
10 import entity.User;
11
12 /**
13  * 用户业务类,实现对User功能的业务管理
14  */
15 @Service("userService")
16 public class UserServiceImpl implements UserService {
17     private UserDao dao;
18
19    //根据编码习惯,建议保留无参构造方法
20     public UserServiceImpl() {
21
22     }
23     //创建带有参数的构造方法
24     @Autowired  // 默认按类型匹配
25      // 按指定名称匹配 这样就能指定唯一的UserDao类型,也就是唯一的一个要实例化的userDaoImpl对象实例
26     public UserServiceImpl(@Qualifier("userDao3")UserDao dao) {
27         this.dao = dao;
28     }
29     public void addNewUser(User user) {
30         // 调用用户DAO的方法保存用户信息
31         dao.save(user);
32     }
33 }
运行结果:--控制台报异常了
Exception encountered during context initialization - cancelling refresh attempt
org.springframework.beans.factory.UnsatisfiedDependencyException: Error creating bean with name 'userService' defined in file [C:\Users\视频\05\3.使用注解实现IoC的配置\2.案例\示例7:使用Spring注解实现IoC(教材示例18-21)\示例18-21:使用Spring注解实现IoC\example4\bin\service\impl\UserServiceImpl.class]: Unsatisfied dependency expressed through constructor argument with index 0 of type [dao.UserDao]: : No qualifying bean of type [dao.UserDao] found for dependency: expected at least 1 bean which qualifies as autowire candidate for this dependency. Dependency annotations: {@org.springframework.beans.factory.annotation.Qualifier(value=userDao3)}; nested exception is org.springframework.beans.factory.NoSuchBeanDefinitionException: No qualifying bean of type [dao.UserDao] found for dependency: expected at least 1 bean which qualifies as autowire candidate for this dependency. Dependency annotations: {@org.springframework.beans.factory.annotation.Qualifier(value=userDao3)}
这时候,我们修改一下UserServiceImpl.java required=false
 1 package service.impl;
 2
 3 import org.springframework.beans.factory.annotation.Autowired;
 4 import org.springframework.beans.factory.annotation.Qualifier;
 5 import org.springframework.stereotype.Service;
 6
 7 import service.UserService;
 8
 9 import dao.UserDao;
10 import entity.User;
11
12 /**
13  * 用户业务类,实现对User功能的业务管理
14  */
15 @Service("userService")
16 public class UserServiceImpl implements UserService {
17     private UserDao dao;
18
19    //根据编码习惯,建议保留无参构造方法
20     public UserServiceImpl() {
21
22     }
23     //创建带有参数的构造方法
24     @Autowired(required=false)  // 默认按类型匹配
25      // 按指定名称匹配 这样就能指定唯一的UserDao类型,也就是唯一的一个要实例化的userDaoImpl对象实例
26     public UserServiceImpl(@Qualifier("userDao3")UserDao dao) {
27         this.dao = dao;
28     }
29     public void addNewUser(User user) {
30         // 调用用户DAO的方法保存用户信息
31         dao.save(user);
32     }
33 }
运行测试方法,发现控制台没有报异常,但是也没有注入成功。